Lovely morning for a ride & so thought we might just check out the progress on some new cyclepath near Parramatta (an extra section that avoids a road detour to skip around a factory – & stay close to the riverbank?). We drove the Tardis to the Silverwater end of Olympic Park & unloaded our Bromptons, Ralph & Peregrine.
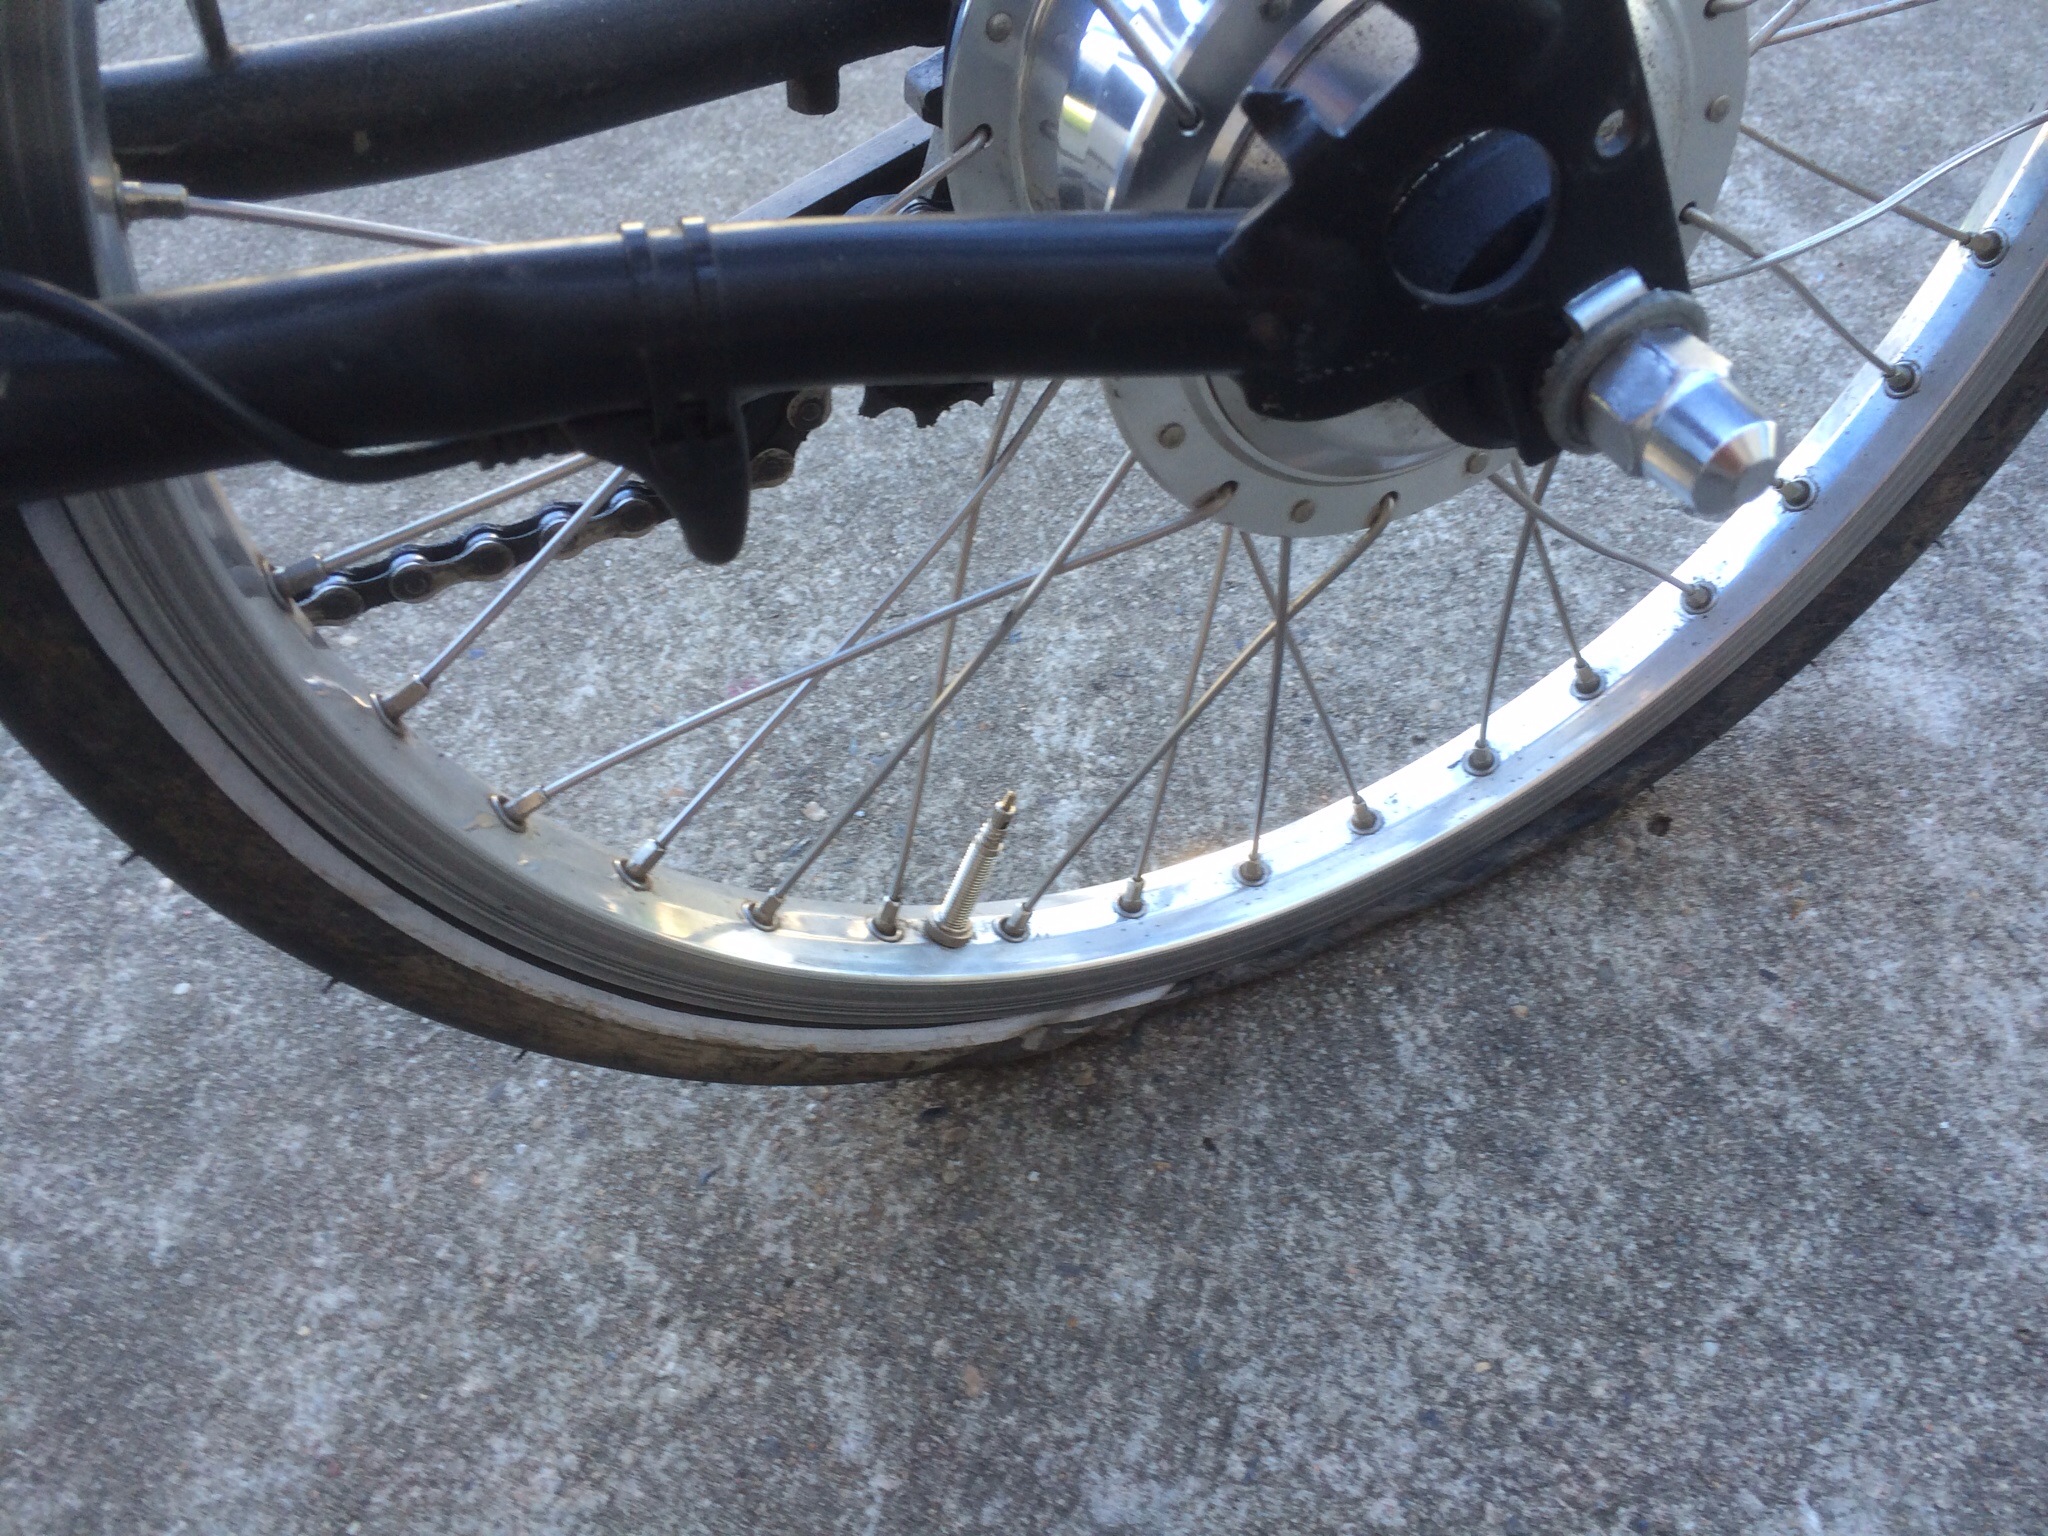
While crossing Silverwater Bridge I wondered about Mrs Aussie up-front & carrying Peregrine? (oh no, some mechanical issue I thought, & she’s carrying her Brompton off the narrowish footpath?) Catching up I then realised what the issue was – she was avoiding quite a bit of broken glass! – & I rode straight through it while trying to see what could have been wrong with Peregrine! A quick check of the tyres & all seemed well so we rode on. Later we needed to undertake a detour around an industrial area – lo & behold, some more glass about? Shortly after, I felt Ralph to be weaving slightly & dismounted to confirm my suspicions: rear tyre puncture!
Ralph’s Kojak tyres have held up well (aside from the country-side thorn some months ago?) & this time I was going to try to remember to take photos. Here’s the first –
Parked the rear wheel, whipped out some tools (chose the old faithfuls from my luggage bag rather than the Brompton Toolkit) & removed the chain tensioner.
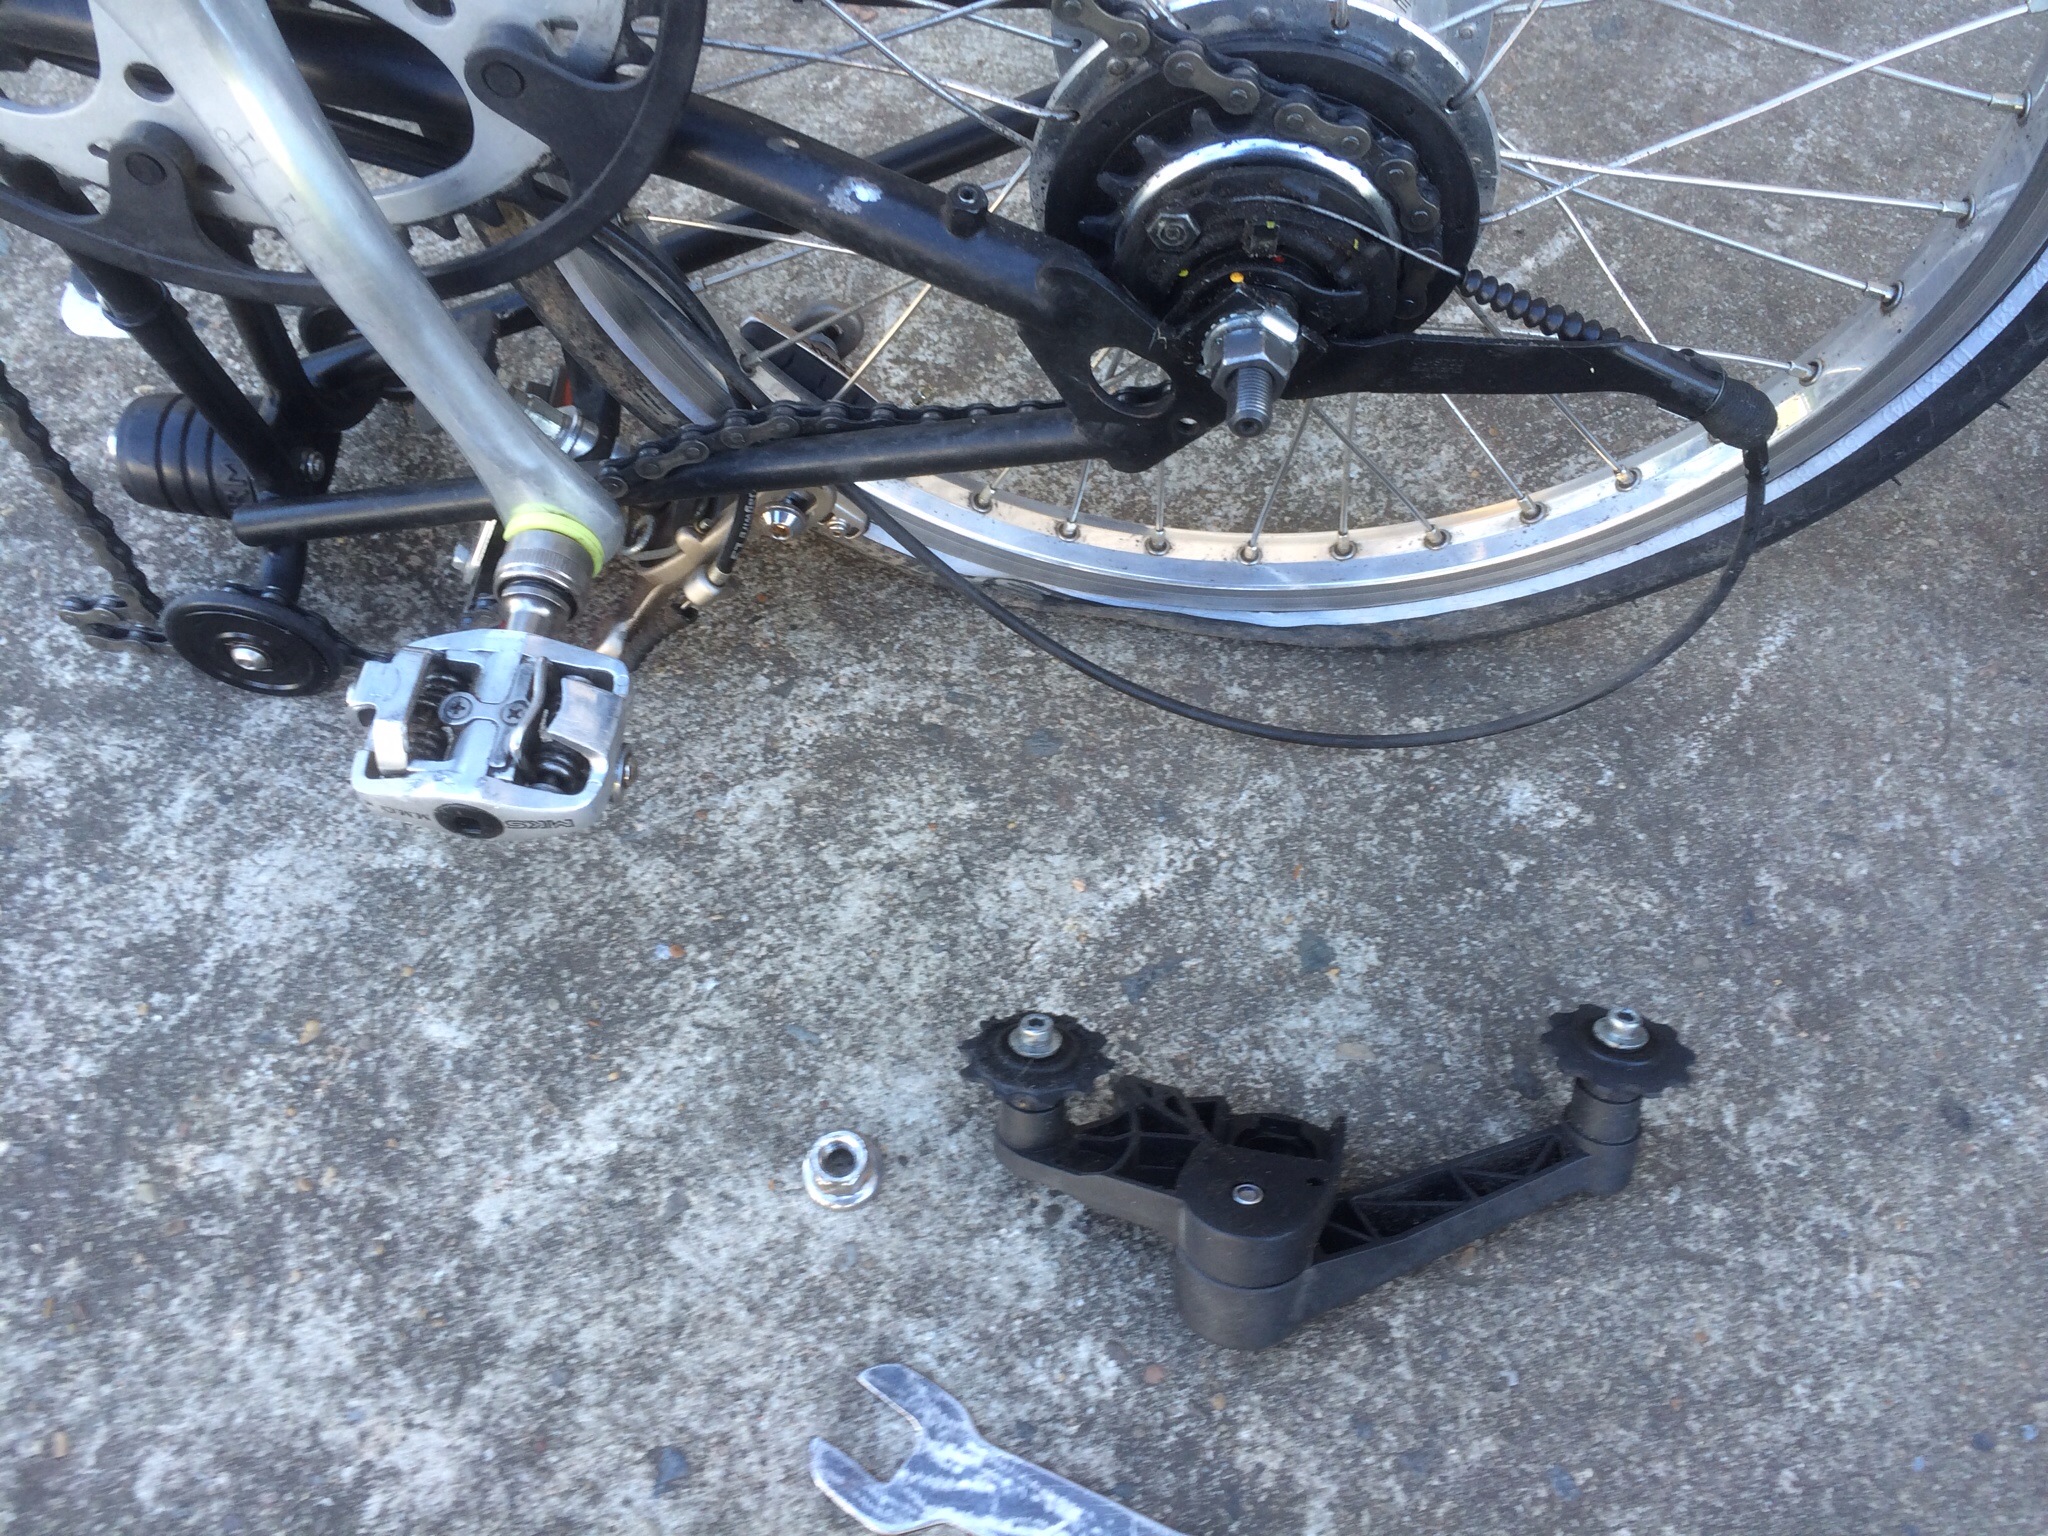
It was about here that things got out of step. I should have changed to high gear to reduce tension in the gear change cable & then disconnect the cable. Instead, I removed the axle nuts & pulled the rear wheel out – only to realise the gear change cable was still in place (& possibly suffering from the action?). Another pic – this one with all removed neatly.

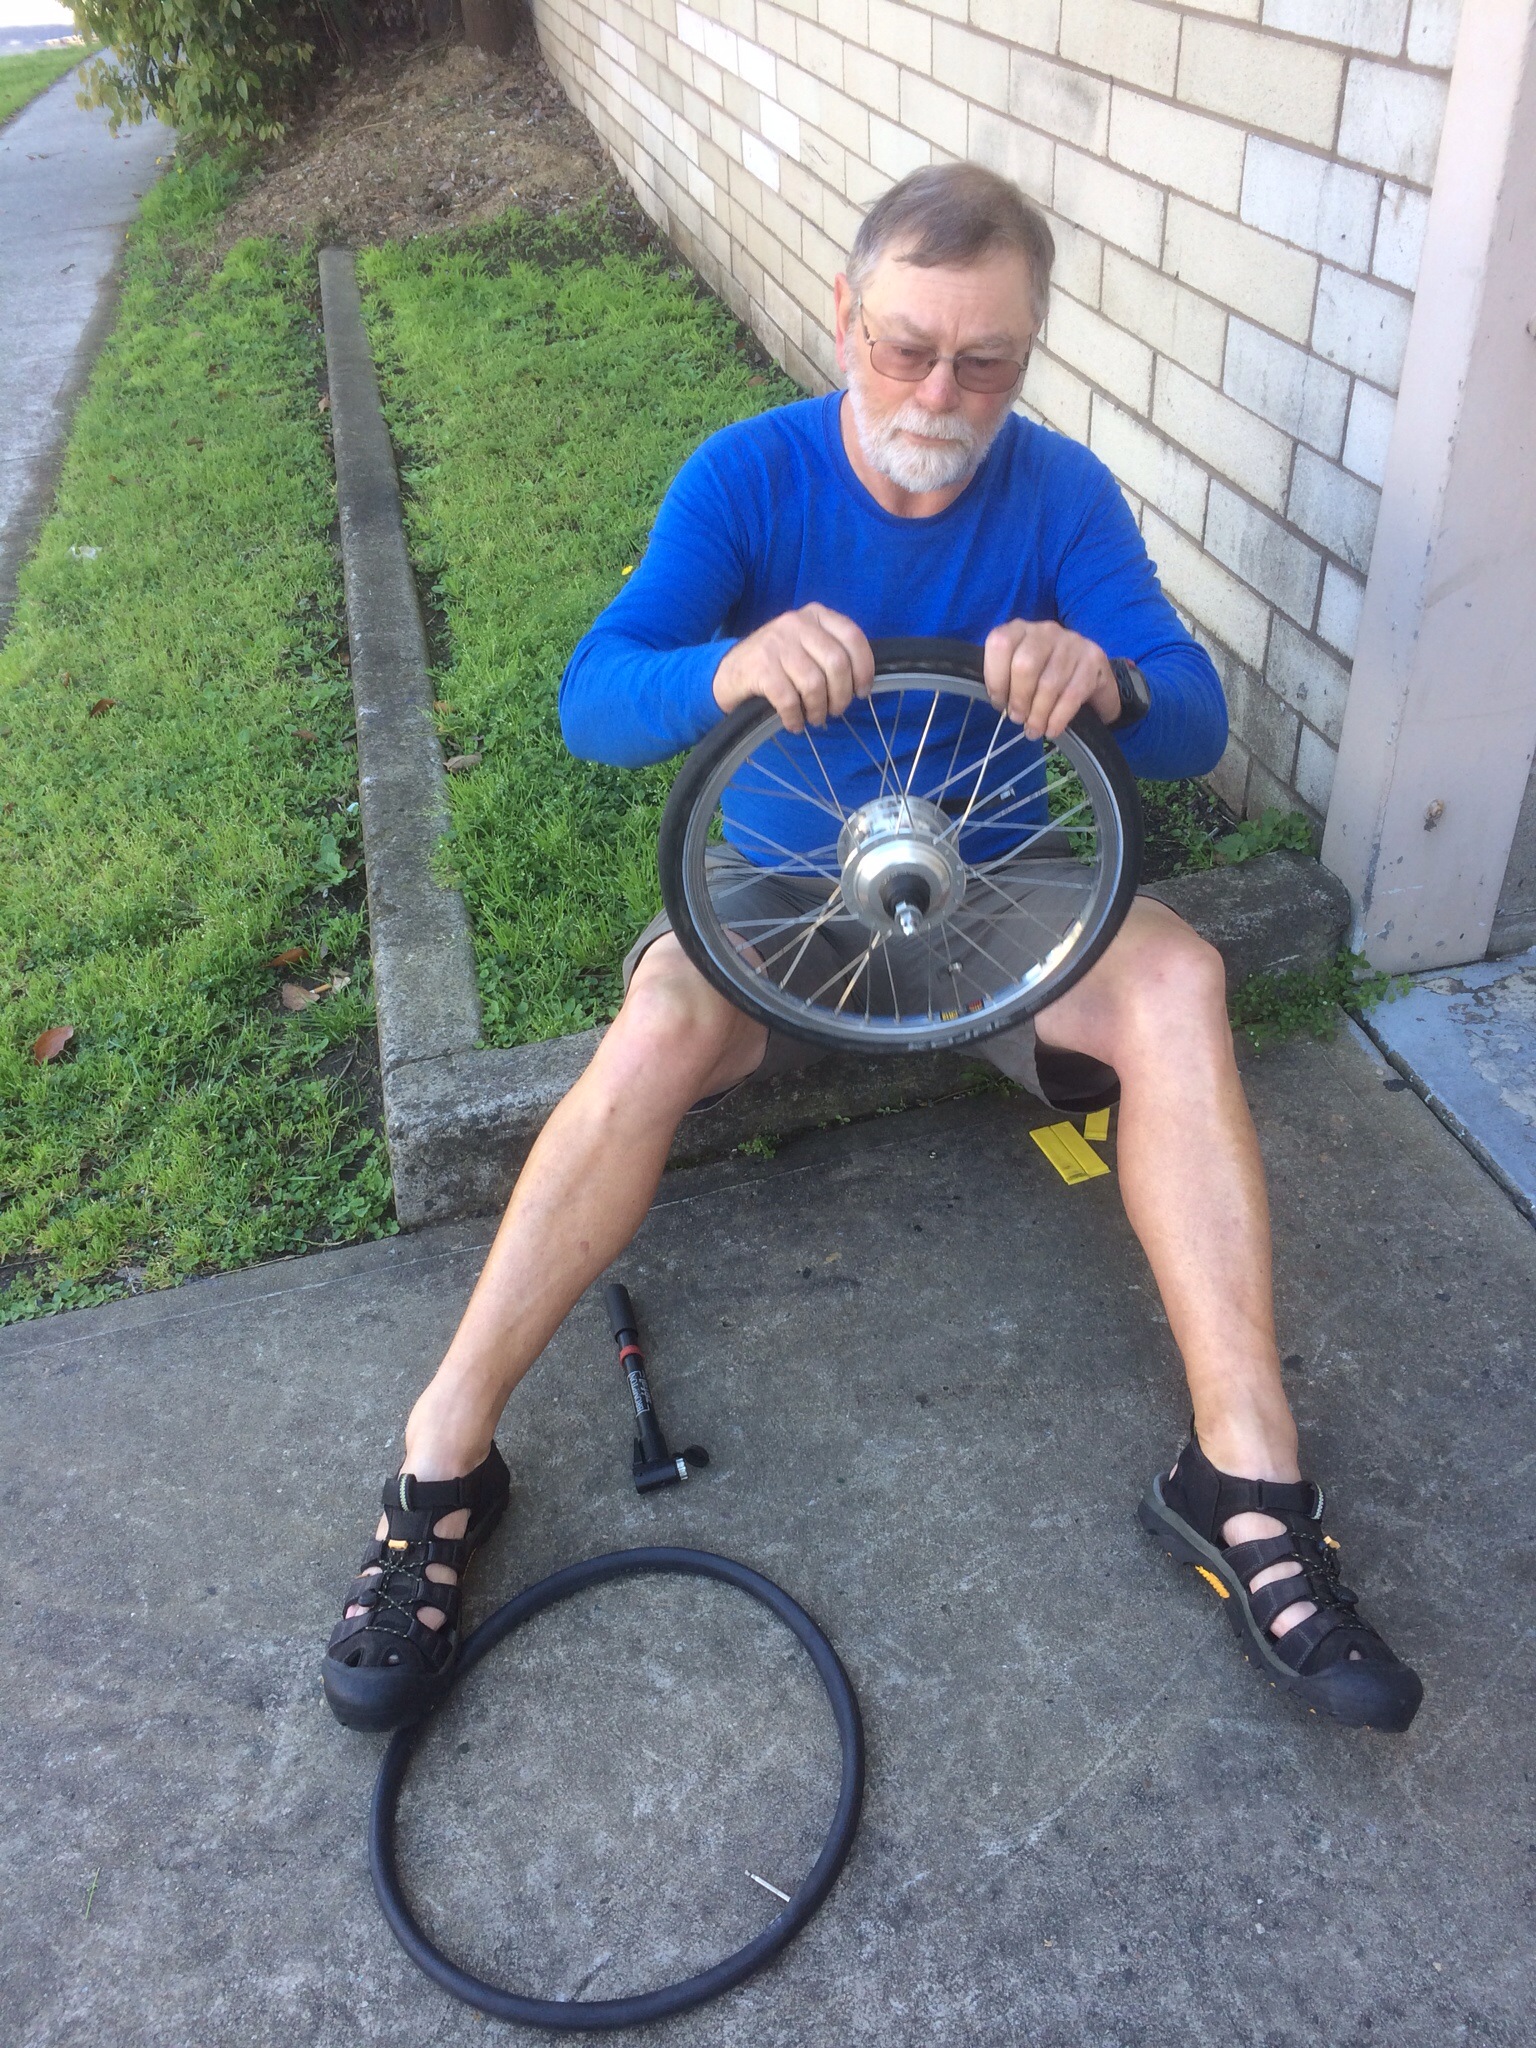
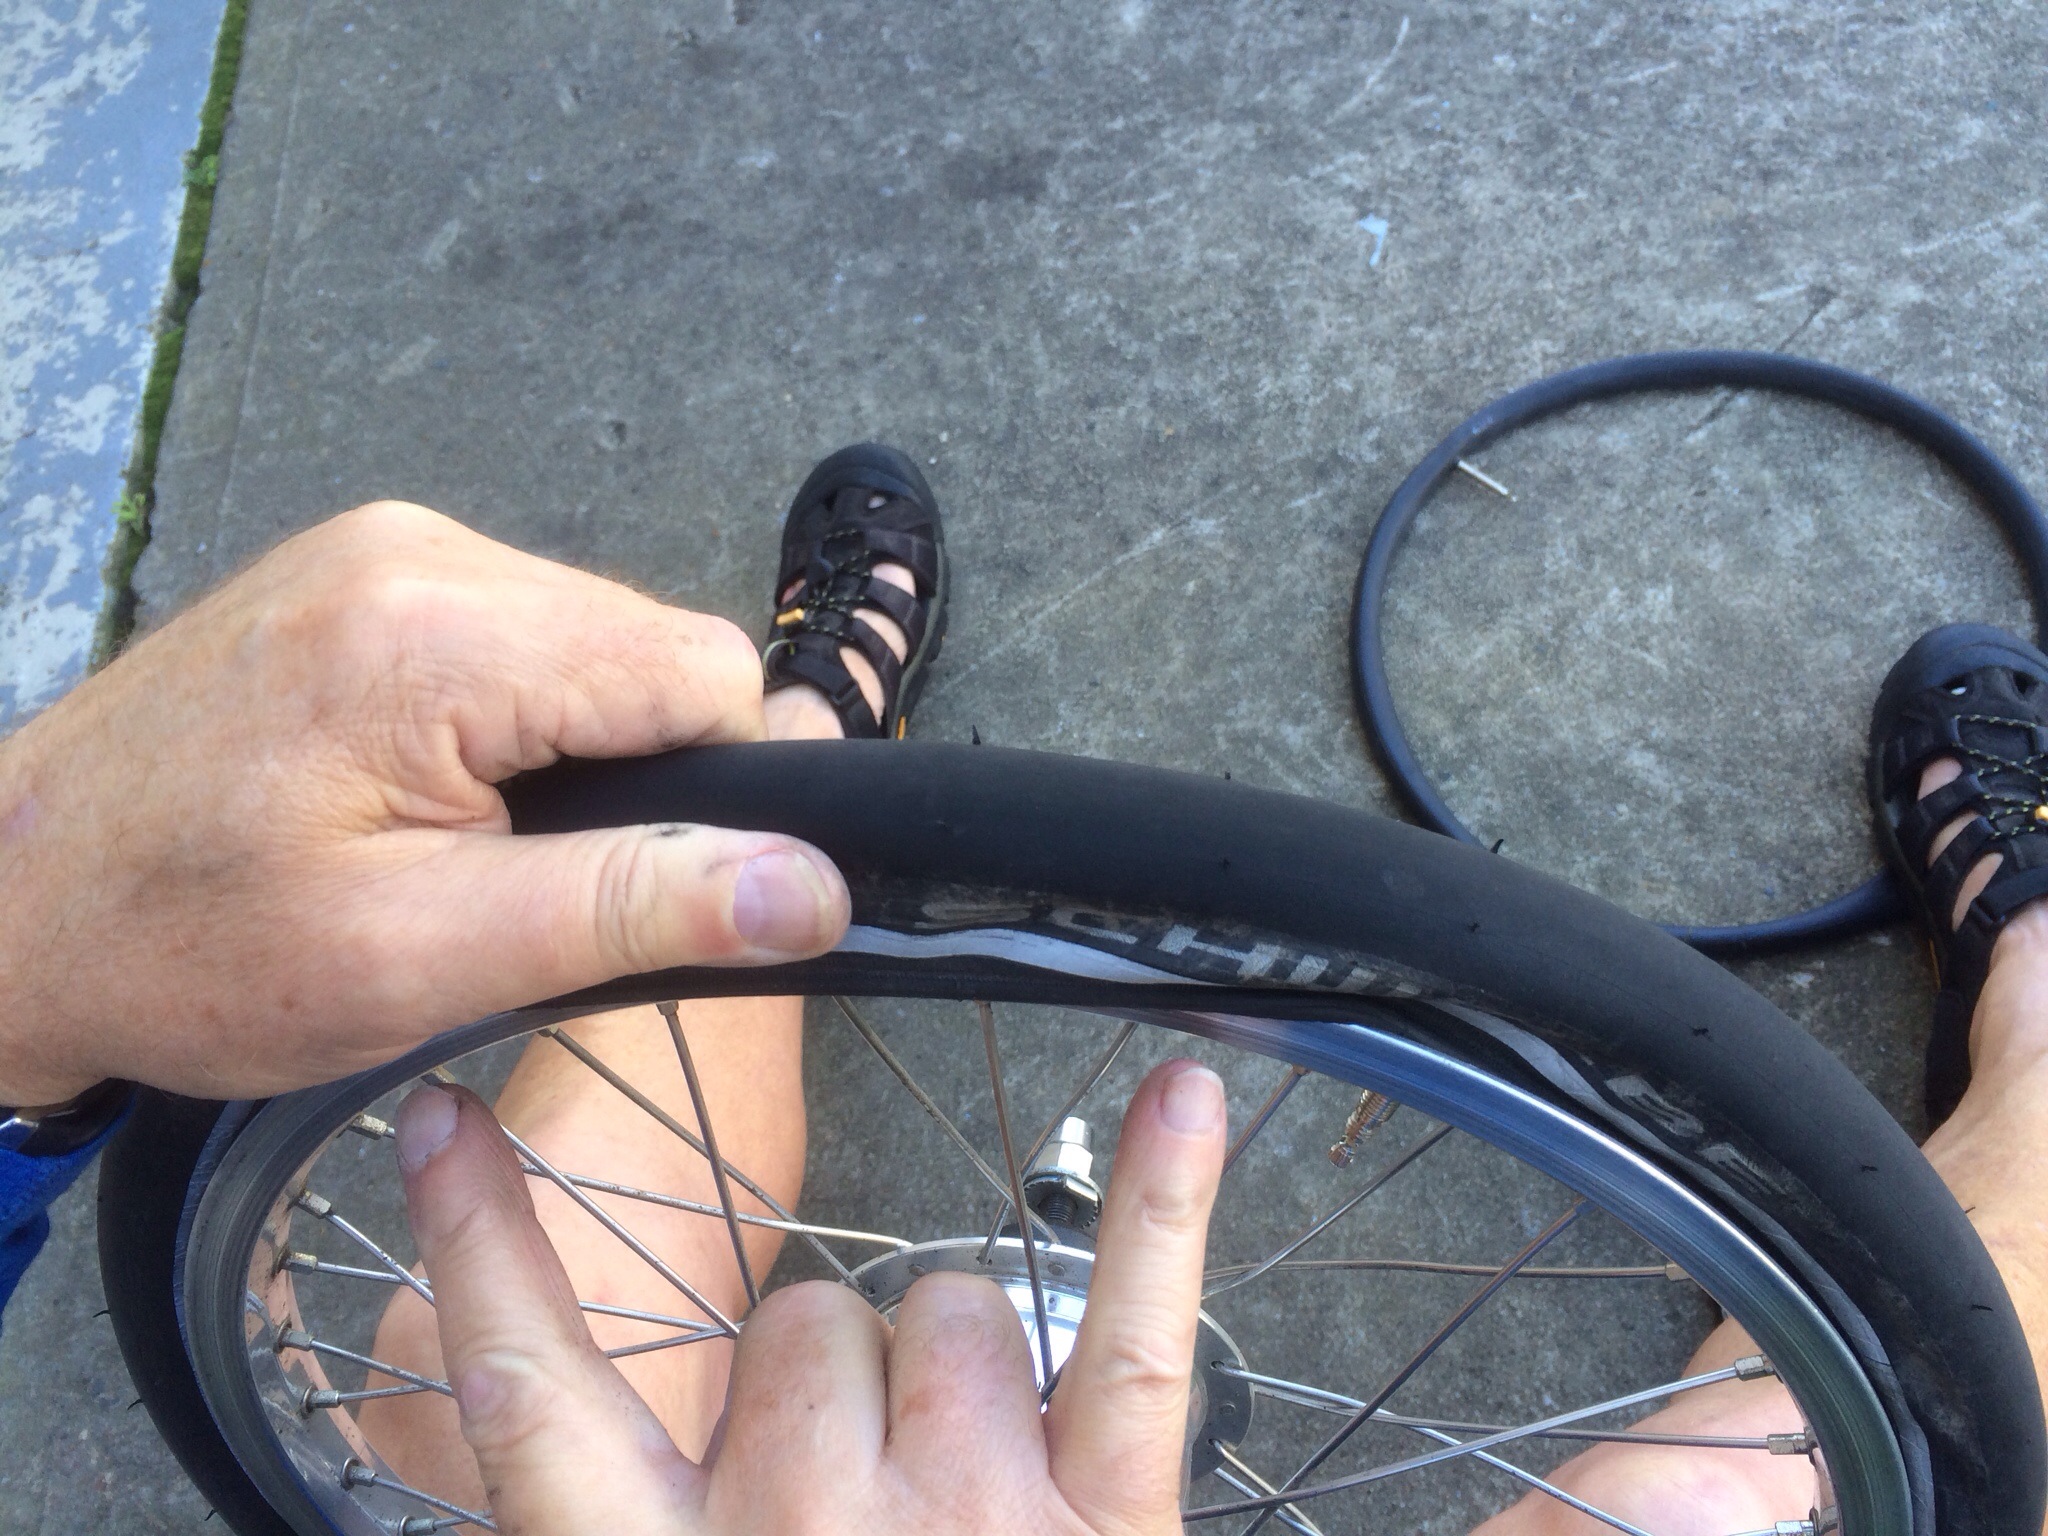
Aside from the challenge of removing a Brompton rear wheel (Ralph’s 11-speed Alfine probably no more difficult than standard – just different), I was mindful of the next task to remove (& later replace) a tyre on Ralph’s Sun rim (a very flat well in the rim profile making for little leeway when getting the tyre over the rim). My trusty Michelin tyre levers got the tyre off (I wouldn’t have risked using the original-style levers in my Brompton Toolkit – must remember to get them replaced sometime) & I removed the tube. Some air in the tube & I managed to locate the puncture hole. Using the hole as a guide, I inspected the tyre both inside & out before presuming that the glass/whatever was gone & not likely to reoffend? A new tube fitted, it was now time for the worst part of the exercise – refitting the tyre on the Sun rim. Some pics here to reflect my progress: nearly all the way & during a rest-stop, an indication of that last 10cm or so (the thumb-wrecking part?)
Success! Relief! Tyre on! Some air in the tyre to check for tube pinching & then deflation for the wheel refitting (I never disconnect the Brompton brake cables & so my tyres need to be fully inflated after fitment of the wheels, otherwise the inflated tyre won’t fit between the brake pads). Wheel refitted, chain in place & on with the chain tensioner (er, no – some tiredness perhaps, out of practice maybe, but reconnecting the gear change cable with the tensioner in place is “very difficult”) – refer pic –
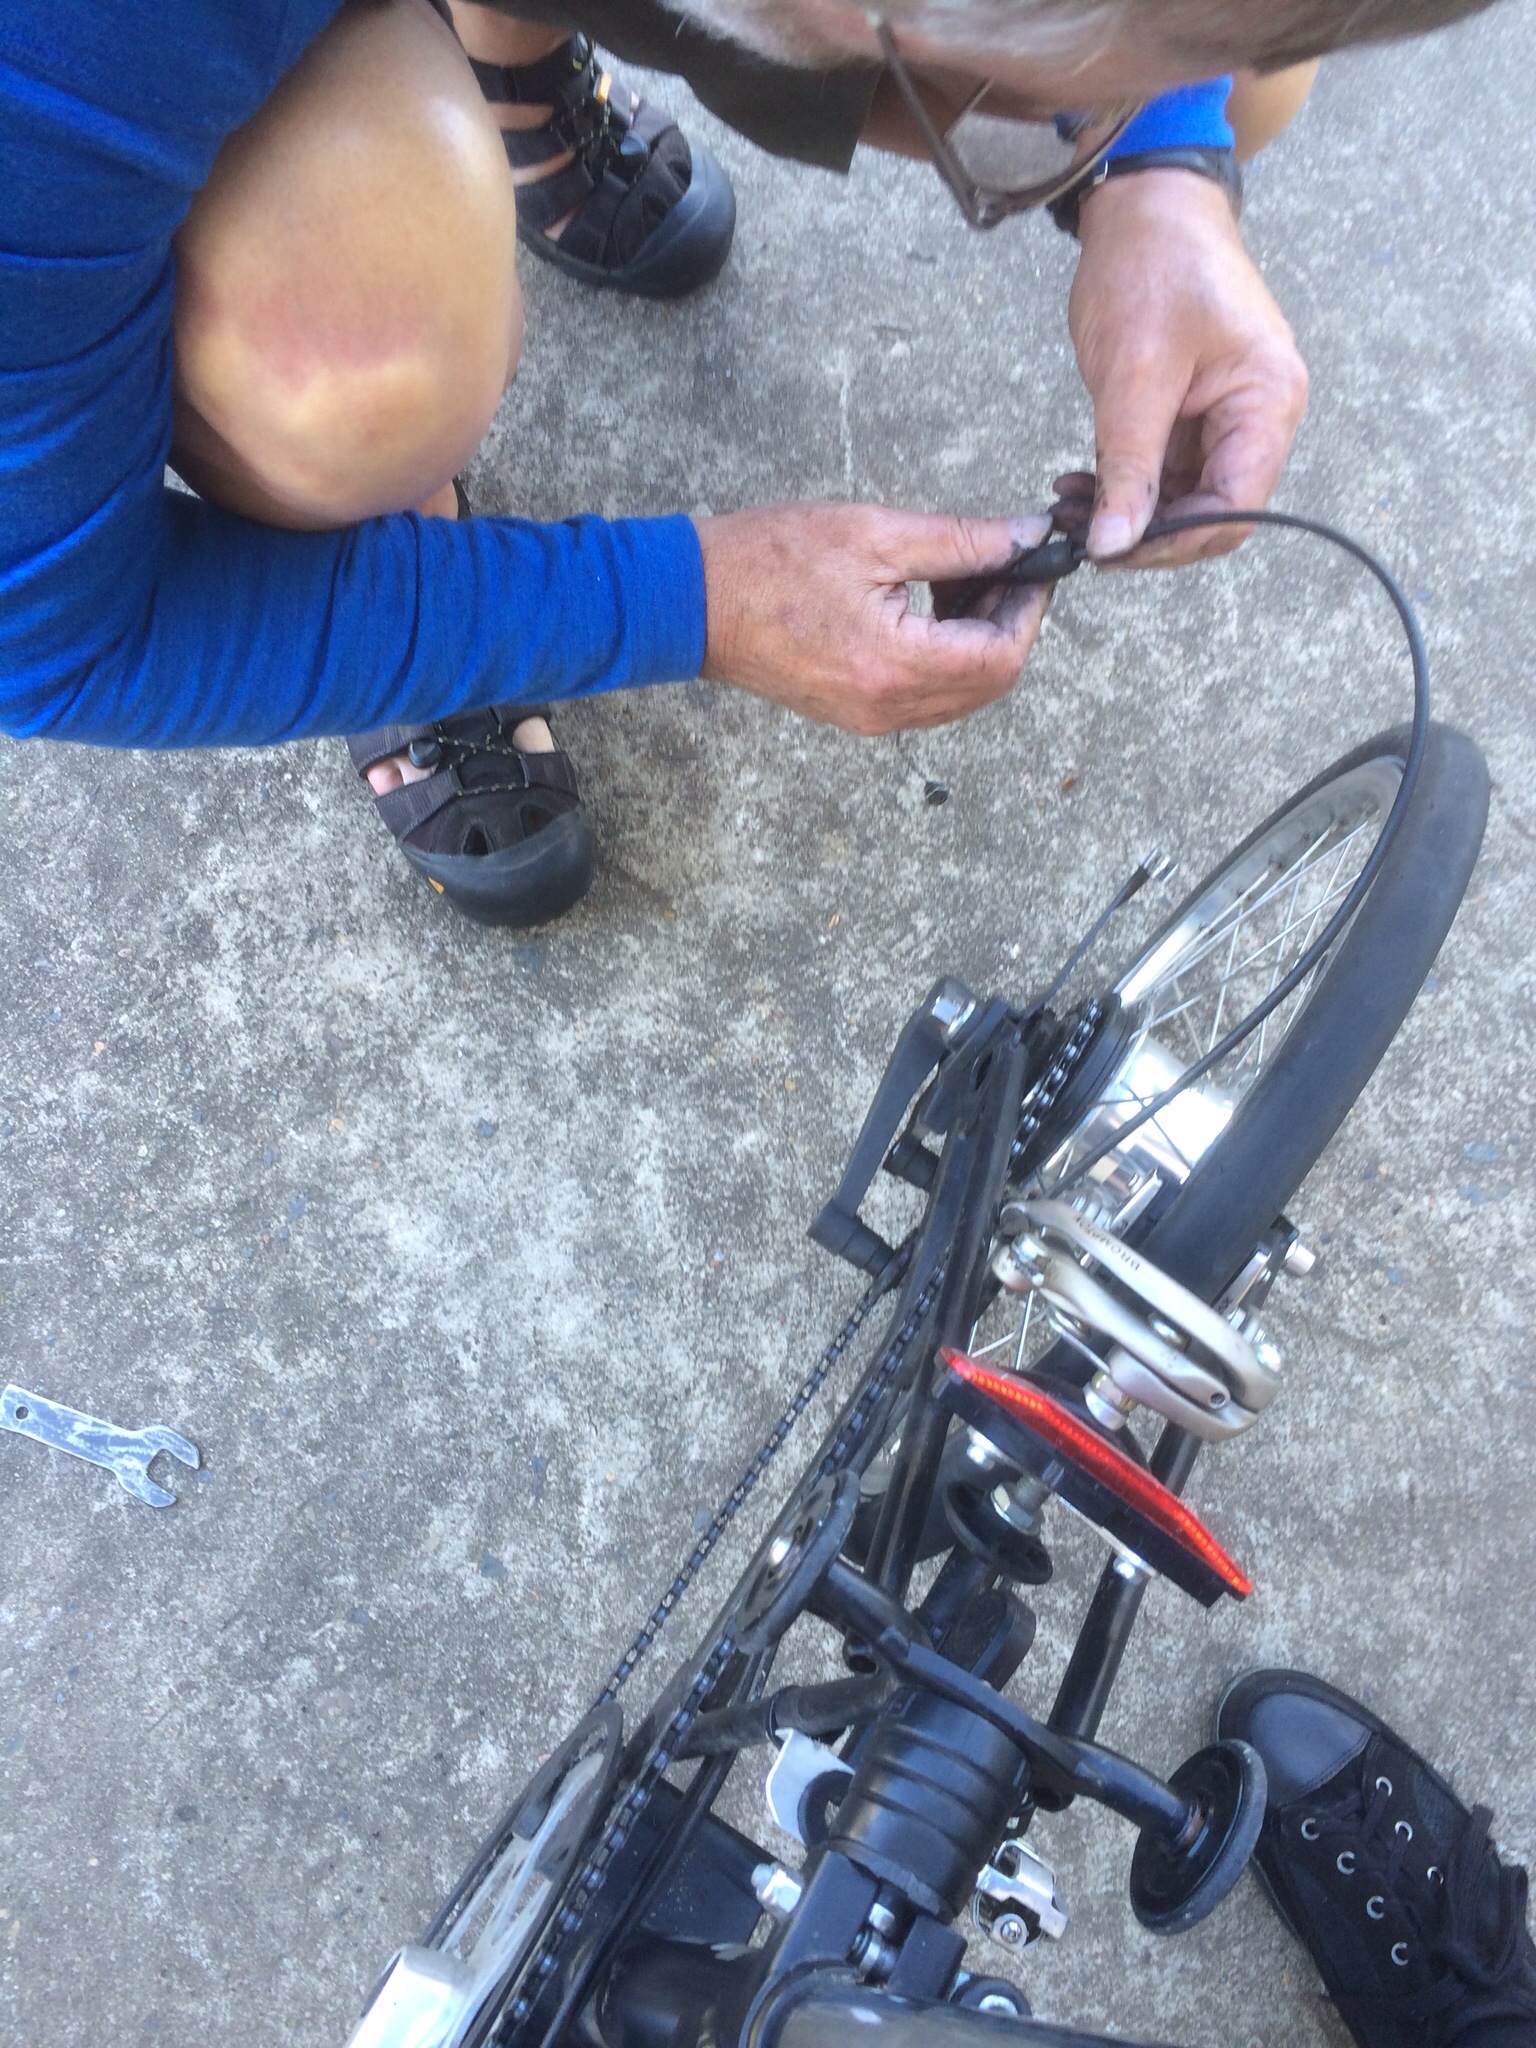
Oh well, tensioner back off again & cable reconnected (& careful inspection that I hadn’t damaged it on my out-of-sequence wheel removal?). Back on with the tensioner & then re-thread chain around jockey wheels? Some brain-fade here, as to where the chain has to be positioned with the tensioner – perhaps not helped by consistent calls from passing cyclists (with their quick-release wheels) to enquire if I need assistance? (little did they know?). Peregrine saved the day; by being available as a model.
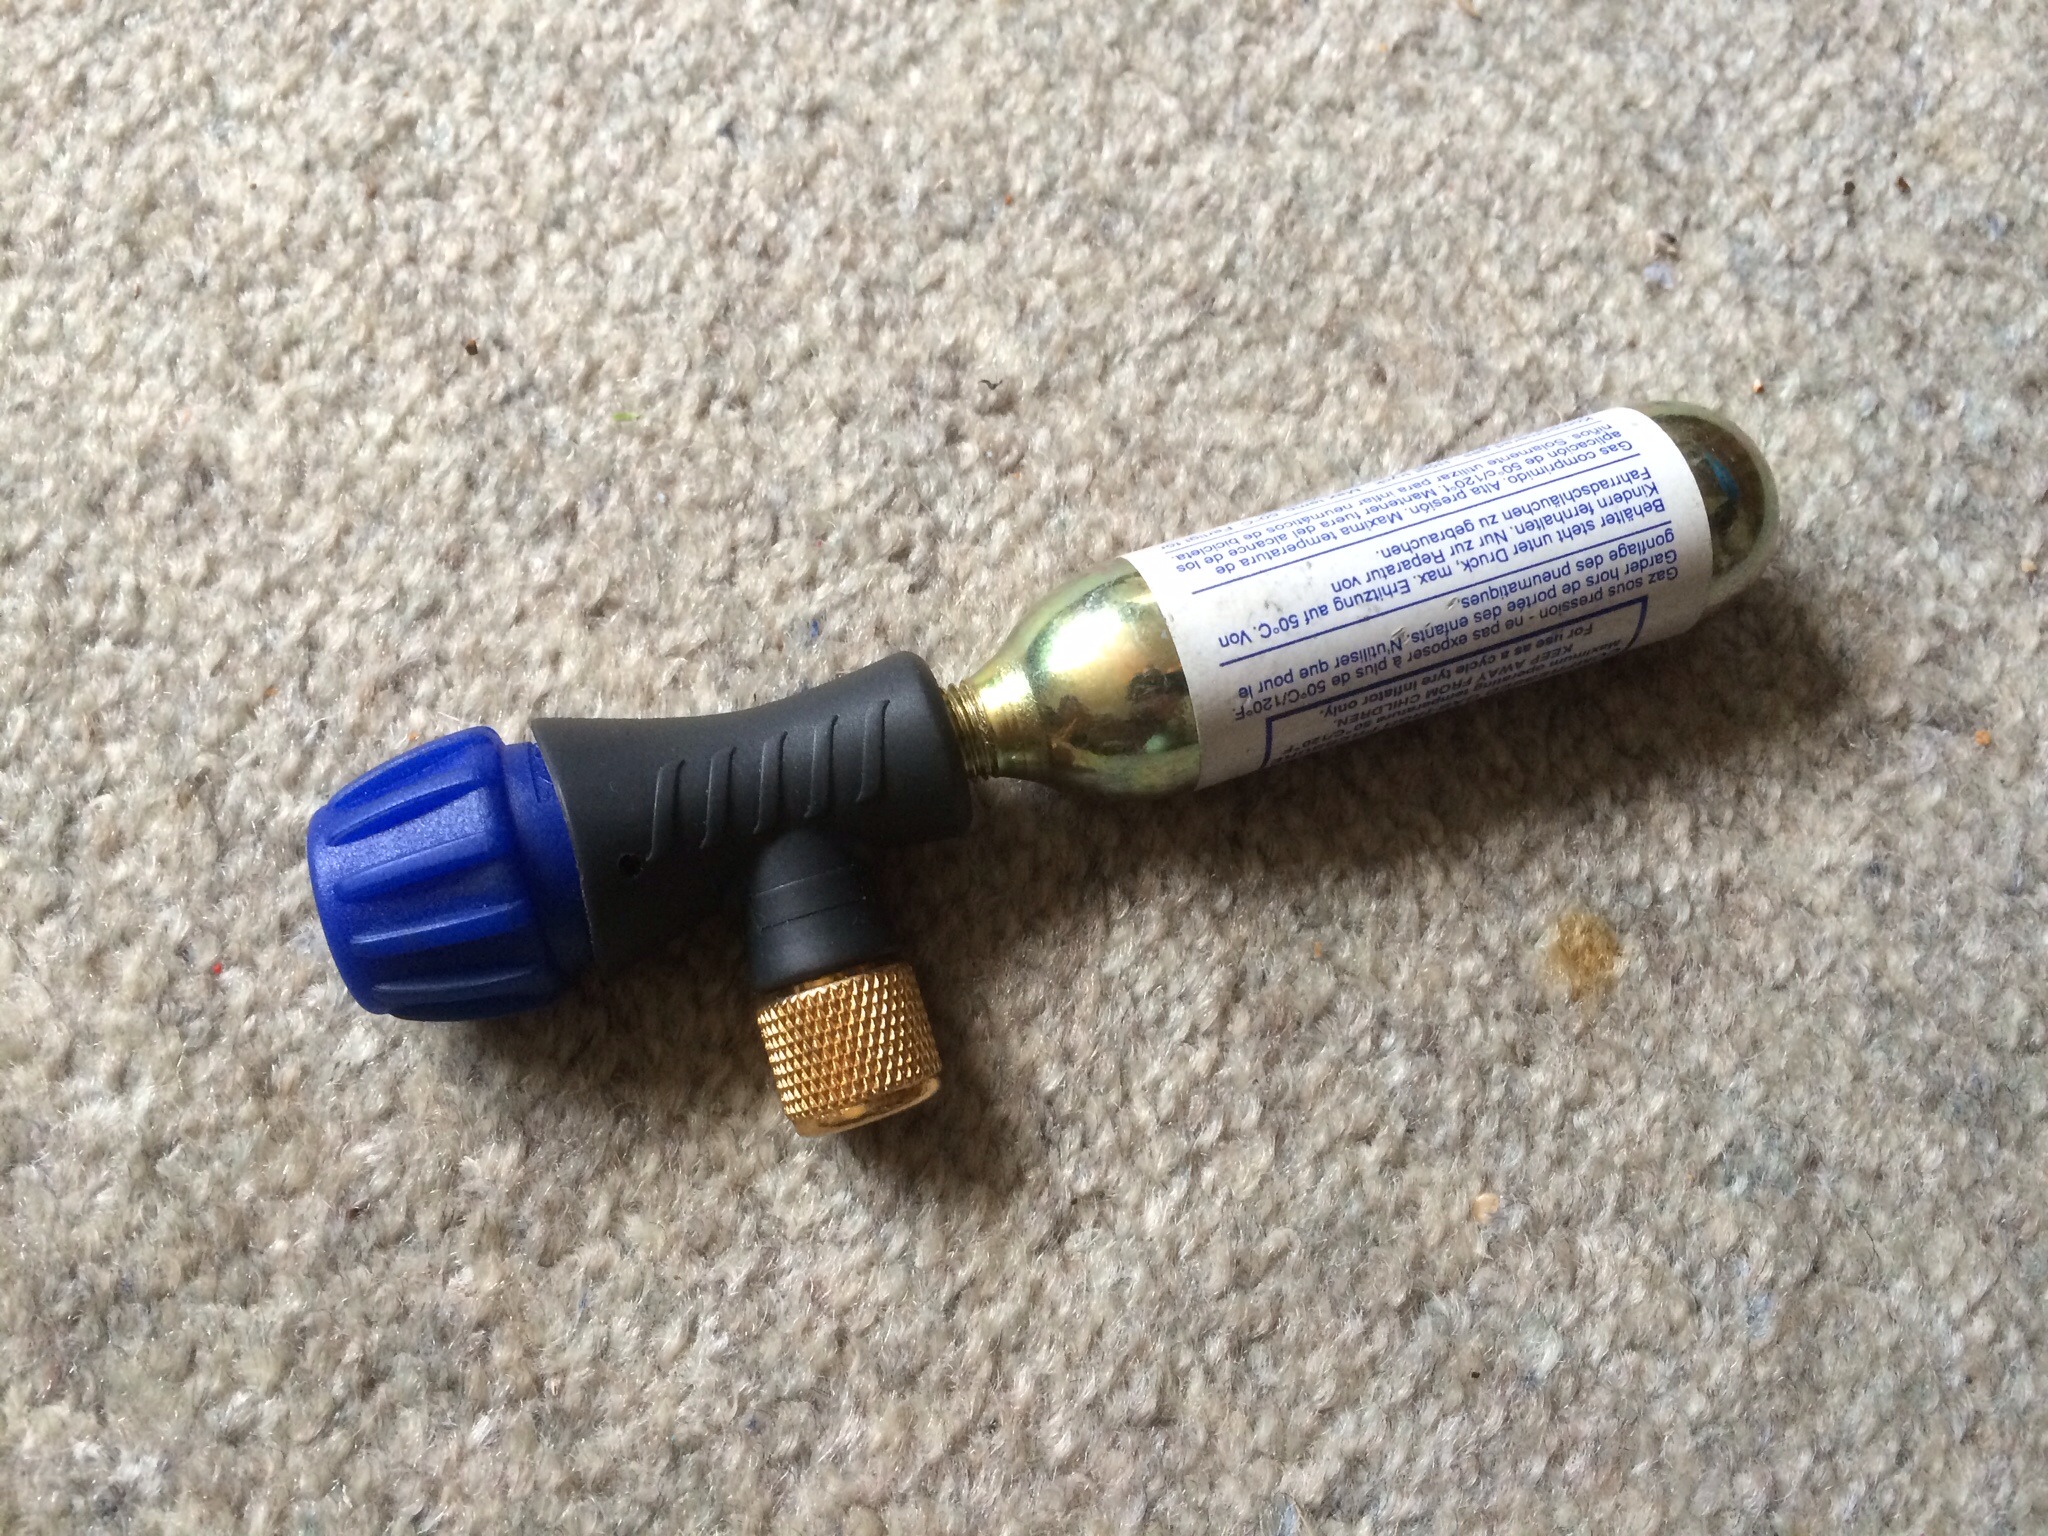
About this time, I decided to re-inflate the rear tyre & so reached for a CO2 cartridge & adapter. I now realise it was the first time I’d used that adapter type & the first time I’d re-inflated a Brompton wheel on the bike with a CO2 cartridge (although lots of experience with big-wheel bikes). Needless, to say, things didn’t go well – the access at the Presta valve positioning wasn’t great, I got the adapter alignment wrong & I was slightly in contact with the cartridge when I opened the adapter tap! The end result was of course, lots of hand pump action to inflate the tyre! (The CO2 progress was something like: open adapter tap, realise/remember that the cartridge temperature drops to freezing – & I was touching the cartridge – & jump/bobble around with the device while most of the CO2 goes anywhere but into the Presta valve?! A definite case of “do practice this at home”?)
All the fun was over, now time to cleanup (really a good motivator to have a spotless bike, & always seems to be the time to think about disposable gloves, hand wipes, etc for next time?)

Here’s one final pic (yes, I did fully tighten the Presta valve locking ring before moving off). Unfortunately, we didn’t get to check out the new cyclepath (instead we headed for a cafe for brunch). Maybe next time? (once the new Marathon tyres order has arrived & been fitted?)


Another great blog Ian, very interesting info regarding the temperature of the CO2 cartridge, I never knew that, I prefer the old fashioned method of a hand pump. Be safe Sir, and warmest regards to Mrs Aussie. X
Ta Mick, CO2 is exhilarating to get your roadside repair pumping effort-free – but so disappointing if you have to hand-pump anyway. Best to have a top quality pump on hand (pity the best don’t fit on/inside the Brompton).
Wow, Ian, well done!
Ta – & the new Marathon tyres have arrived so hopefully all goes well this time?
enjoying back issues on your blog:-). getting brompton tyres off and on rims without central deepening is a great pain. you get better leverage with the wheel mounted on the bike. and there is little reason to take the wheel off the bike anyway when just fixing a flat… best regards from kai living in sweden.
Ta for your comment Kai. Maybe I should try an in-situ tube repair although I’ve always thought it could be too awkward & preferred to swap tubes. Next time?
you always hope the next time doesnt come! if the puncture is a small one as it often is i fix it at home, but a greater one of course on the roadside. especially at the rear it is a great conveniance not having to take the wheel off the bike. and as always check the inside of the tyre so the piece of glass or metal fragment sitting there does not give a new puncture the next few minutes:(
Hello,
I know this is an old thread, but… a) you seem to be using Sturmey-Archer’s lock washers instead of Shimano’s, b) on the right-hand side SA’s 15mm 13/32″ nuts instead of Shimano’s 17mm 3/8″ nuts, and c) the Alfine’s cassette joint arm is pointing backwards.
https://postimg.cc/ZCDqL9nC
Out of curiosity
1. Does the SA lock washers work as well as Shimano’s — in which case, why do others bother with Shimano’s?
2. Where did you find a flat 15mm 3/8″ nut to hold the hub on the right-hand side — or did you file the inside of the chain tensioner to use a 17mm nut? —, and
3. Why didn’t you point the cassette joint arm forward as usual, like Junik* does for the Nexus, especially since on the Alfine, the arm is above the chain stay ?
Thank you.
* https://junik-hpv.de/wp-content/uploads/2021/02/Brompton-8-Gang.jpg
Ta for the comments & yes, it’s an old posting (2013) but the bike is still getting along fine after my tinkerings to address some annoying areas from the Alfine conversion by Fudge’s store. Funny how so many companies are now producing 135mm wide frames (including Ti) but I’m yet to see anyone offering the specific extras to suit a Brompton Alfine conversion (eg tensioner, etc).
Having obtained the bike 2nd hand, I imagine the setup was done by Fudge’s & who knows what their engineering skills are/were?
The SA lock washers fit the Brompton drop outs & without ever seeing any Shimano lock washers I can’t say which is better.
From memory, I ground down an Alfine acorn hub nut to use under the tensioner & then used Fudge’s (inappropriate) supplied shouldered nut to secure the tensioner.
The cassette joint arm is still mounted as Fudge’s store originally installed around 2011 & while I think the forward facing mount is neater looking, I’ve never been inclined to change it – along with the necessary adjustment of the cabling to suit.
I’m sure people’s ideas on Brompton Alfine conversions have changed over the years but it’s not the sort of bike you see many of, to be able to see what has been improved. (When taking the bike to the UK for the 2013 BWC, I saw only 2 within the field of 700+)