Monthly Archives: October 2013

New old new levers

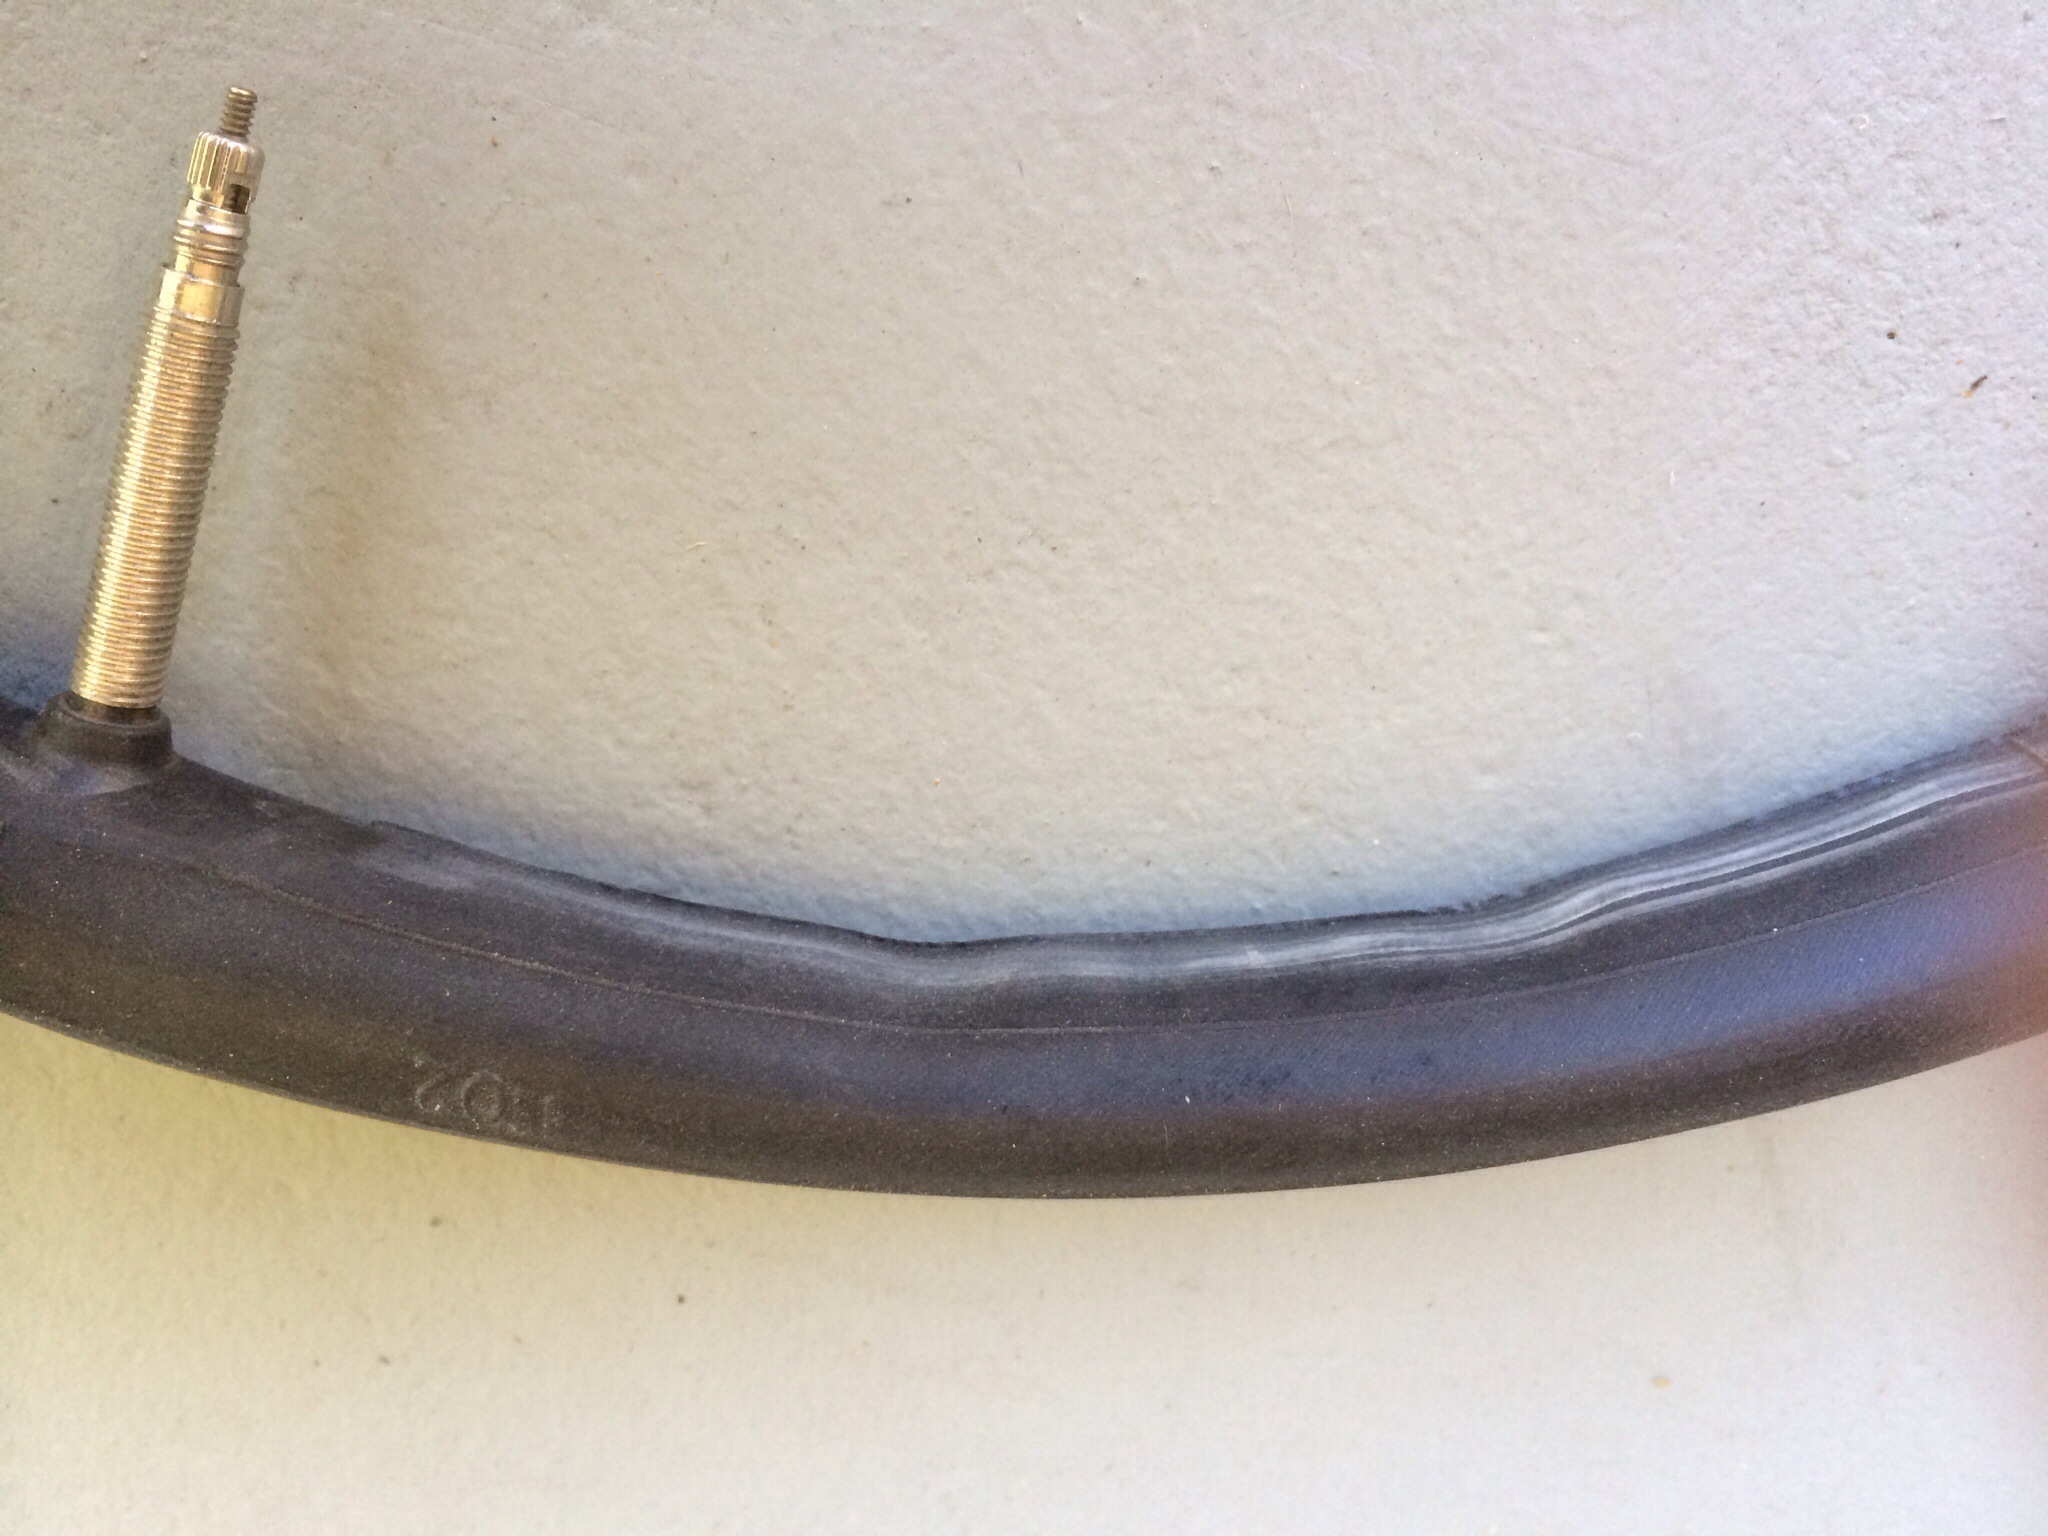
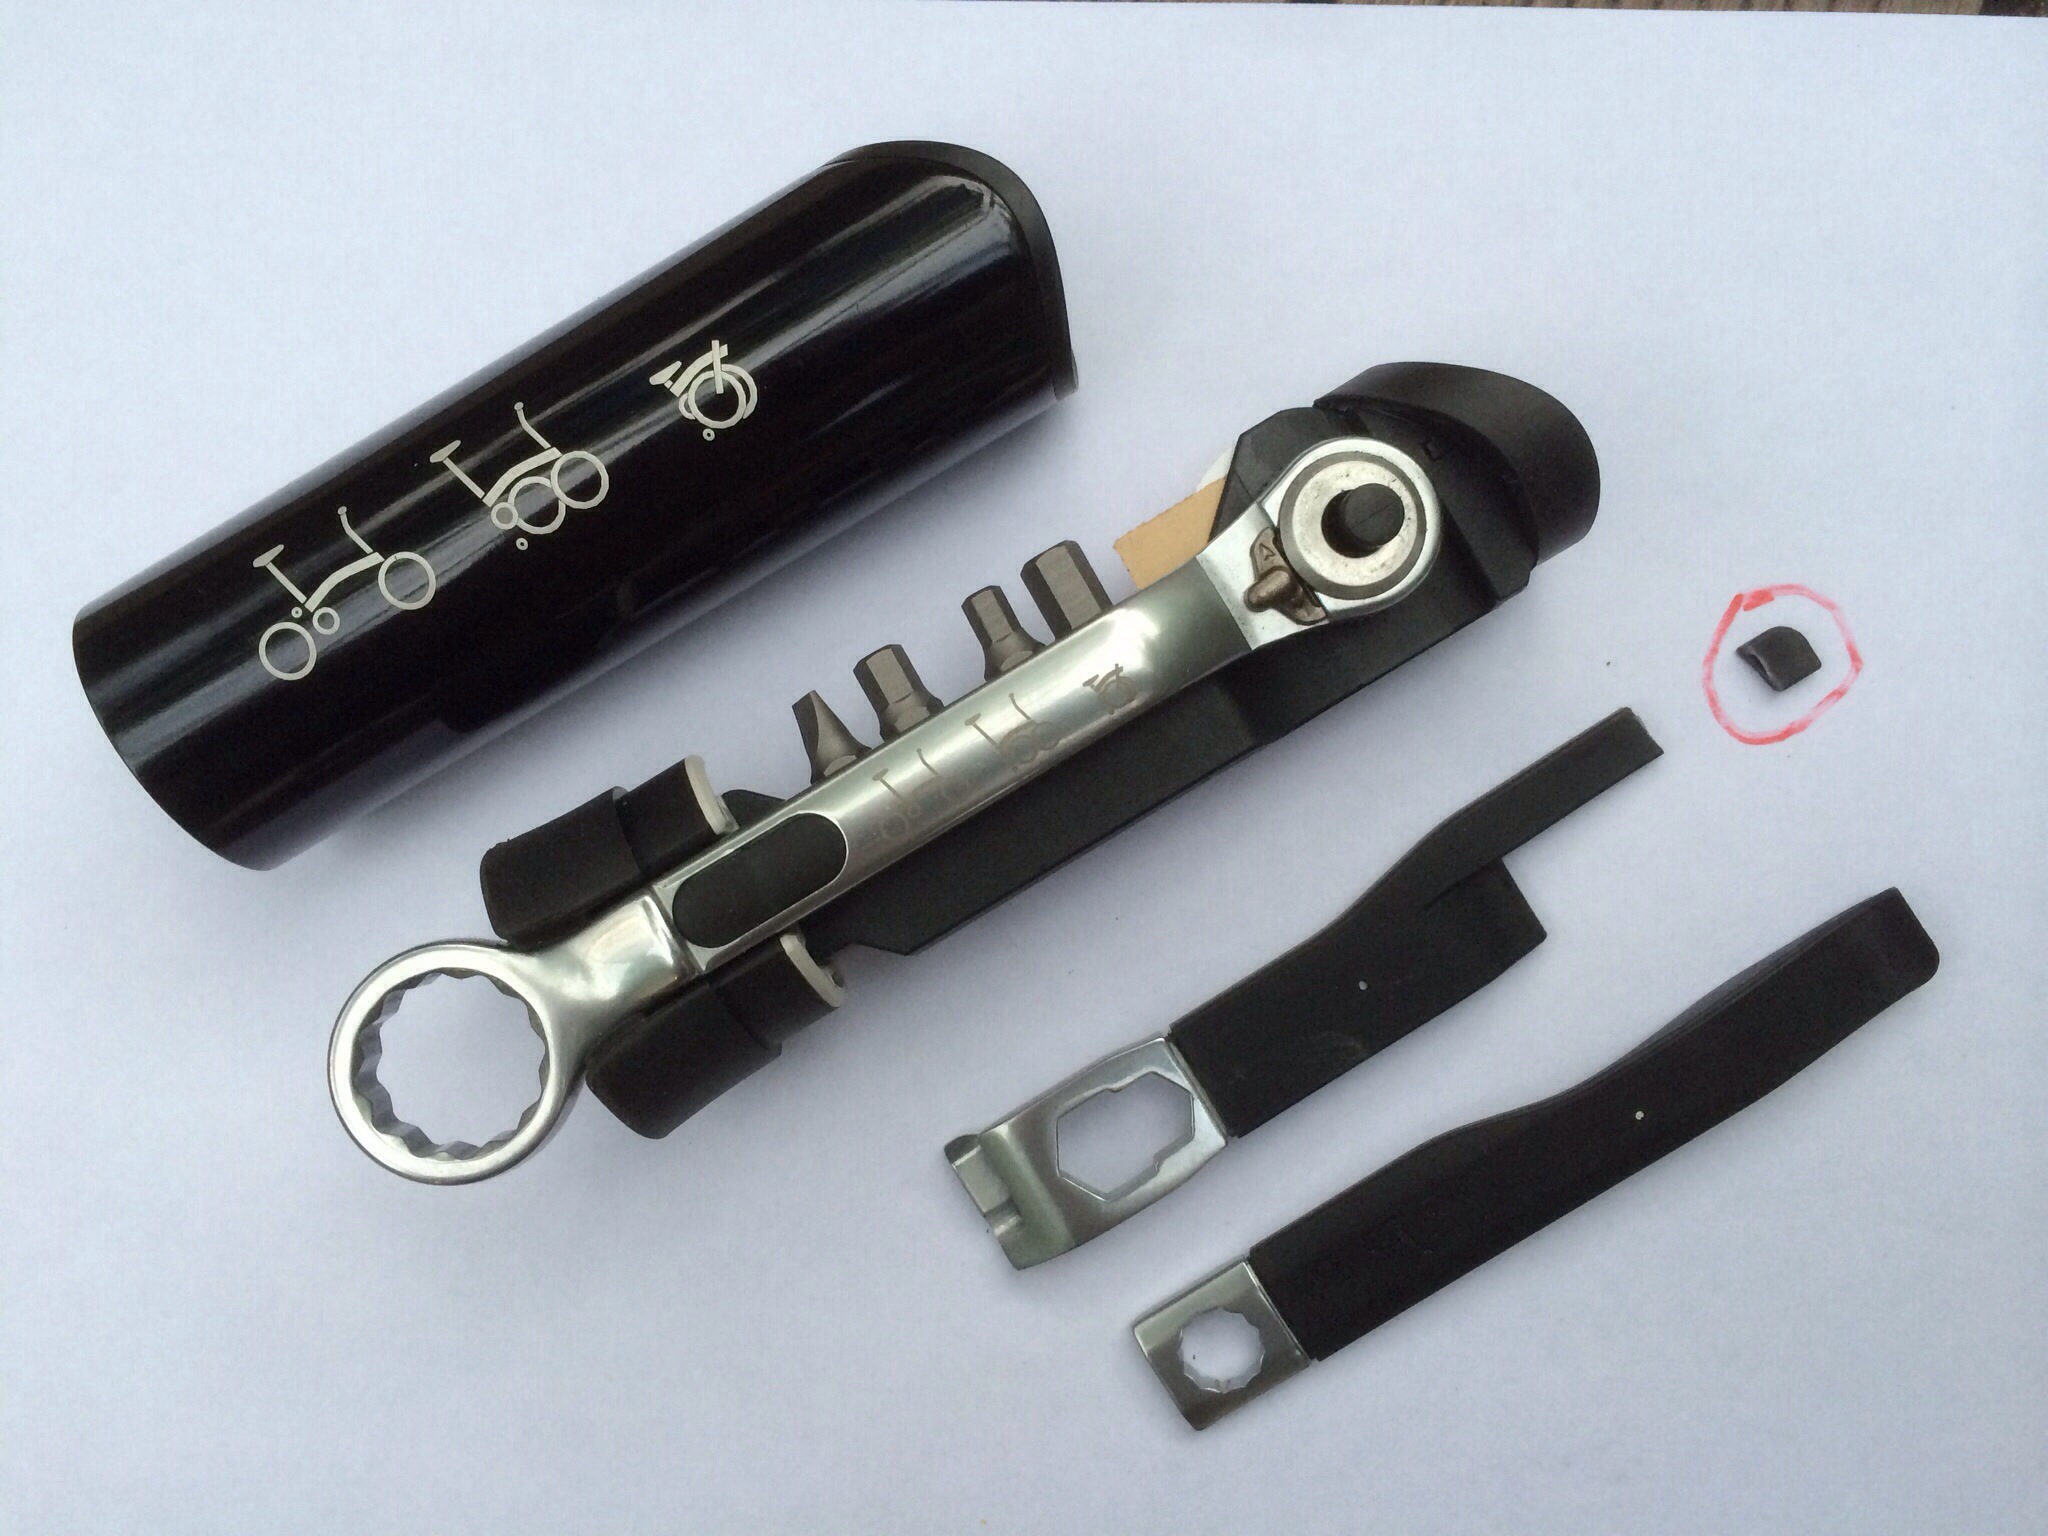
I’ve recently received a new set of the original Brompton Toolkit tyre levers. As mentioned in my blog post “Toolkit testing”, I’d had a little whoopsie when trying to remove a Marathon Plus tyre from the rear Sun rim on my Alfine 11-speed Brompton & was left with a broken tyre lever. When Brompton withdrew the Toolkits from sale, until the latest design of tyre levers is available, I was under the impression that Brompton would eventually replace the levers for current owners of the Toolkits. Initially I was happy to await the release of the new levers but then I decided to email Brompton to confirm how the replacement process may take place & to flag my ownership of some Toolkits. The communications raised some interesting aspects to the likely outcome.

First, the Brompton prompt response to my query disclosed some information I wasn’t aware of. Their email said,
“Thank you for your enquiry. As you may be aware we have offered temporary replacement tyre levers (the lever has a longer metal tip than the original) to customers via their Brompton dealer or distributor who have experienced a snapped tyre lever. Once the improved version has been finalised and passed inspection we will be issuing dealers and distributors with the tyre levers so they can forward this onto customers who have a Brompton toolkit. I would recommend contacting the dealer you purchased the toolkit from or the Australian distributor for a replacement.
Also I noticed on your blog post you mentioned that you used the tyre lever on a Marathon Plus. We would not recommend using it on a product that is not used or recommend by Brompton (Standard Marathon, Brompton Kevlar and Kojak will be fine).”

So, there have already been changes to the levers? – & I believe my broken lever was of the later design, rather than photos I’ve seen of broken levers that seemed to be composite material? (double-whoops?) Next, my use of the levers is not recommended for Marathon Plus tyres? – & I guess that includes any other rim, tyre or bicycle type? Hmmm…

Anyway, I thought I’d contact the Australian distributor (rather than the UK dealer where I’d purchased the Toolkits) & check what they could do. However, the response here was that as this part of the world never received any Toolkits they also were never supplied any of the replacement levers that Brompton’s email mentioned. All was not lost as they would happily provide new replacement levers when they came available if I was unable to obtain replacements from the UK dealer or directly via Brompton.

Things then got a bit more confusing with emails between all parties. I was trying to say that I was happy to wait for the replacement levers (or obtain them via a trip to the UK, whichever came first?) but I’m unsure what others thought “replacement levers” meant. Before I knew it, Brompton were sending some directly to me (with the explanation that, “…we do not offer direct warranty replacements as the contract of sale is between the end user and the dealer. However given the circumstance I am happy to send you a set of replacement tyre levers…”!?

Overall, a very impressive customer-contact process! Perhaps even “very Brompton-esque”?

Back on track

One month?! We’ve been back from the UK for a month & hadn’t take the Tardis (our VW T5 Campervan) for a trip out of Sydney! With a wedding anniversary coming up, what better way to celebrate than to load the Bromptons, Ralph & Robinson, into the Tardis & head back to Toowoon Bay (the site for our first “shake-down” trip in the Tardis) for a couple of days? The Sydney bush fires were making things rather smoky & somewhat dodgy for what roads may be open but arriving on the coast to a cool sea breeze was a good start.

20131025-104746.jpg

Cruising along the lakefront cycle paths from The Entrance to Chittaway Bay has gotten even better since we were here last, with a lot more concrete pathway & less need to resort to local roads to link the sections of path. The various bridges over creeks & watercourses have come in for some attention although the wooden planks on 2 larger bridges may be still akin to cobblestones? Here’s Ralph resting on one of the good bridges.

20131025-104819.jpg

A beach walk is mandatory for a trip to the coast – as is a coffee stop at a Surf Lifesaving Club.

20131025-104843.jpg

20131025-104905.jpg

Lots of eating places around (aside from the gourmet cook that operates out of the Tardis?) but returning to the local Pizza Kitchen was a must. This time our Mains were pasta – but we shared a pizza dessert.

20131025-104930.jpg

20131025-104953.jpg

Local riding

Away in the UK there were abundant opportunities to photograph sights & rides for suitable blog postings. Back in Australia I expected that this would continue but now I’m reminded why I hadn’t done much before the trip: it seems hard to remember to view the regular happenings with the same mindset?

Take the regular rides for example; I can get through the whole ride without even thinking about the camera! Afterwards I remember that I’ve missed out capturing sights that may have been worthy but it seems the familiarity is working against me? I shall have to try harder! (& keep reminding myself somehow?)

Today I had some success – & remembered to make use of my very recent iPhone upgrade. Not on an extended ride through National or recreational parks but instead, back into regular rides for practice sessions on a recent sporting interest… (for the uninitiated, that’s my local Lawn Bowling Club)

20131015-232407.jpg

Tyre & tube war

I wonder how good the new Brompton double-wall rims are? I’m certainly familiar with the design type on other bikes & on Ralph’s rear wheel (a Sun rim laced to an Alfine 11speed hub). A number of my blog posts have mentioned the Sun rim issue of a rather flat profile & so perhaps no more for this post?

Double-wall rims have the major benefit of the spoke heads being below the tyre mounting area & thus not contacting the tube. Often the rim will have holes in the tyre mount area, that align with the spoke heads mounted in the lower rim. Some rims will even have no holes (aside from the valve hole) & theoretically not require any rim tape. (Note that last careful choice of words, but for this post I’ll say no more about my experience of going without rim tape on some race bike wheels.)

Unfortunately Ralph & Robinson are still running the older style Brompton rims on 3 out of 4 wheels & so fitment of rim tapes is critical. Recently I’ve become aware of an issue that is possibly self-induced but some long-term testing may be required for my fix? Getting back to the rim design (no photos here; just your visualization), the narrow Brompton rim with its deep well means the spoke heads don’t sit flat on the rim bottom surface, but contact the rim part-way up the curved well area & alternately mount left & right of the well centreline. What this does is leave each spoke head at a slight angle & prevent a “super flush” surface. This is where the quality & accuracy of the rim tape installation comes in, to ensure a smooth, complete coverage of the spoke heads (that are just longing to bite into the rubber tube?). My first sight of a Brompton rim with the plastic rim tape loop, alarmed me that the tape had wandered or moved from a path that fully covered the spoke heads (& was so hardened that I couldn’t relocate it), & so I switched to using adhesive-backed cloth tape on my Brompton rims (with a thinner version for the Sun rim).

As the Brompton brake calipers don’t have a quick release mechanism (I haven’t changed the subject; stay focused), I prefer to deflate the tyres whenever I’m removing any wheels – rather than release the brake cables & have to fiddle around adjusting the brakes once the wheels are back on. In my limited Brompton experience, the longest I’ve had any tyres mounted has been the 18 months that Robinson has been running Schwalbe Marathon Plus models. No punctures but rather a lot of tyre deflations/inflations in that time? (I confess; tinkering, cleaning, what-have-you – & some recent airline travel that we felt obliged to follow the airlines advice & deflate the tyres!?)

During & following our recent UK trip, Robinson suffered 2 unexpected flat tyres; 1 to the front & the other to the rear. Each time I found that the tubes had “abraded” or chafed on the inner surface at a spoke head point. The Zefal cloth rim tapes were prefect & no sharpness was detected at the spoke head. Another tube went in & we continued merrily along (with a growing suspicion about those spoke heads). What I had noticed was regular spoke head impressions all around the inside of the tubes. Hard to see in pics; eyesight or feel are conclusive!

20131009-235659.jpg

I assume the spoke heads make quite a firm contact with the tube & that deflations/inflations/”air top-ups” cause a lot flexing & chafing at the pressure points? What can be done? Well, this could be my chance to justify new Brompton double-wall rims? (or maybe not just yet!) “Do nothing” is one option where I could ignore it & await another unexpected deflation? Regular inspections aren’t really the answer, although very close tube examination may highlight any advanced chafing? (being hopeful aren’t I?)

One thought I had was that the cloth rim tape too easily follows the exact shape of the spoke head & that plastic rim tape loops may be kinder/smoother? For Ralph’s front wheel I fitted some Brompton plastic rim tape but the difficulty of correctly locating the tape within the well resulted in an overnight loss of confidence & I switched to using some thin 16mm wide BBB cloth tape & then refitted the plastic tape over the top. My thinking with the 16mm tape (wider & thinner than the usual 13mm tape I use on the Brompton rims) was to cover the well a little further than usual & leave the plastic tape to fall into the well entirely (rather than the plastic tape alone, trying to “walk”up the side of the well when being fitted).

Next I turned to Robinson’s front wheel & I tried leaving the Zefal cloth tape in place but also fitting a plastic rim tape loop over the top. Unfortunately, the difficulty in refitting the Marathon Plus tyre showed that the total thickness of tapes was leaving insufficient room in the well. I then tried another layer of Zefal tape over the top of the original, & managed to refit the tyre. At this point I feel I’ve got the ideal basis for a long-term test – & decided to leave Robinson’s alone (or maybe I just got fed up at the time & then later decided to make it a three-way comparison test?).

Current state-of-play (early October, 2013) –
Ralph’s front rim with BBB + plastic tapes
Ralph’s rear rim (double-wall Sun brand) with BBB tape
Robinson’s front rim with 2 layers of Zefal tape
Robinson’s rear rim with 1 layer of Zefal tape.

Which will win out? Will there be any difference? Will a genuine puncture mess up my test? My guess is that something else will change – & my test will be redundant?

Toolkit testing

I think the Brompton Toolkit is a lovely piece of equipment. Nicely engineered & well thought-out – but with flaws included? The tyre levers have certainly come under criticism owing to breakages & I await the production of redesigned levers. (Having purchased 2 toolkits in the UK recently, I’m no longer awaiting the re-release of the toolkit; just the levers.) My toolkit purchase was made with the knowledge of the flawed levers & their expected replacement, but I thought that the levers may be sufficient “as is”? (& the rest of the toolkit was irresistible?)

The lever design is interesting; fitting together to minimize space within the storage housing & meant to be kept together when commencing a tyre removal. Once the tyre bead is levered over the rim, one lever can be clipped to a spoke & the other lever is then slid around the rim, progressively pulling the rest of the bead over the rim. However, stage 1 of the flaw is that users will read the instructions & follow them. The next stage is that the levers are not strong enough to survive usage that fails stage 1. Personally, I believe that there is a further stage in that the Brompton tyre levers weren’t designed to operate on anything other than stock Brompton rims (more later).

As for other flaws, perhaps it’s nit-picking to say that the ratchet & removable bit usage is going to be compromised depending on the positioning of the item being adjusted/removed/whatever? Time will tell, hopefully not at the wrong time & place?

The spanners that are cleverly combined within the tyre levers have been ok for my minimal use & the wheel spanner (when still fitted in the case) is very comfy – as compared to gripping it when removed?

On-bike storage within the front section of mainframe is neat & effective (far easier than my previous on-board tool set: wheel spanner, tyre levers & Allen key-set tied with a rubber band, wrapped in disposable gloves & maneuvered into the mainframe front section). I haven’t “lost” the disposable gloves; they’re now included with a spare tube, wrapped In a piece of fiberglass mesh & stored in the mainframe rear section. (The mesh makes it easier to insert the items in the frame & gives me something to grip when extracting everything.)

Testing:
As an on-bike emergency toolkit, it’s seems ideal – but to date my toolkit testing has all been done in my garage & mostly of an elementary effort, although the tyre levers have been used a number of times.

Unfortunately I have to divulge the test score as:
tyre levers 3, Brompton single wall rims 0
tyre levers 0, Sun rim 1
That’s correct, the rear wheel on Ralph, my Alfine 11speed Brompton, has defeated one of the levers & snapped off a piece. Owing to the rim having a rather flat profile, there’s very little well for the tyre bead to sit in when removing the tyre & hence getting the bead over the rim is “difficult”. From what I remember, the pair of levers were good enough to get the bead over the rim initially, but when I tried to slide one lever sideways (very difficult), the thinner lever couldn’t stand the pressure between the rim & tyre (a Marathon Plus) & the end snapped off! (Ralph &/or I shall be carrying a separate set of tyre levers until further notice!)

20131005-221006.jpg

Window shopping

Out & about in Sydney & thought I should have a look at the refurbished Clarence Street Cycles store. Their window display caught my eye first; it included a couple of Bromptons!? Inside there was another 4 – various colours & mostly M bars I think – very surprised! Actually, I had seen Bromptons there many years ago but of late it’s only been a few Moultons (really just a token presence?). The new distributor for Australia must be doing something?

20131002-093654.jpg

I remembered that I was intending to look at the refurbishment & so wandered all 3 floors. The separate Women’s store nearby is no more & now part of the lower level & I even checked out the basement service area – & noticed a new waiting area.

20131002-093715.jpg

Back to the nest

Things looked fairly good when arriving home from our UK trip. However, a look into the backyard showed that a Brush Turkey had taken over & scratched leaves, twigs, garden mulch & plantings (& weeds) into a large nest mound alongside our compost heap & bins. Judging by daily activity to maintain the nest, eggs have now been laid & buried within the nest & we await their incubation & arrival of chicks.

20131001-130525.jpg

Ralph & Robinson survived the trip & after a few days rest, allowed us to gently stretch our legs around Olympic Park & Parramatta River. A cafe Brunch (sweet potato cakes, asparagus, greens & poached eggs) was a contrast to a certain “full English breakfast” partaken recently along the road to Edinburgh? A match to the weather?

20131001-130636.jpg