Category Archives: Bits

Lockdown learnings

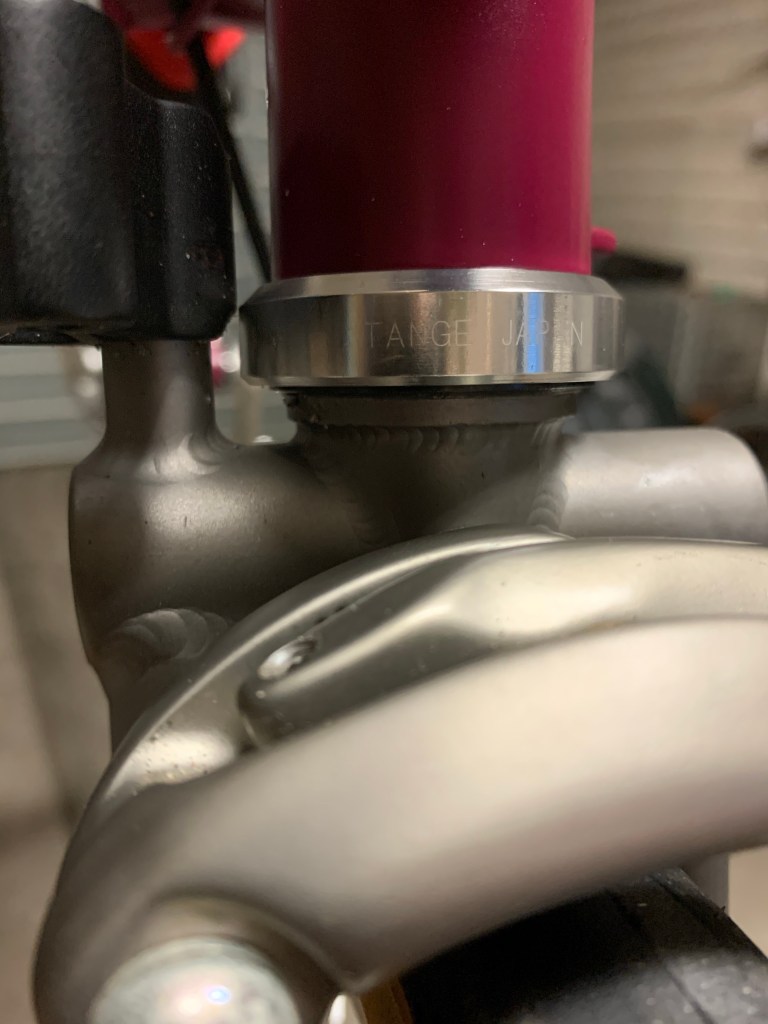
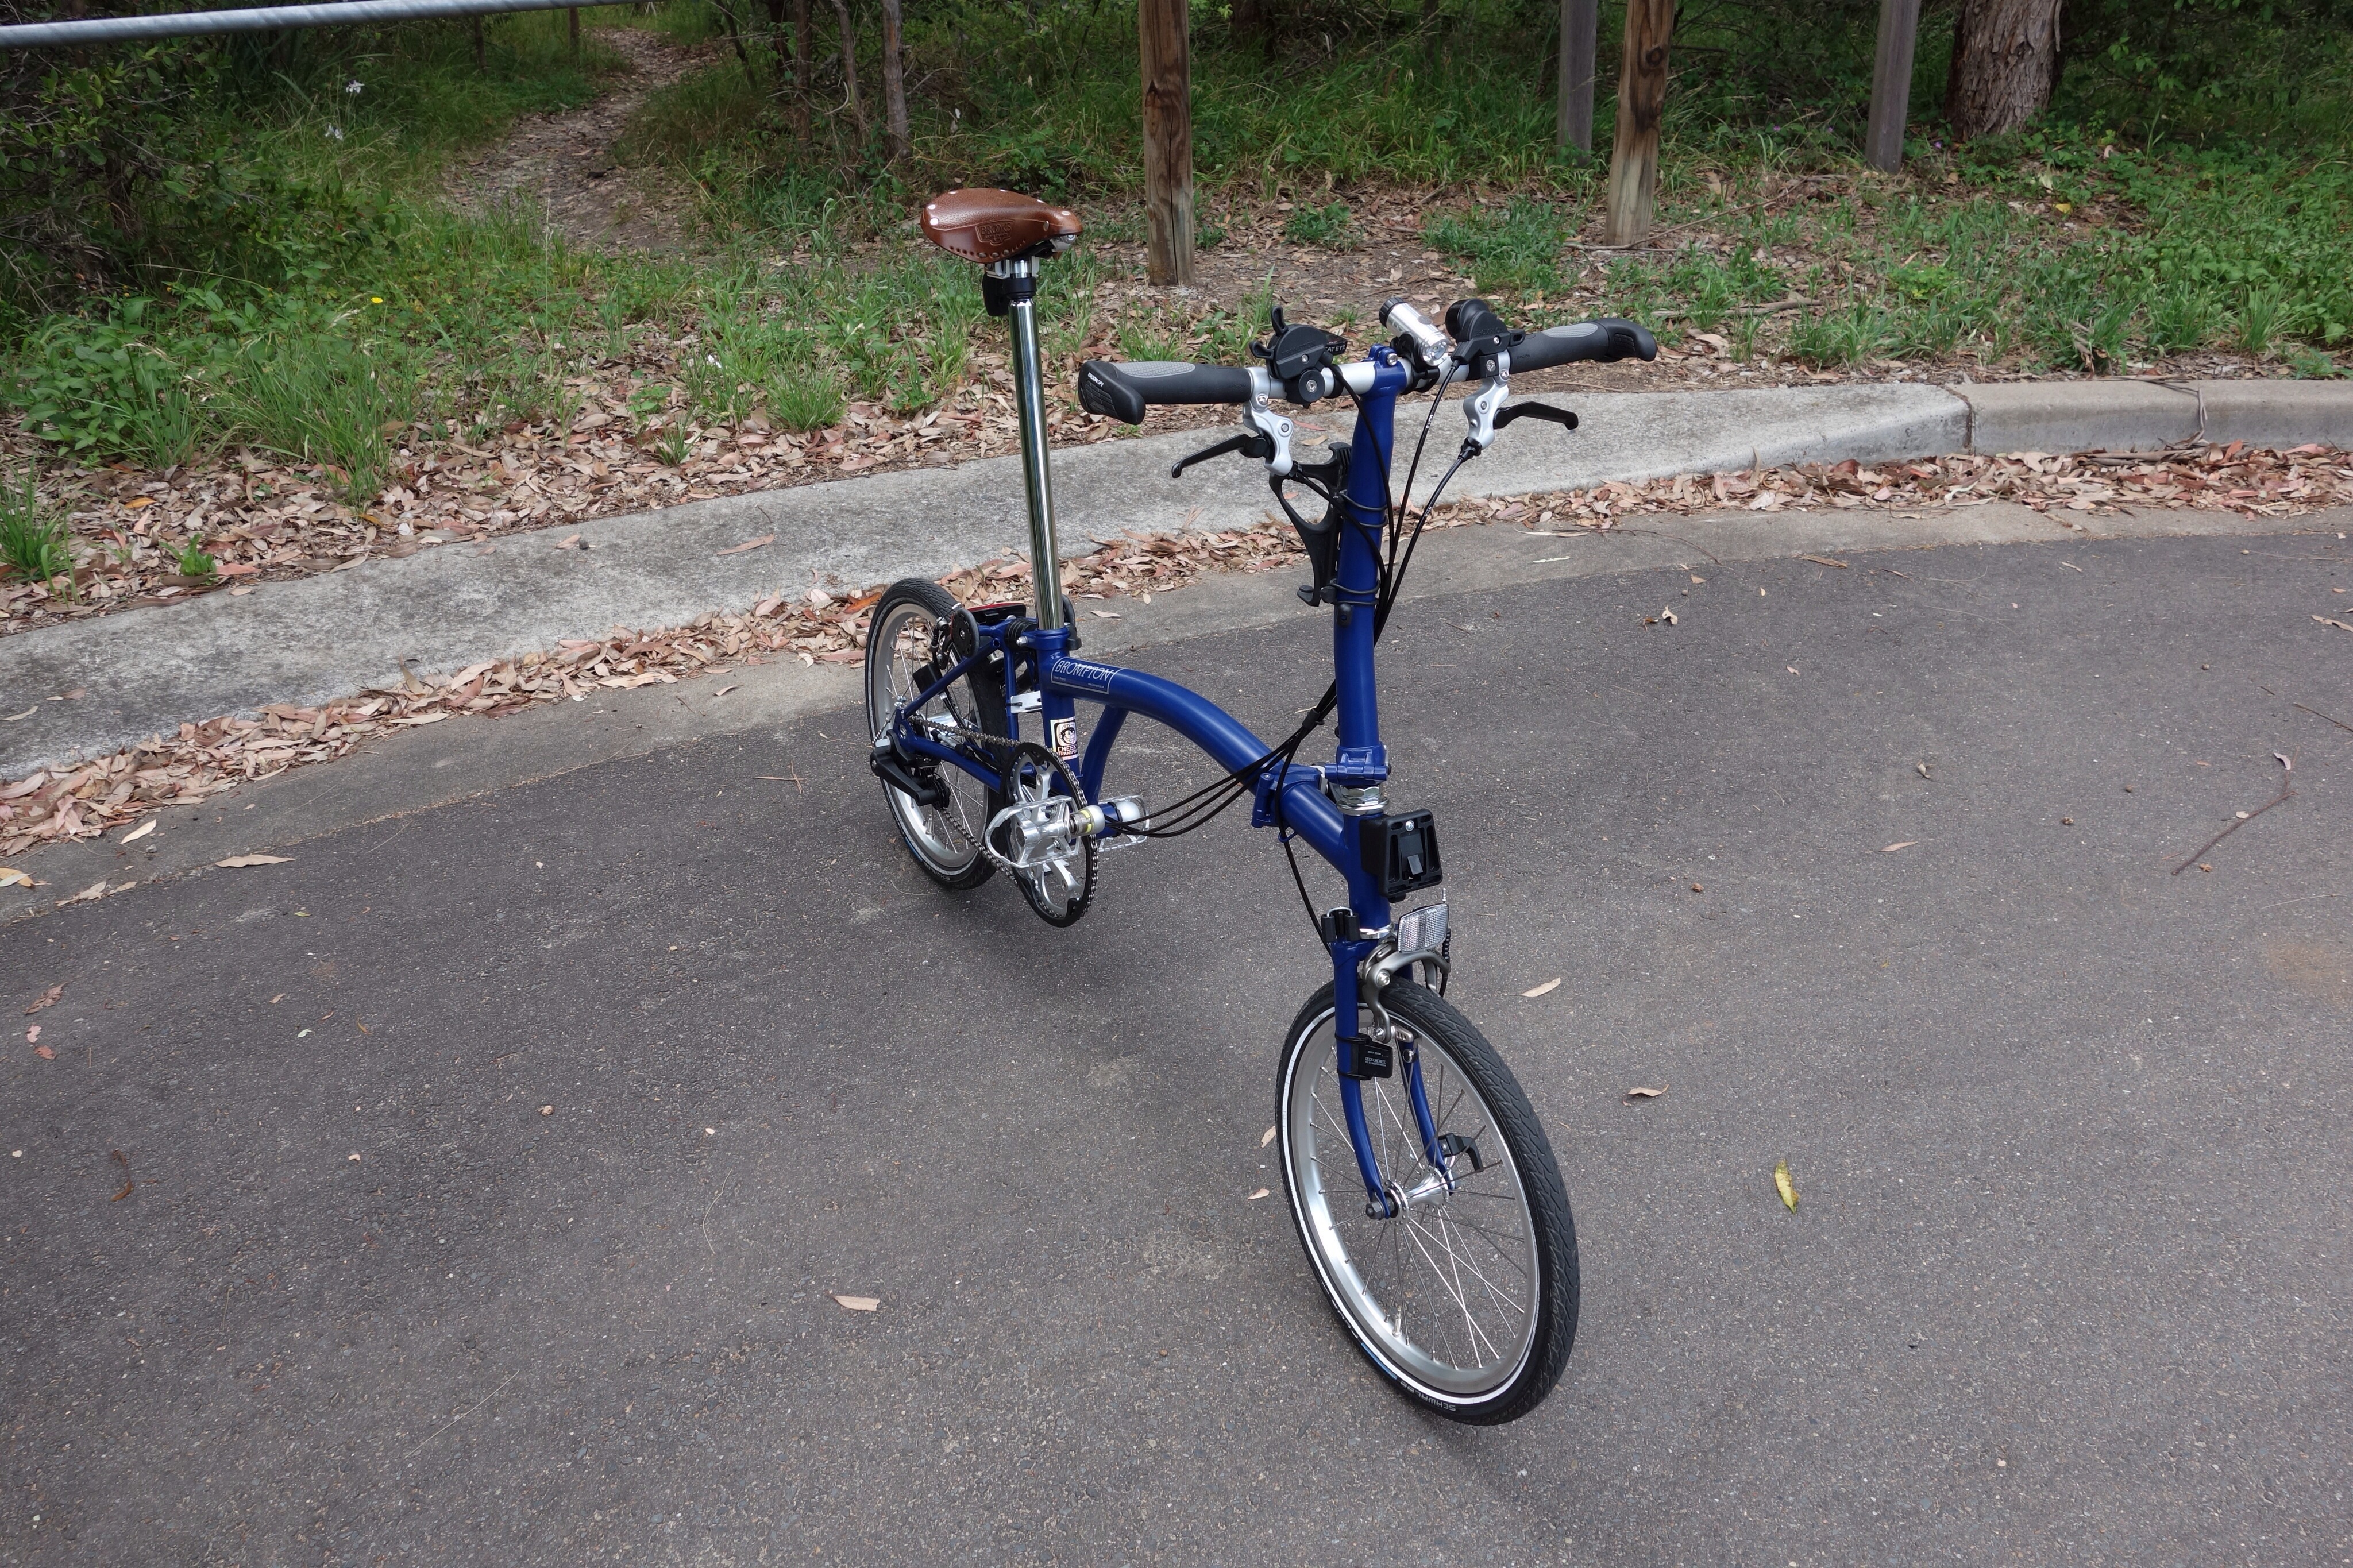
Lots of Brompton fettling during our Sydney Covid lockdowns, mainly 3 older IGH bikes transitioned to Ti lightweights. Plenty of time to await parts, learn skills & tinker? New things for me were Ti fork & rear frame changes, lightweight headsets, Ti BBs & even wheel rebuildings. It’s all just Brompton Meccano really!

In preparation for finally being able to revisit our MidCoast beach unit (woopee, we got there last week!), I also resurrected some pre-Brompton steeds from storage, deciding that the coastal strip would be a good home for them.

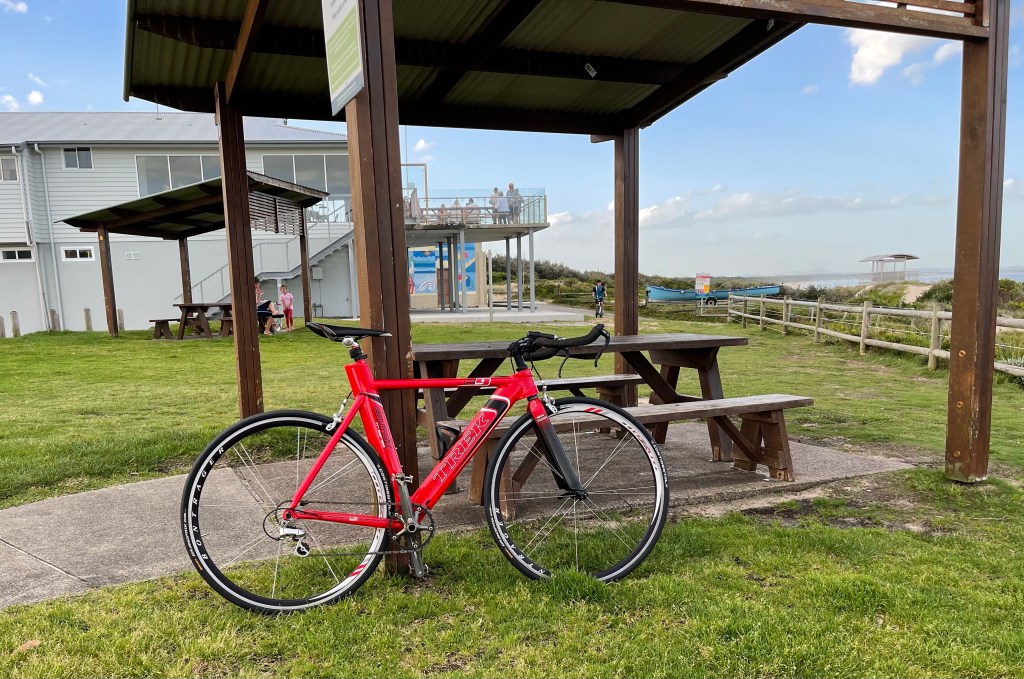
The 20year old Giant MTB got by with a wash & lube & seems almost as new. I also had thoughts that the Trek TT bike would suit conversion to a single-speed beach cruiser, however plans got adjusted. The bike wash revealed an “exploded front hub” (something I discovered that era Bontrager aero wheel type was renowned for, but I could hardly claim warranty after 12years in storage!).

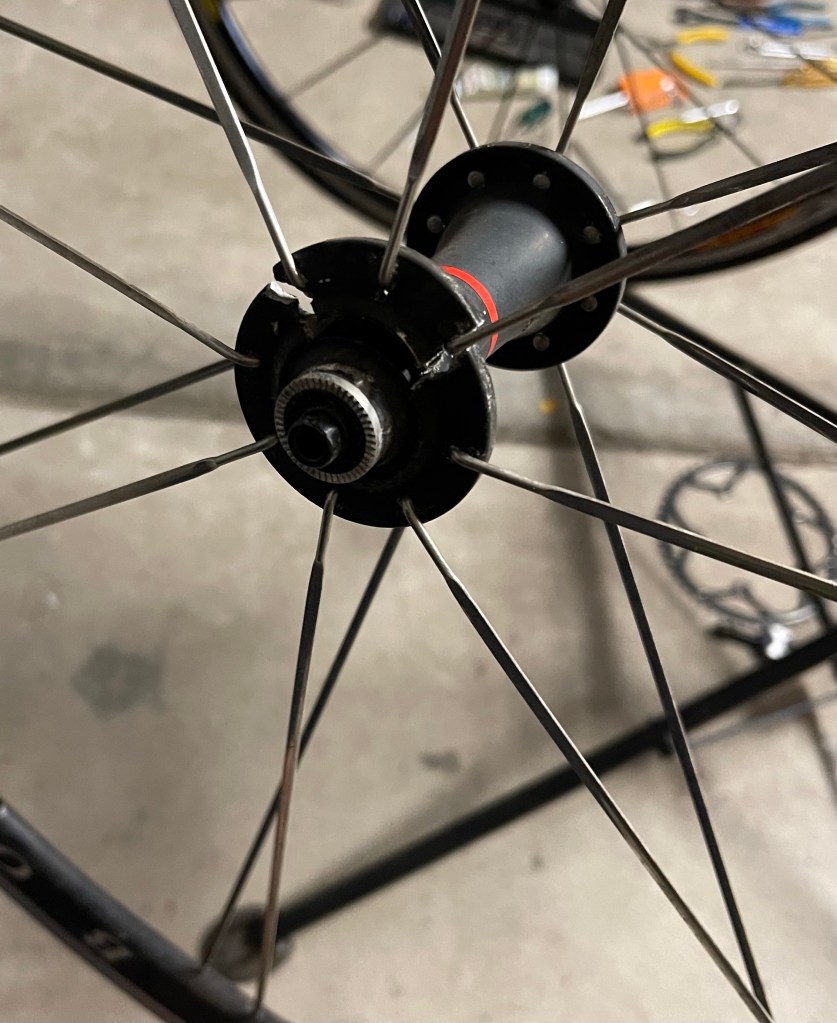
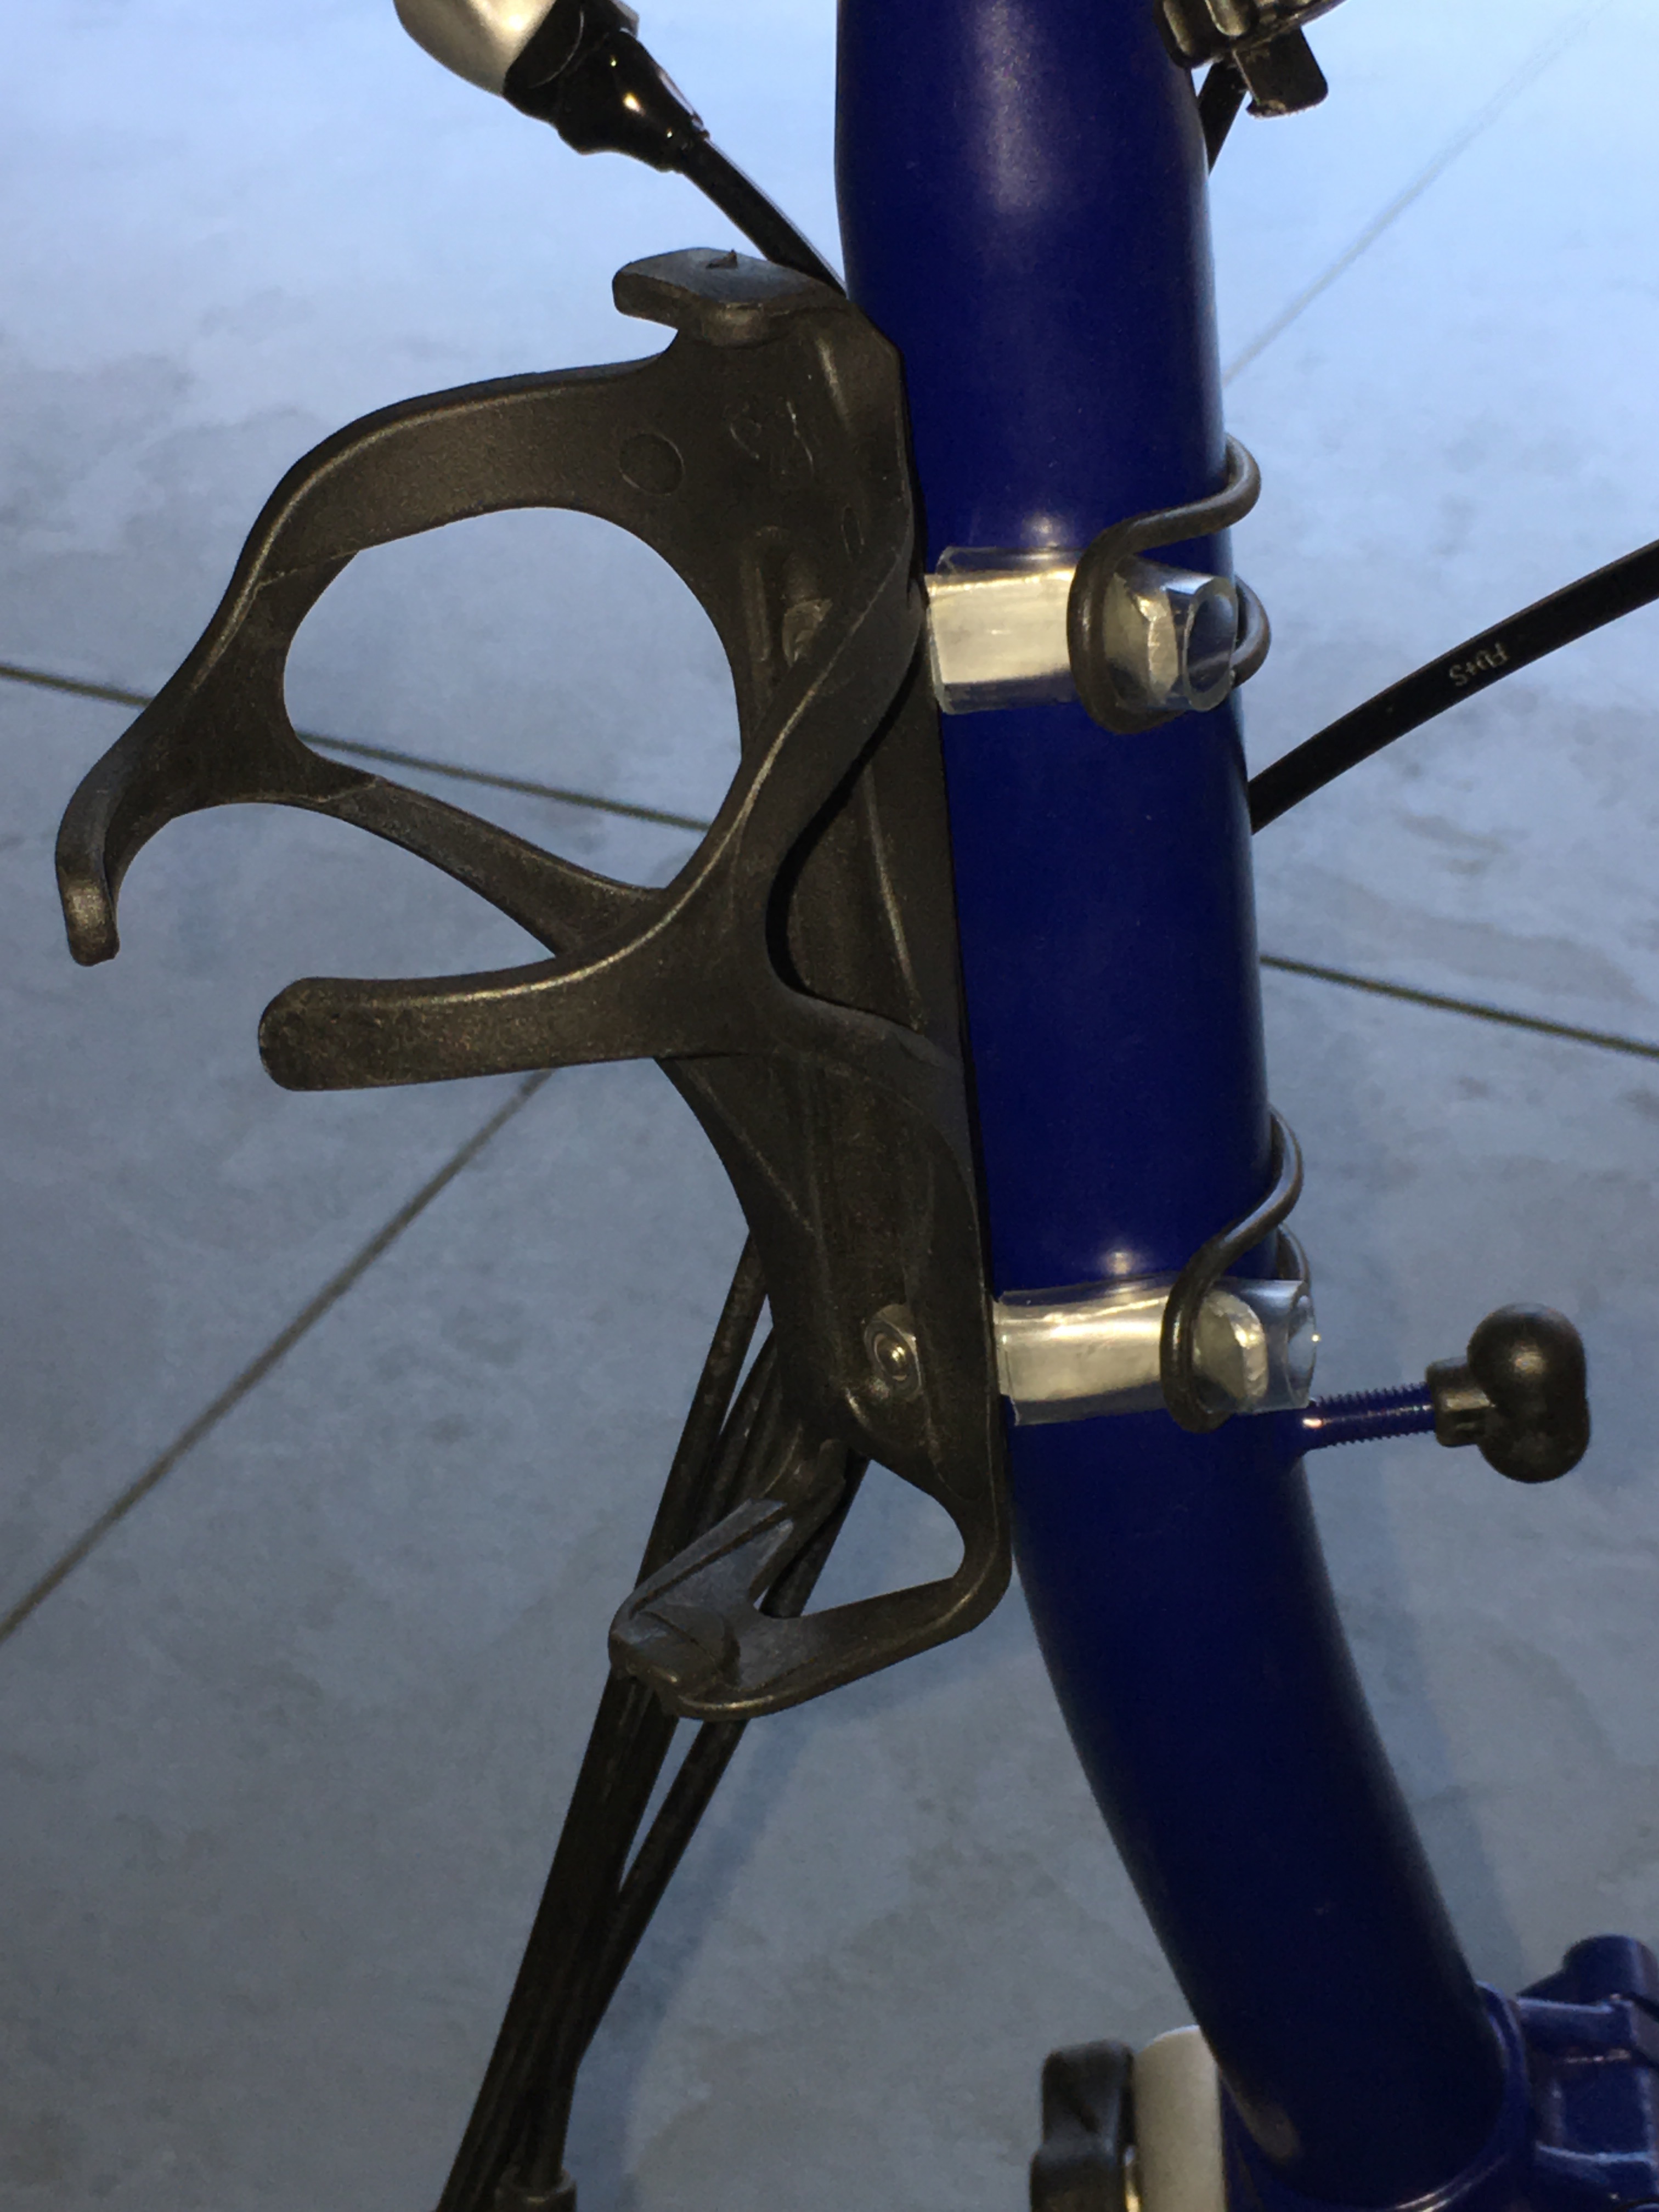
After retrieving another wheelset, I pushed on & stripped the TT bars & removed the large chainring. Instead of a single-speed setup, I used the rear wheel bar-end shifter & mounted it to the bullhorn bars (trying to make use of components wherever possible). With a single chainring & a 9speed rear hub, I cut back the cassette cogs to 7 to ease the chain line & dispense with the highest gears. Adjusting the derailleur limits for the 7cogs was perfect & it all seems to function well. (The setup has a 39T chainring & 13-23T gearing, pretty suited to my beach side cruising needs? – & now with a bike weight of 8.5kg)

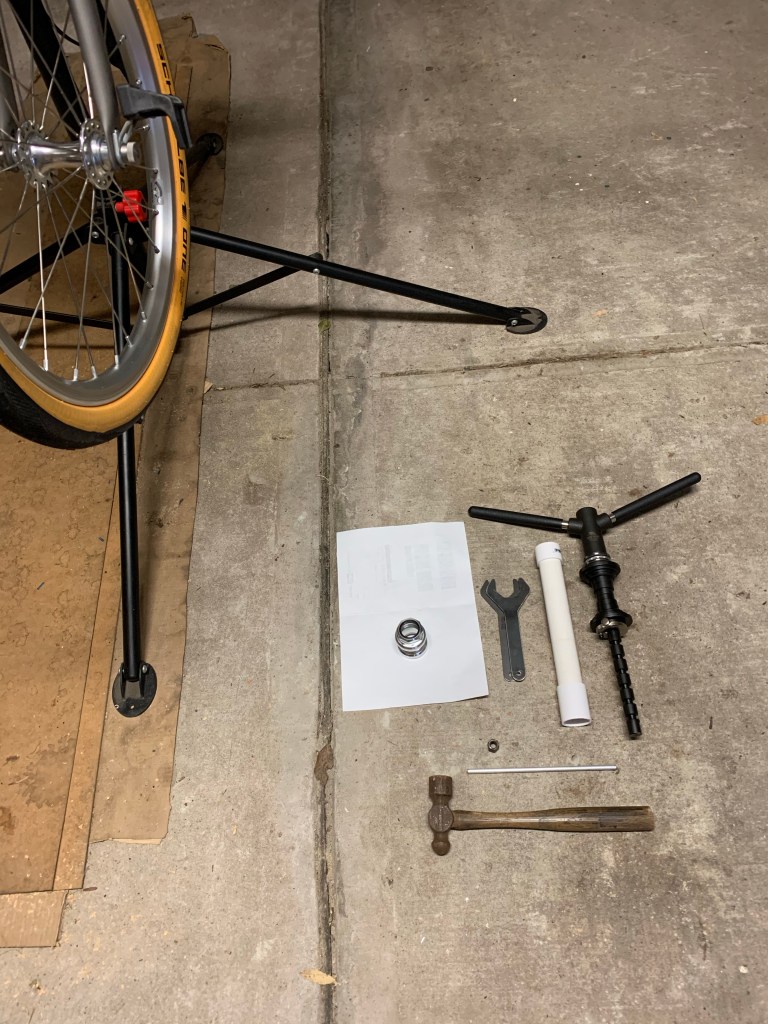
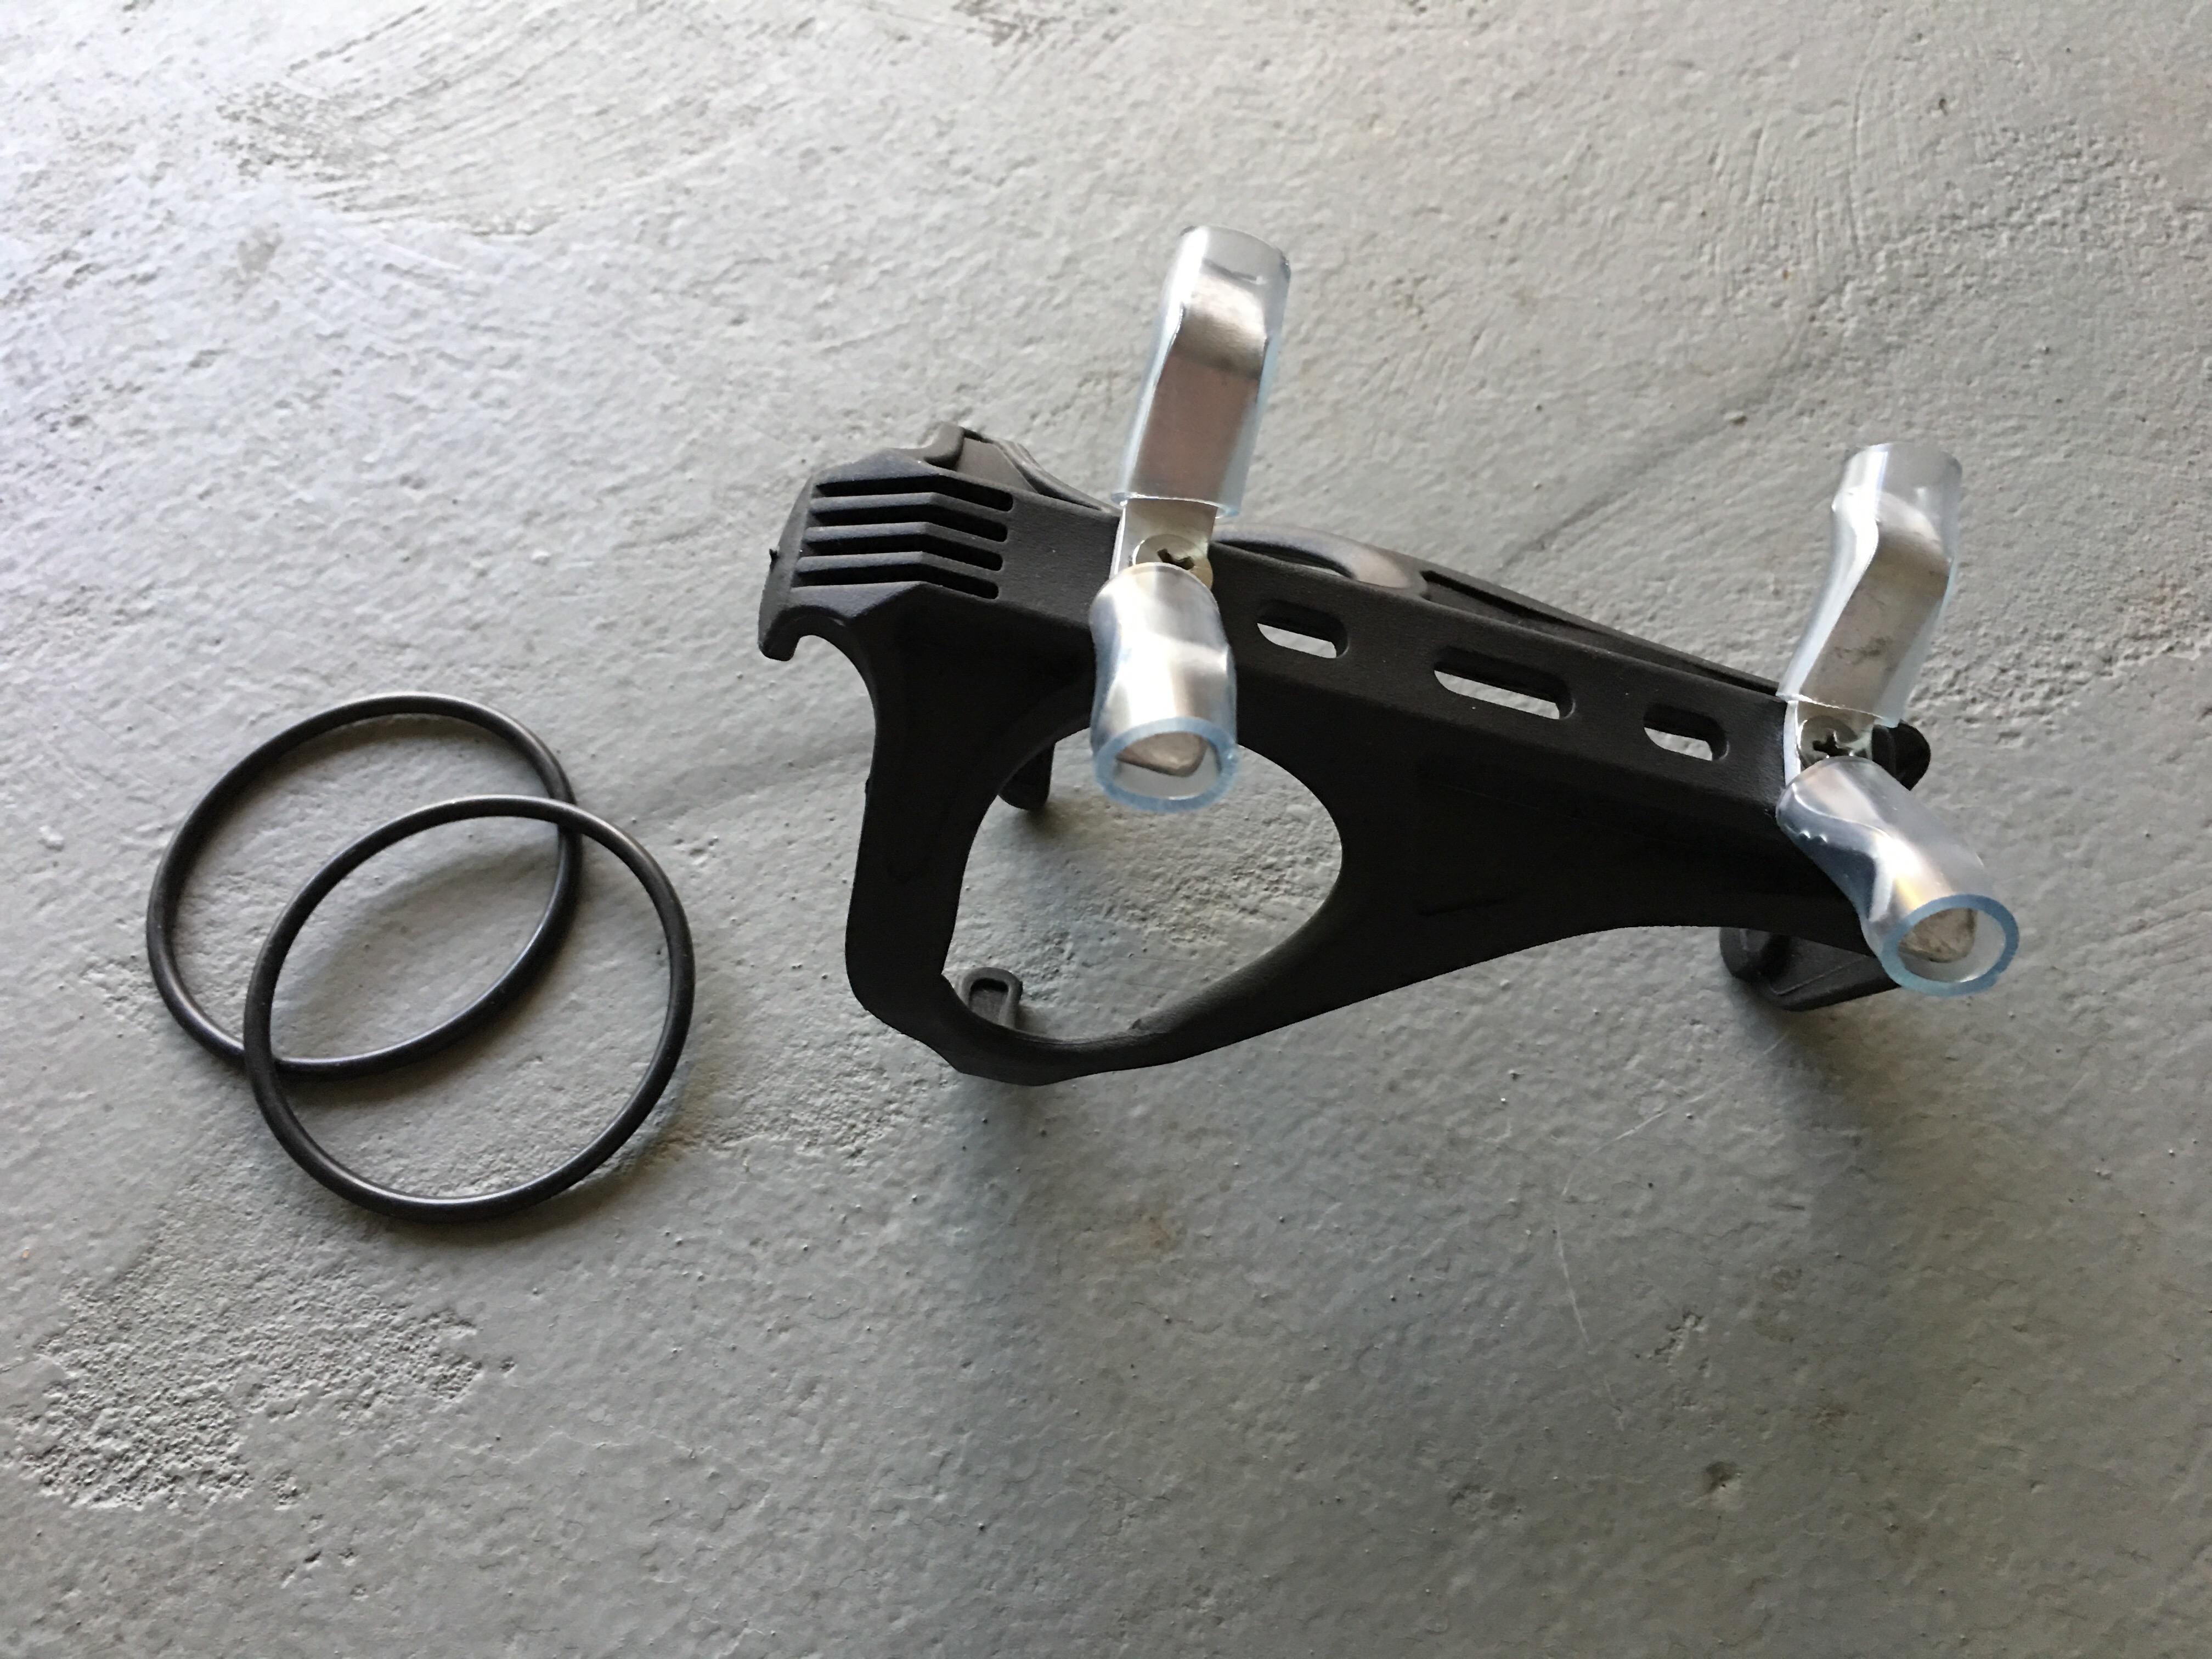
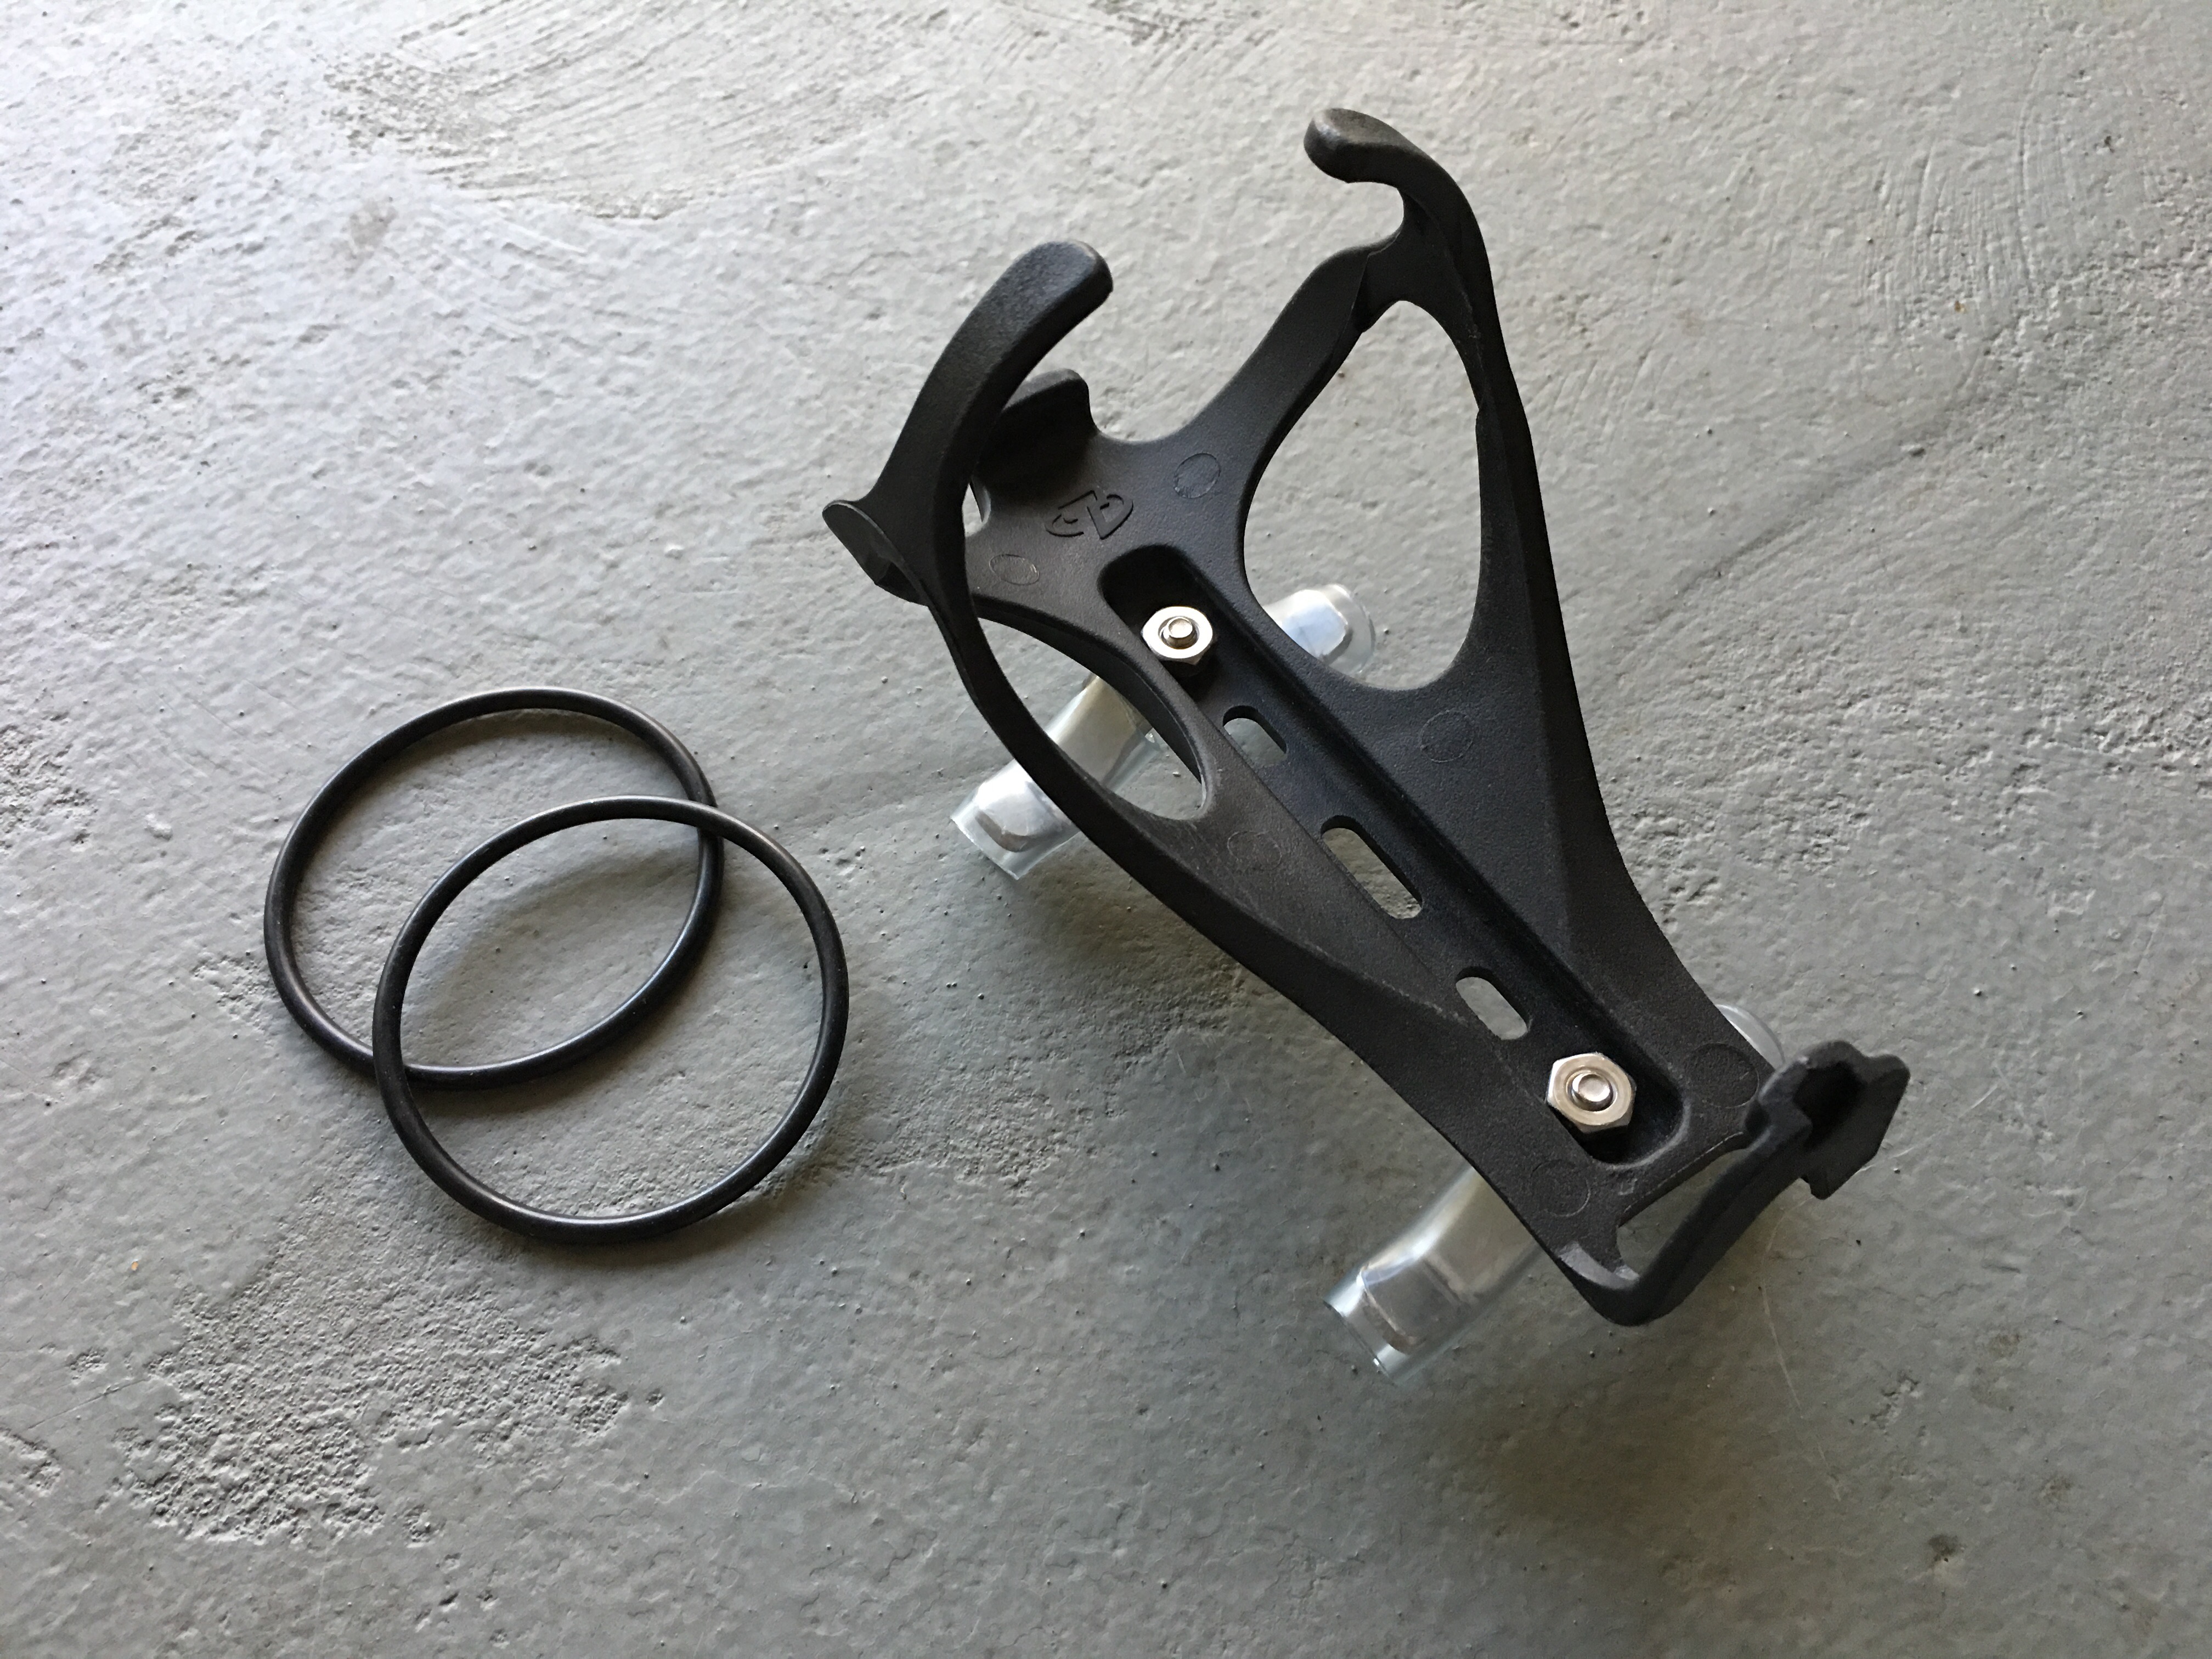
Playing around with all this older technology made me aware of the likely difficulties of replacing parts in future, so decided to retain the Bontrager wheelset if possible. Finding a low spoke count front hub took time & when I dismantled the hub I discovered the rim used “hidden nipples” & that I couldn’t re-use the bladed spokes in the new hub! Very fast service from a WA spoke supplier & another wheel finished in quick time, if I may say so myself?

Only a couple of rides so far & I’ll need time to reacquaint with the twitchy TT handling – & I hope the locals aren’t upset about the rear hub buzz? (very loud; who needs a bell?)

Headset ho

Some “elective surgery” today; a lightweight headset for Clarence.

Having earlier installed the Ti fork, the full headset swap seemed too tempting. I considered creating my own headset cup press tool but then I realized some cheapish tools were available so I took the safe path with my own purchase. The operation was precise & very smooth; all involved happy with the outcome.

Even more electric…

My medical issue that makes riding an eBike such bliss, also compounds itself in pumping up tyres. Now my little Fumpa bicycle pump can go with me everywhere! (The Aussie company also produce a MiniFumpa but it doesn’t suit the Brompton wheel spoke widths.)

Cage revision

My bidon cage system had a minor improvement recently so I thought I should post the latest version info.

The change was to using clear tubing as insulating protection where the cage contacts the stem (I’d previously used various rubber pads but their attachment wasn’t ideal – no issues in practice but “could do with fixing”). The other components are two aluminum strips (8mm by 3mm), some fixings & two 58mm ID O-rings.
Taking a standard bidon cage & assembling my bits, it’s ready for attaching to a Brompton stem…
Once in place, the system looks like this…

Probably my longest running & most essential “hack”, the system performs perfectly. A bidon is held securely & the system doesn’t move around, although it’s also able to be swung left or right if necessary (e.g. folding the bike with a luggage bag in place or folding the bike for packing). The system is able to be removed readily but I’ve actually never needed to take it off. Of course, there’s bound to be another version at some stage – & I’m thinking 3D-printing could be utilised?

Flat insurance

I’m hoping I’ve maxxed out my “flat insurance”, with the purchase of a “Kool-Stop Tire Bead Jack” (sorry about the spelling).
This little device now sits in my Brompton bag, ready for service to assist with reinstalling Marathon tyres. I’ve frequently posted about the difficulty of installing any tyre onto Ralph-e’s Alfine 11-speed rear wheel, having a Sun CR18 rim. The rim well is very flat & leaves little space for centreing a tyre while easing a tyre bead over the rim. I believe a Velocity Aeroheat rim resolves the issue but I’ve been slow to obtain one (& then rebuild the wheel). Noting that Ben Cooper at Kinetics regularly produces Rohloff & Alfine-equipped Bromptons with the CR18 rim, I wondered why he didn’t use the Velocity rim. To my surprise, he claimed to not have any trouble fitting tyres – but then confessed that, “I cheat! There’s a gadget called a Simson Tyre Mate (now branded Kool-Stop) which makes it easy…”!

Clarence mods

Clarence, my new Claret colour Brompton S6L, has undergone some recent mods. Before I get onto telling what I’ve done to Clarence, I’ve got to thank Brompton Australia for their efforts. In my blog posts I’d previously mentioned my liking for the colour & that I’d been offered the stock bike currently on its way to Australia. What I hadn’t mentioned was that the bike arriving was an M6L & that Brompton Australia had offered to convert it to my preferred flat bar S model. With the cessation of the colour choice, it was a deal that I couldn’t resist.

So what have I done to my newly converted S6L? Some of the mods are simple additions or replacements that may or may not show up in the pic below? They include an AussieOnABrompton.com frame decal, Brompfication hinge clamps, front & rear lights, Cateye Strada computer, Brompton Eazy wheels, my Bidon cage setup, Presta-valved tubes & a Tiller Cycles 40T crankring.
/home/wpcom/public_html/wp-content/blogs.dir/bcc/44151479/files/2014/12/img_0640.jpg

For two of the important body-contact areas (bum & hands) I just had to repeat mods from other Bromptons: a Brooks B17 saddle & Ergon grips. It took some time to decide the saddle colour but I eventually settled for black. However, a set of Ergon GP1 grips was a harder mod than I expected. Whereas Mrs Aussie’s Peregrine setup with Ergons was straight-forward, Clarence proved difficult. The pic below shows the state of the original grips removed – & probably indicates that Brompton Australia’s budget for handgrip adhesive (used during the conversion from M to S bars) is far too high?
/home/wpcom/public_html/wp-content/blogs.dir/bcc/44151479/files/2014/12/img_0641.jpg

Finally, a comment on two mods that I haven’t made (for the moment). I’m sticking with the standard Brompton tyres (whereas Schwalbe Marathon & Marathon Plus tyres are used on our other Bromptons) & it will be an interesting evaluation/comparison? The standard Brompton pedals too are an experiment; my usual choice is MKS removable pedals where I use flat or clipless versions as required (mostly clipless). I have no idea how long this trial will last.

New decisions

40T cranksets for Brompton

A parts delivery arrived from TillerCycles recently, even though I’m still not entirely sure what I’ll be doing with them. The items are a 40 tooth crankset to suit the one-piece crank Bromptons & a 40T crankring for the latest “spider” crank model (both with chainguards).
IMG_0531.JPG

Both Robinson & Ralph use the old model crankset; currently 44T with a 6-speed setup for Robinson & 50T for Ralph’s Alfine 11-speed hub. My desire is to lower the gearing range for Ralph & so now I’ll have to decide whether to use the 40T or whether to swap Robinson’s 44T into Ralph & use the 40T in Robinson – some work with a hub gear calculator coming up & then probably some testing?

My wife’s Peregrine is a stock 50T 6-speed Brompton & so far, she’s been coping well with the 50T (having been using Robinson & the 44T setup previously). I had fully expected that my offer to fit a 44T crankring would be taken up but so far…

Ordering the 40T spider crankring from TillerCycles was really just a case of getting it while I was obtaining the one-piece 40T crankset & having it available “in case” (& decide between 44T & 40T when the time comes?). However, some news…

Brompton colour changes

Brompton has recently been teasing some new colours for 2015. From what I’ve seen, my favourite is still the Claret colour but horrifyingly, I’d also been seeing various comments that in fact, the Claret colour is one of 8 to cease?! (refer pic of the expected colours to be withdrawn)
IMG_0526.PNG

Being an “extra cost” colour option, I’ve never expected the Claret colour Brompton to be a stock bike anywhere & so far less likely to come into my possession. (Yes, I know about B-spoke Brompton orders but I’ve never personally been happy with that system for this part of the world.) A chance meetup with Lincoln from Kobie International (the Australian Brompton Distributor) led to a decent discussion on various Brompton matters & revealed that in fact, a Claret 6-speed was on the way in the next shipment!! Some emails later & a Claret S6L will be coming my way in about a month!? Guess where the 40T crankring will be going…

Marathon setup

This blog post is intended as an update to my previous post, “Puncture practice” (the sorry tale of on-road tube replacement?). My order for Schwalbe Marathon tyres for Ralph was delivered within a few days from Kobie, the Australian Brompton Distributor. While our other Bromptons have Marathon Plus tyres fitted, I decided to replace the Kojaks on Ralph with Marathons for a variety of reasons. First would be the likelihood of better puncture protection than the Kojak tyres & second, they may be easier to fit onto the Alfine 11-speed hub Sun rear rim than the M+ tyre. With Brompton recommending the M tyre in preference to the M+ & the distributor offering the M tyre for shipping, my mind was made up! I’m guessing/hoping that the on-road performance difference between M & M+ tyres won’t be noticeable. We’ve had no issues with the M+ operations & if it was any other Brompton than Ralph then I would probably stick with M+ tyres?

The removal of the front & rear tyres was only slightly more difficult with the rear Sun rim & to prove that I wasn’t imagining/exaggerating the difference between the rims, here’s a pic of the Sun rim & the old-style single-wall front rim (both fitted with thin BBB rim tape) to illustrate the profile comparison.
IMG_0449.JPG

Fitting the M tyre to the front rim was straight-forward & by ensuring the tyre is squeezed into the valley of the rim while the remainder of the tyre is “thumbed” over the rest of the rim, the assembly was rapid. Probably a Kojak may have been easier (sorry, I’ve had no experience with fitting Brompton’s own brand tyre) but I can’t say that the M tyre was any easier than an M+ (apologies that I wasn’t attempting a back-to-back direct comparison).

As for Ralph’s rear wheel, I can only repeat a portion from the previous sentence, “I can’t say that the M tyre was any easier than an M+…” – & from my experience it’s still bloody hard! That Sun rim is terrible: the lack of valley means that the initial tyre fitment stops with about 40cm still to be pushed over the rim. From there it’s a case of rest, squeeze tyre into the well, push tyre further onto the rim & then repeat (& keep repeating). One difficulty-factor is that the tyre is new & “un-stretched”, whereas next time it should be a little easier?

Remembering my first attempt at fitting M+ onto Ralph before last year’s UK trip, I had bruised & raw thumbs. On later tyre changes, I’d installed much thinner BBB rim tape & now it’s tough for the thumbs but ok (not quick, not easy – just ok). For some time I’ve wondered how long the Sun rim will last before being worn out & have researched that Velocity Aeroheat rims are available with the 36 spoke holes required for the Alfine hub. Perhaps I should start checking whether the Velocity rim has a better profile than the Sun rim?

Another of my issues during the roadside tube replacement recently, was my CO2 cartridge tyre inflation “hiccup”. At home in the garage seemed an ideal time to get the practice I needed? I used cartridges to inflate both tyres & the results weren’t very comforting! For one I managed to get 7 bar pressure (100 psi?) but for the other, it was only 5 bar (this measured by connecting my floor pump & checking the gauge). This maximum inflation of 7 bar was what I would want in the tyre but it seems a bit “hit-&-miss”? Whereas my road bike inflations have always seemed successful, I think the greater number of spokes & the cramped space on the Brompton wheels make the exercise more fiddly? Thinking about it now, I should have first secured the Presta valve with the locking ring (or partially inflated the tyre with a hand pump?) to ensure the CO2 adapter pressure against the valve was stable – drat, more practice needed? (For the uninitiated, tyre inflation with a CO2 cartridge is almost instantaneous & if you don’t get it right – or you haven’t ensured the tyre is properly mounted, the tube isn’t pinched, etc – then your inflation result may not be “as expected”?! (Taxi?!…) Another caution to the “almost instantaneous” inflation is that the cartridge becomes freezing cold very quickly! – refer pic showing 2 cartridges: one unused, one just emptied)
IMG_0448.JPG

Just for confirmation, here’s Ralph now fitted with a new set of Marathon tyres:
IMG_0450.JPG

Shoes matter

Clipless pedals are a bit of an addiction for me (perhaps a form of “security blanket”?). I can bear flat pedals for short distances but they feel so lacking & strange? (something like driving a car without the seat belt fastened?) The forms of clipless pedals are many but my preference for general cycling is the dual-sided SPD-compatible type.

Yes, I’ve tried Shimano SPD-SL road pedals but the flipping thing (to get the pedals flipped while moving off, in order to clip the shoes in) wasn’t for me. It didn’t seem sensible when I’d had years of SPD experience. The solidity of road bike cleat systems are great & for my road bike I moved to dual-sided Speedplay Zero pedals but like any road clipless systems the “walkability factor” is limiting.

The range of SPD-compatible shoes is pretty limited. The original & common type is the MTB shoe & most are “colourful” (some would say garish?). Comfort for walking always seems fine for me – at least for the distance off the bike that I’m happy with? Some (such as Mrs Aussie?) find walking in SPD-compatible shoes to be really uncomfortable – but my response that they should try road shoes wouldn’t be appreciated! The stiffness of the sole is necessary for cycling but tends to limit the walkability.

Style range is pretty limited & would seem to be an untapped market? (hint hint?) I guess there’s never going to be one shoe that suits all people, uses & occasion & I get by with 3 shoe types. My original MTB shoes get minimal use these days because of my Keen sandals & if I need something more presentable then there’s my Hasus shoes.

20140217-095340.jpg

Pristine Peregrine

Phew! All done now! Pristine Peregrine has become Practical Peregrine in being modded to take the new Brompton S6E to a state ready for anything that Mrs Aussie is likely to tackle? (There is one issue still undecided but this is unavoidable for our scenario: buying a new stock Brompton at a “cannot resist” price. Yes, the stock Brompton comes with the stock 6-speed gearing & it will be interesting to see whether Mrs Aussie will cope? But then, that’s the beauty of the new crankset design in that the reduced (or raised?) gearing is available through just the change of crank rings – & a longer chain if the raised gearing option is desired?)

I must admit to feeling a little sad in now seeing Peregrine modded with various essential/desirable/irresistible bits. Where is that shiny new Brompton of a week ago? Maybe there is something to be said for keeping a Brompton absolutely stock standard? Oh well, perhaps next time? In the meantime, Peregrine has some mods that are all proven delights & all go to improving an unbelievably good flat-bar folding bike!

First off the rank for the mods was swapping saddles & installing a Brooks B17 Aged Ladies model (hmm… must give some thought to that wording?) from Robinson (my original Brompton currently running as an M6R with reduced gearing). Next was installing MKS removable pedals from the “squirreled parts bin”. A number of other bits came from the same source, before a new set of Ergon GP2-S handgrips went on.

Rubber choices were non-options by virtue of purchasing a stock Brompton, where Peregrine’s spec of a flat-bar, 6-speed Cobalt Blue Brompton with a firm suspension block & a luggage block were pre-ordained by Kobie, the Australian Distributor. Hence, I was going to have to take my own actions if I wanted Presta-valve tubes & Schwalbe Marathon Plus tyres (to replace the standard Schraeder-valve tubes & Brompton tyres). I have no experience of the new issue Brompton tyres; I just preferred to fit a known “bullet-proof” (or perhaps, “Mrs Aussie-proof”?) set of rubber – that had, incidentally, seen service on Ralph during last year’s UK-tour! The fitment of the M+ tyres wasn’t an issue (well, just the usual M+ fitting issues?) & I can’t say that the new Brompton double-wall rim design was any easier/harder for fitting? What I was pleased/surprised about was that the tyre swaps were achieved without having to touch a tyre lever! ie the Brompton tyres (once deflated) were able to be pulled off the rims without much effort!? (Not something that I ever expect to hear of for the M+ tyres! – & with sidewalls that seem as tough as some tyre treads?)

The final steps were to pop a Brompton Toolkit & a spare tube into the main frame sections & then to fit a new Lezyne Micro-Drive front light to the handlebars. (This model light is the only good/small light that I’ve seen, that will mount back from the front of the handlebars; avoiding issues with the fold, where an overhanging light will clash with the front wheel, forks or cables, etc.)

I tried to remember to weigh various of the components & the whole bike at certain stages. For the components I’ve included some of the weights within the mods listing below & for the whole bike I can report that the initial weight of 11.42 kg (11.3 according to Brompton?!) has grown to 12.85 kg (ie on-road weight complete with tools).

Full listing of mods:
Brooks Ladies B17 Aged saddle in place of Brompton item (590g vs 460g)
MKS Ezy removable pedals in place of Brompton items (430g each pair)
Removable pedal storage bracket mounted on rear frame (storage of LH pedal)
PDW rear light mounted at top of seatpost
Eazy wheels in place of roller wheels
Cateye Strada Wireless bike computer (fitted to Profile Design UCM on handlebars)
Brompfication hinge clamps & springs in place of Brompton items
Bidon cage (my “non-patented” design mounted on stem)
Ergon GP2-S handgrips in place of Brompton items (230g pair vs 0g?)
Schwalbe Marathon Plus tyres in place of Brompton units (480g each vs 240g each)
Schwalbe Presta-valve tubes in place of standard Schraeder-valve tubes
Lezyne Micro-Drive front light mounted to handlebars
Brompton Toolkit in mainframe
Spare Schwalbe Presta-valve tube stored in mainframe

20140202-104656.jpg