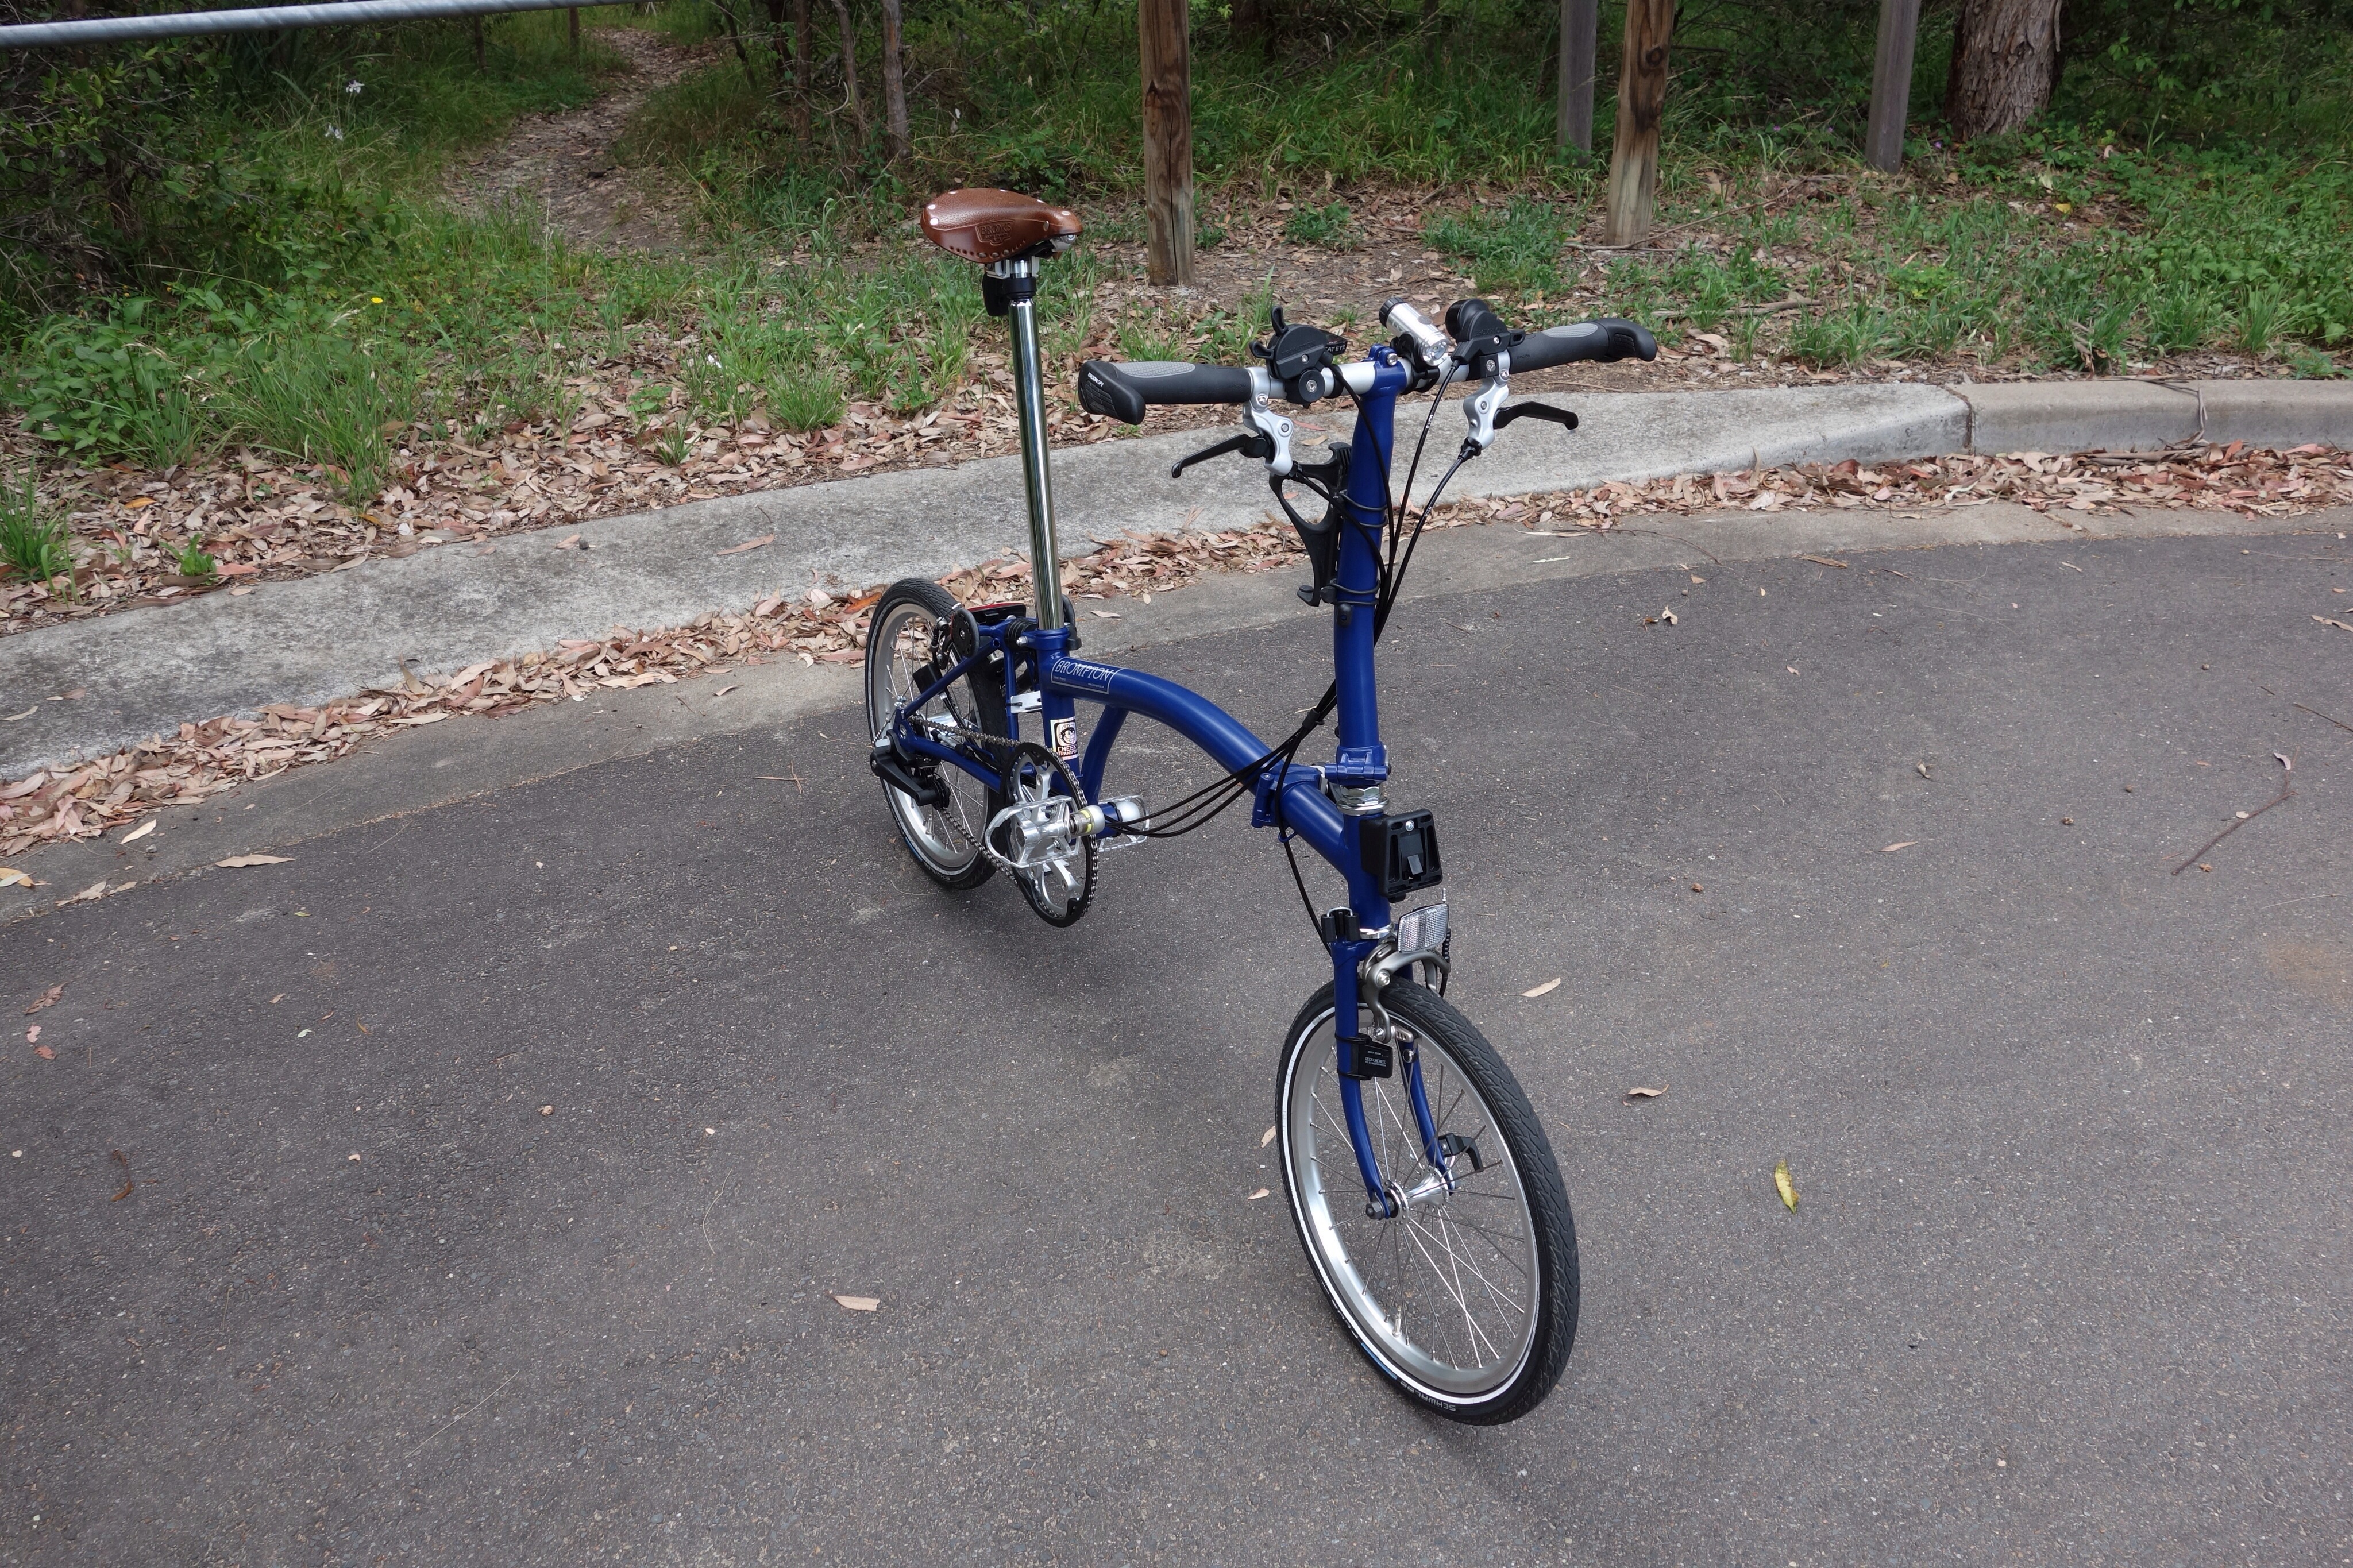
Phew! All done now! Pristine Peregrine has become Practical Peregrine in being modded to take the new Brompton S6E to a state ready for anything that Mrs Aussie is likely to tackle? (There is one issue still undecided but this is unavoidable for our scenario: buying a new stock Brompton at a “cannot resist” price. Yes, the stock Brompton comes with the stock 6-speed gearing & it will be interesting to see whether Mrs Aussie will cope? But then, that’s the beauty of the new crankset design in that the reduced (or raised?) gearing is available through just the change of crank rings – & a longer chain if the raised gearing option is desired?)
I must admit to feeling a little sad in now seeing Peregrine modded with various essential/desirable/irresistible bits. Where is that shiny new Brompton of a week ago? Maybe there is something to be said for keeping a Brompton absolutely stock standard? Oh well, perhaps next time? In the meantime, Peregrine has some mods that are all proven delights & all go to improving an unbelievably good flat-bar folding bike!
First off the rank for the mods was swapping saddles & installing a Brooks B17 Aged Ladies model (hmm… must give some thought to that wording?) from Robinson (my original Brompton currently running as an M6R with reduced gearing). Next was installing MKS removable pedals from the “squirreled parts bin”. A number of other bits came from the same source, before a new set of Ergon GP2-S handgrips went on.
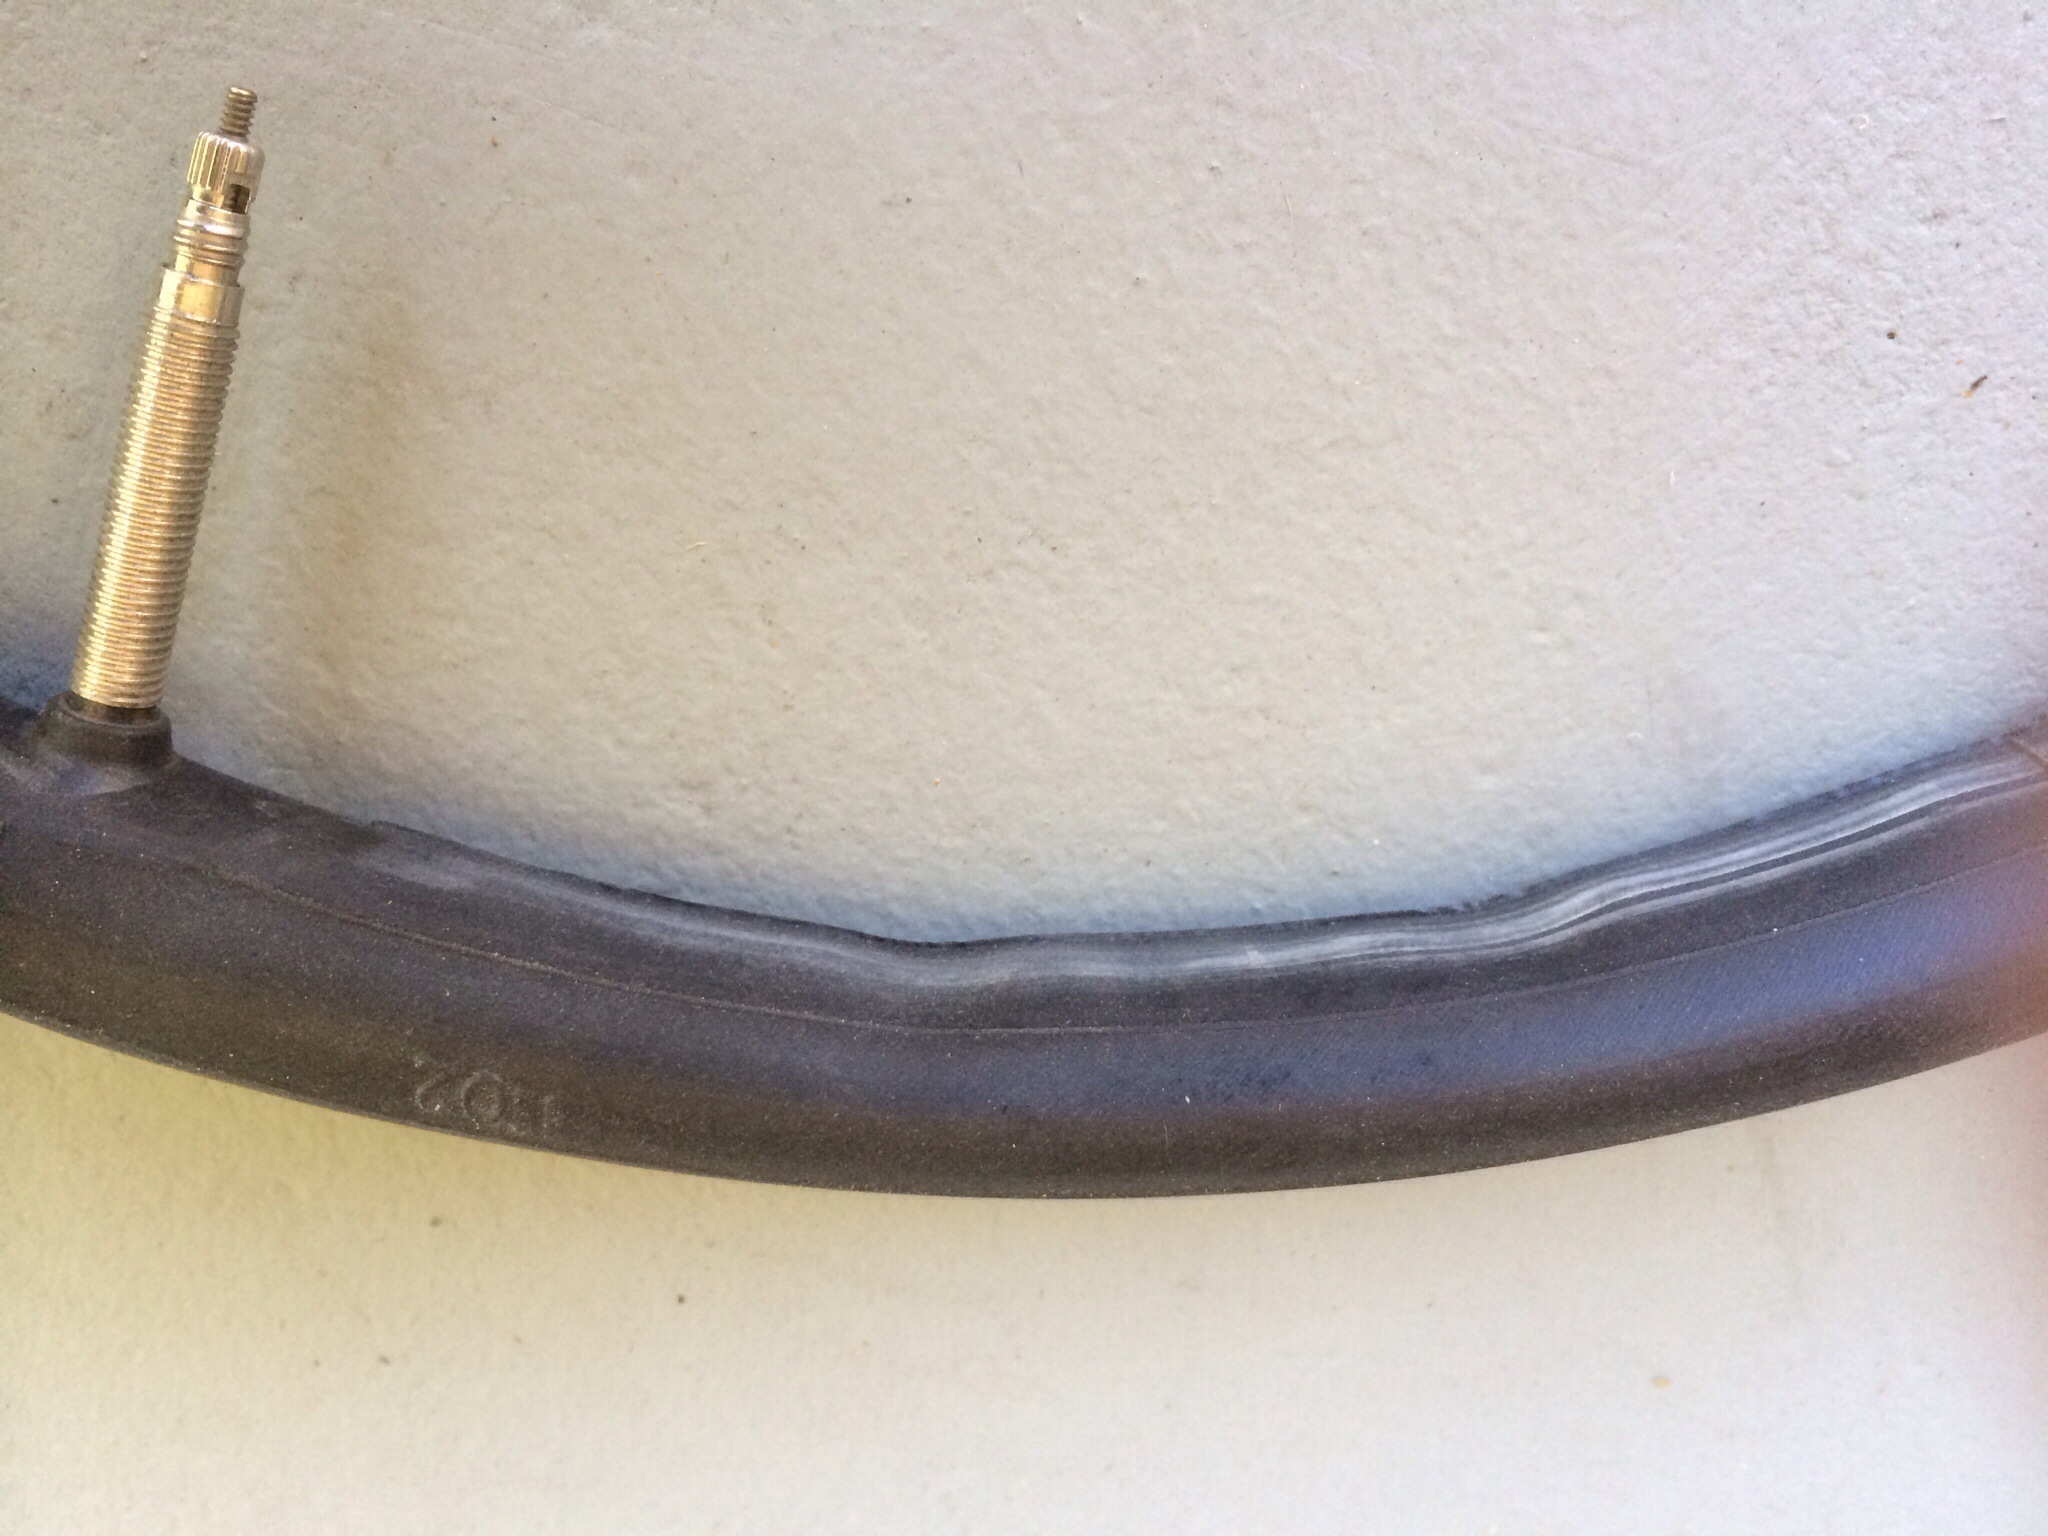
Rubber choices were non-options by virtue of purchasing a stock Brompton, where Peregrine’s spec of a flat-bar, 6-speed Cobalt Blue Brompton with a firm suspension block & a luggage block were pre-ordained by Kobie, the Australian Distributor. Hence, I was going to have to take my own actions if I wanted Presta-valve tubes & Schwalbe Marathon Plus tyres (to replace the standard Schraeder-valve tubes & Brompton tyres). I have no experience of the new issue Brompton tyres; I just preferred to fit a known “bullet-proof” (or perhaps, “Mrs Aussie-proof”?) set of rubber – that had, incidentally, seen service on Ralph during last year’s UK-tour! The fitment of the M+ tyres wasn’t an issue (well, just the usual M+ fitting issues?) & I can’t say that the new Brompton double-wall rim design was any easier/harder for fitting? What I was pleased/surprised about was that the tyre swaps were achieved without having to touch a tyre lever! ie the Brompton tyres (once deflated) were able to be pulled off the rims without much effort!? (Not something that I ever expect to hear of for the M+ tyres! – & with sidewalls that seem as tough as some tyre treads?)
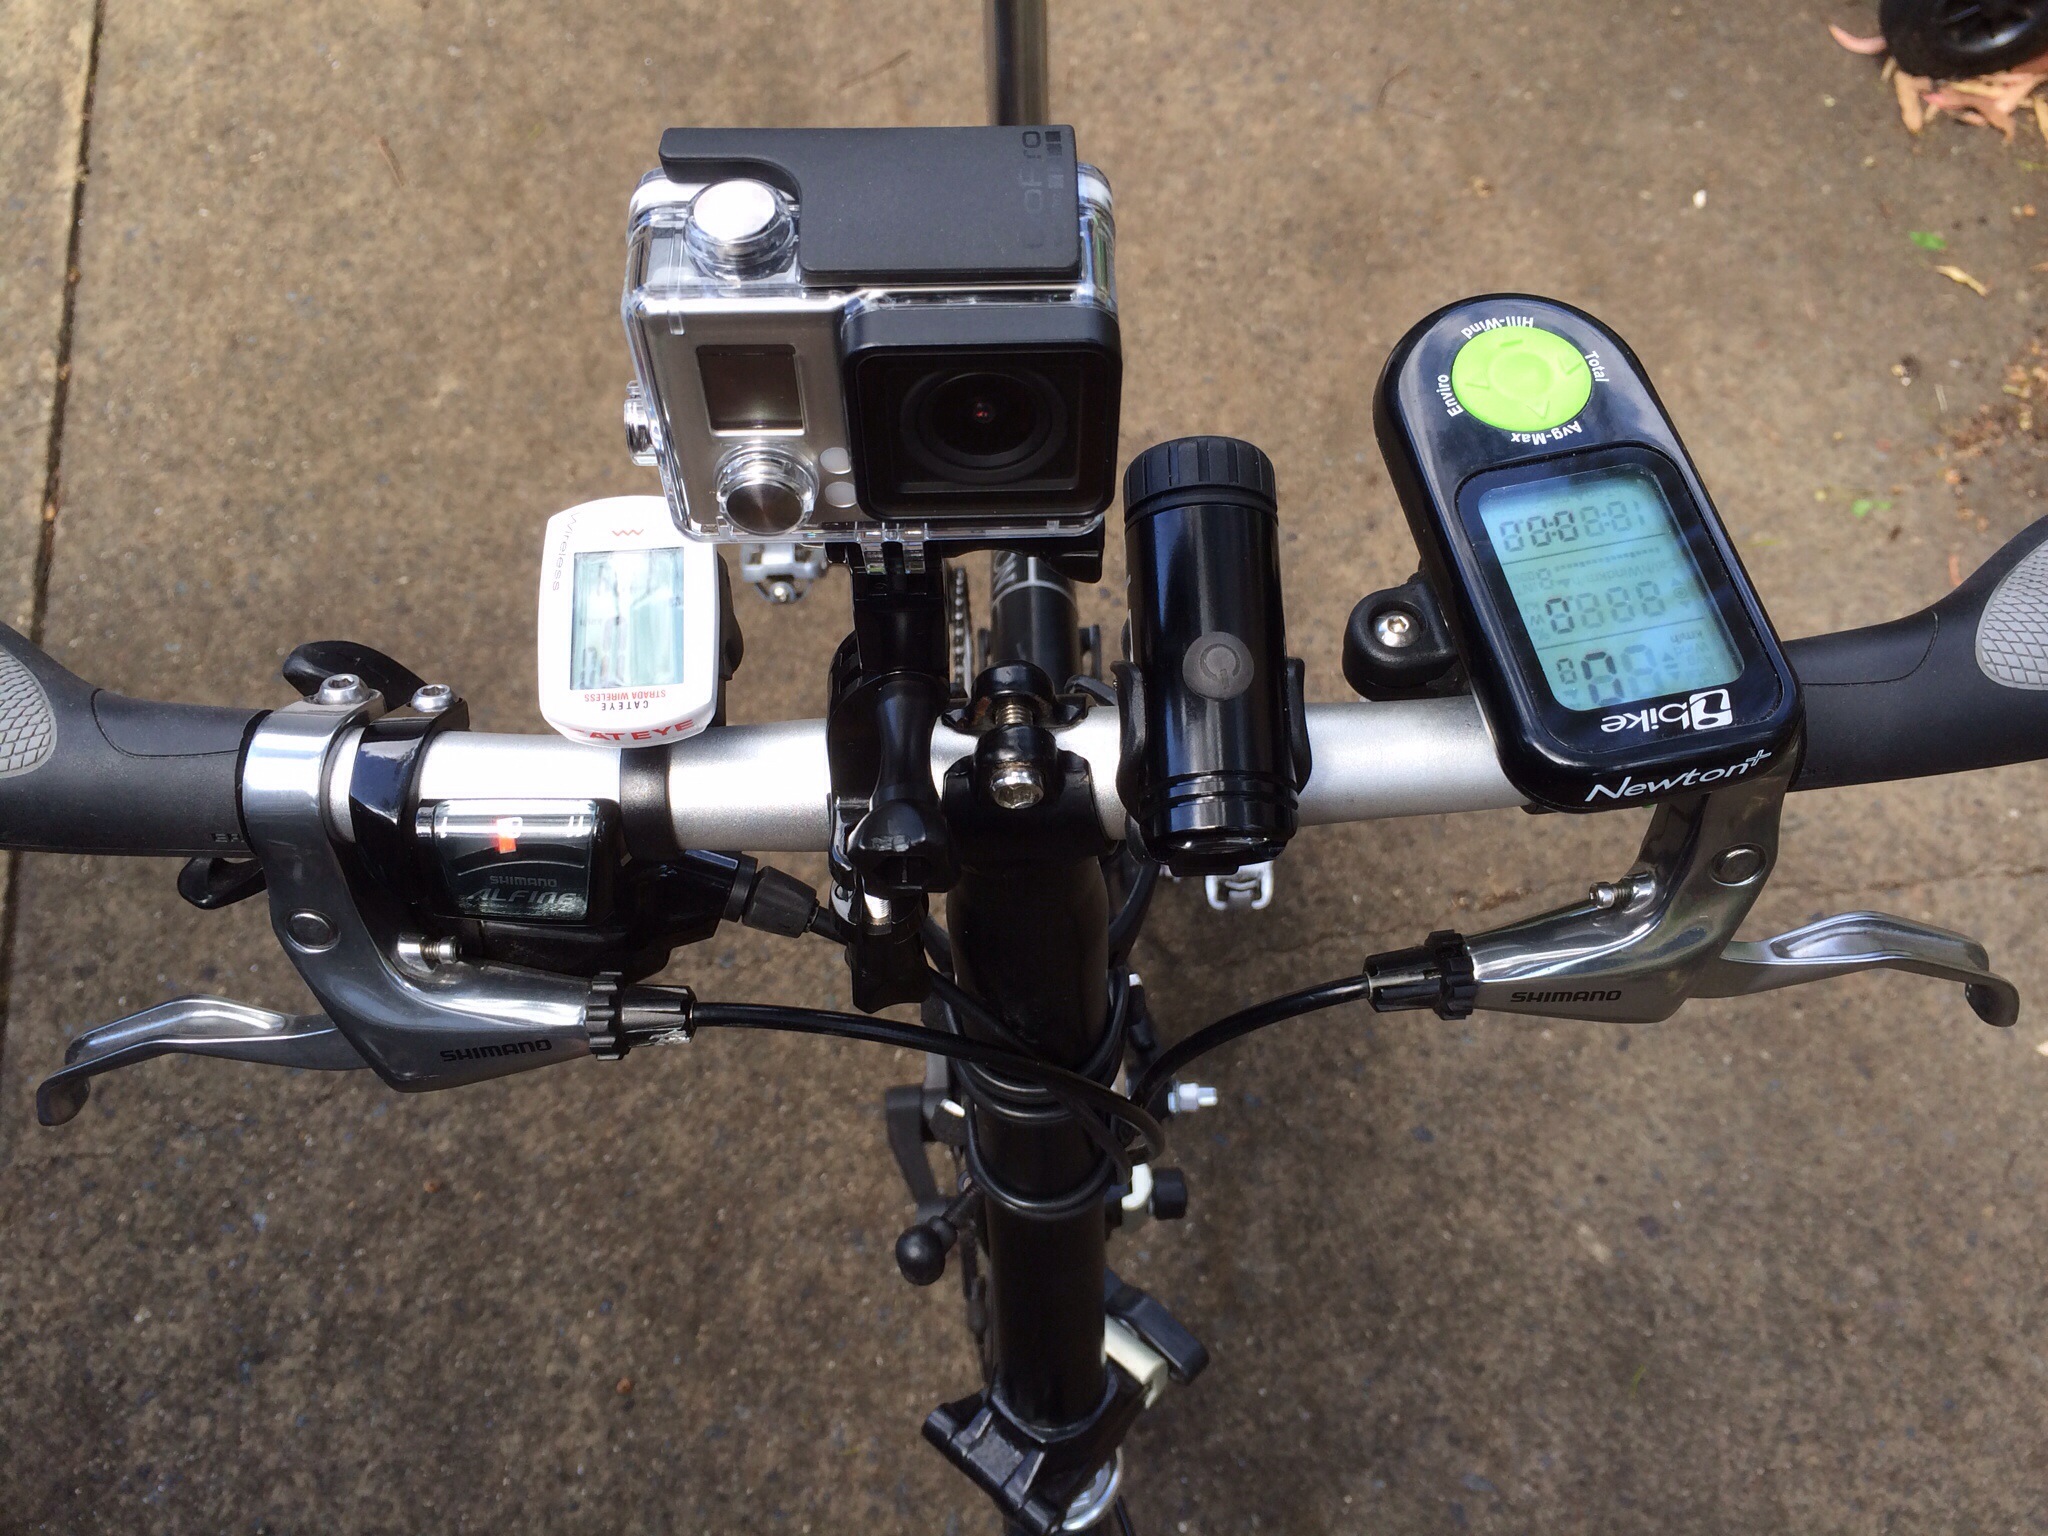
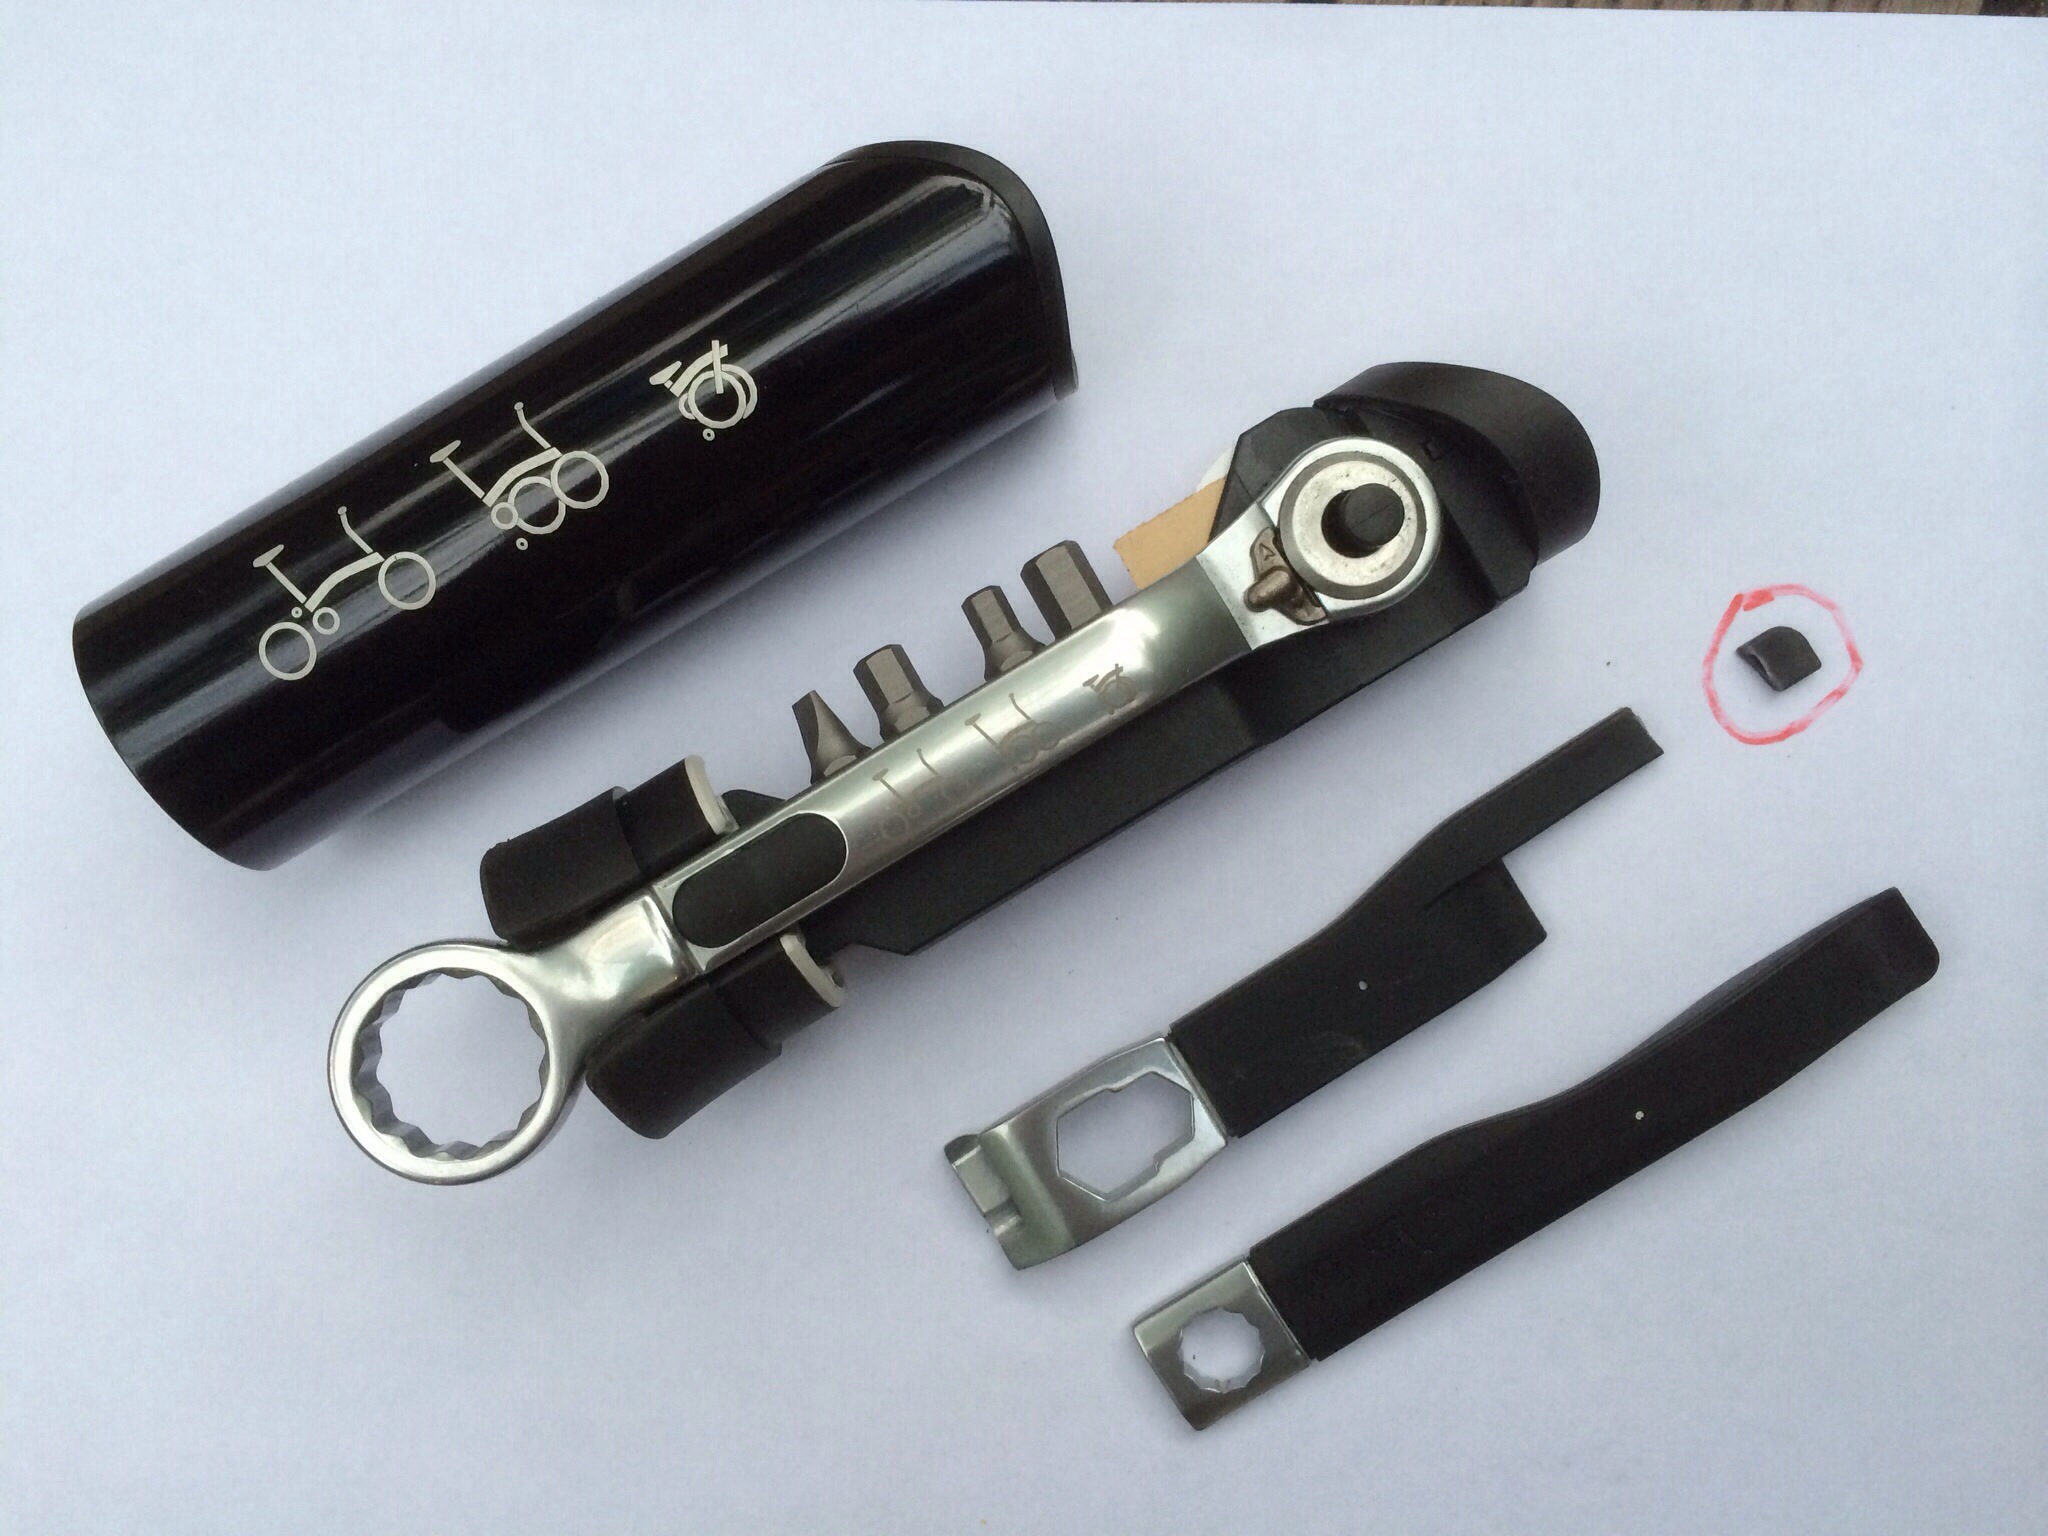
The final steps were to pop a Brompton Toolkit & a spare tube into the main frame sections & then to fit a new Lezyne Micro-Drive front light to the handlebars. (This model light is the only good/small light that I’ve seen, that will mount back from the front of the handlebars; avoiding issues with the fold, where an overhanging light will clash with the front wheel, forks or cables, etc.)
I tried to remember to weigh various of the components & the whole bike at certain stages. For the components I’ve included some of the weights within the mods listing below & for the whole bike I can report that the initial weight of 11.42 kg (11.3 according to Brompton?!) has grown to 12.85 kg (ie on-road weight complete with tools).
Full listing of mods:
Brooks Ladies B17 Aged saddle in place of Brompton item (590g vs 460g)
MKS Ezy removable pedals in place of Brompton items (430g each pair)
Removable pedal storage bracket mounted on rear frame (storage of LH pedal)
PDW rear light mounted at top of seatpost
Eazy wheels in place of roller wheels
Cateye Strada Wireless bike computer (fitted to Profile Design UCM on handlebars)
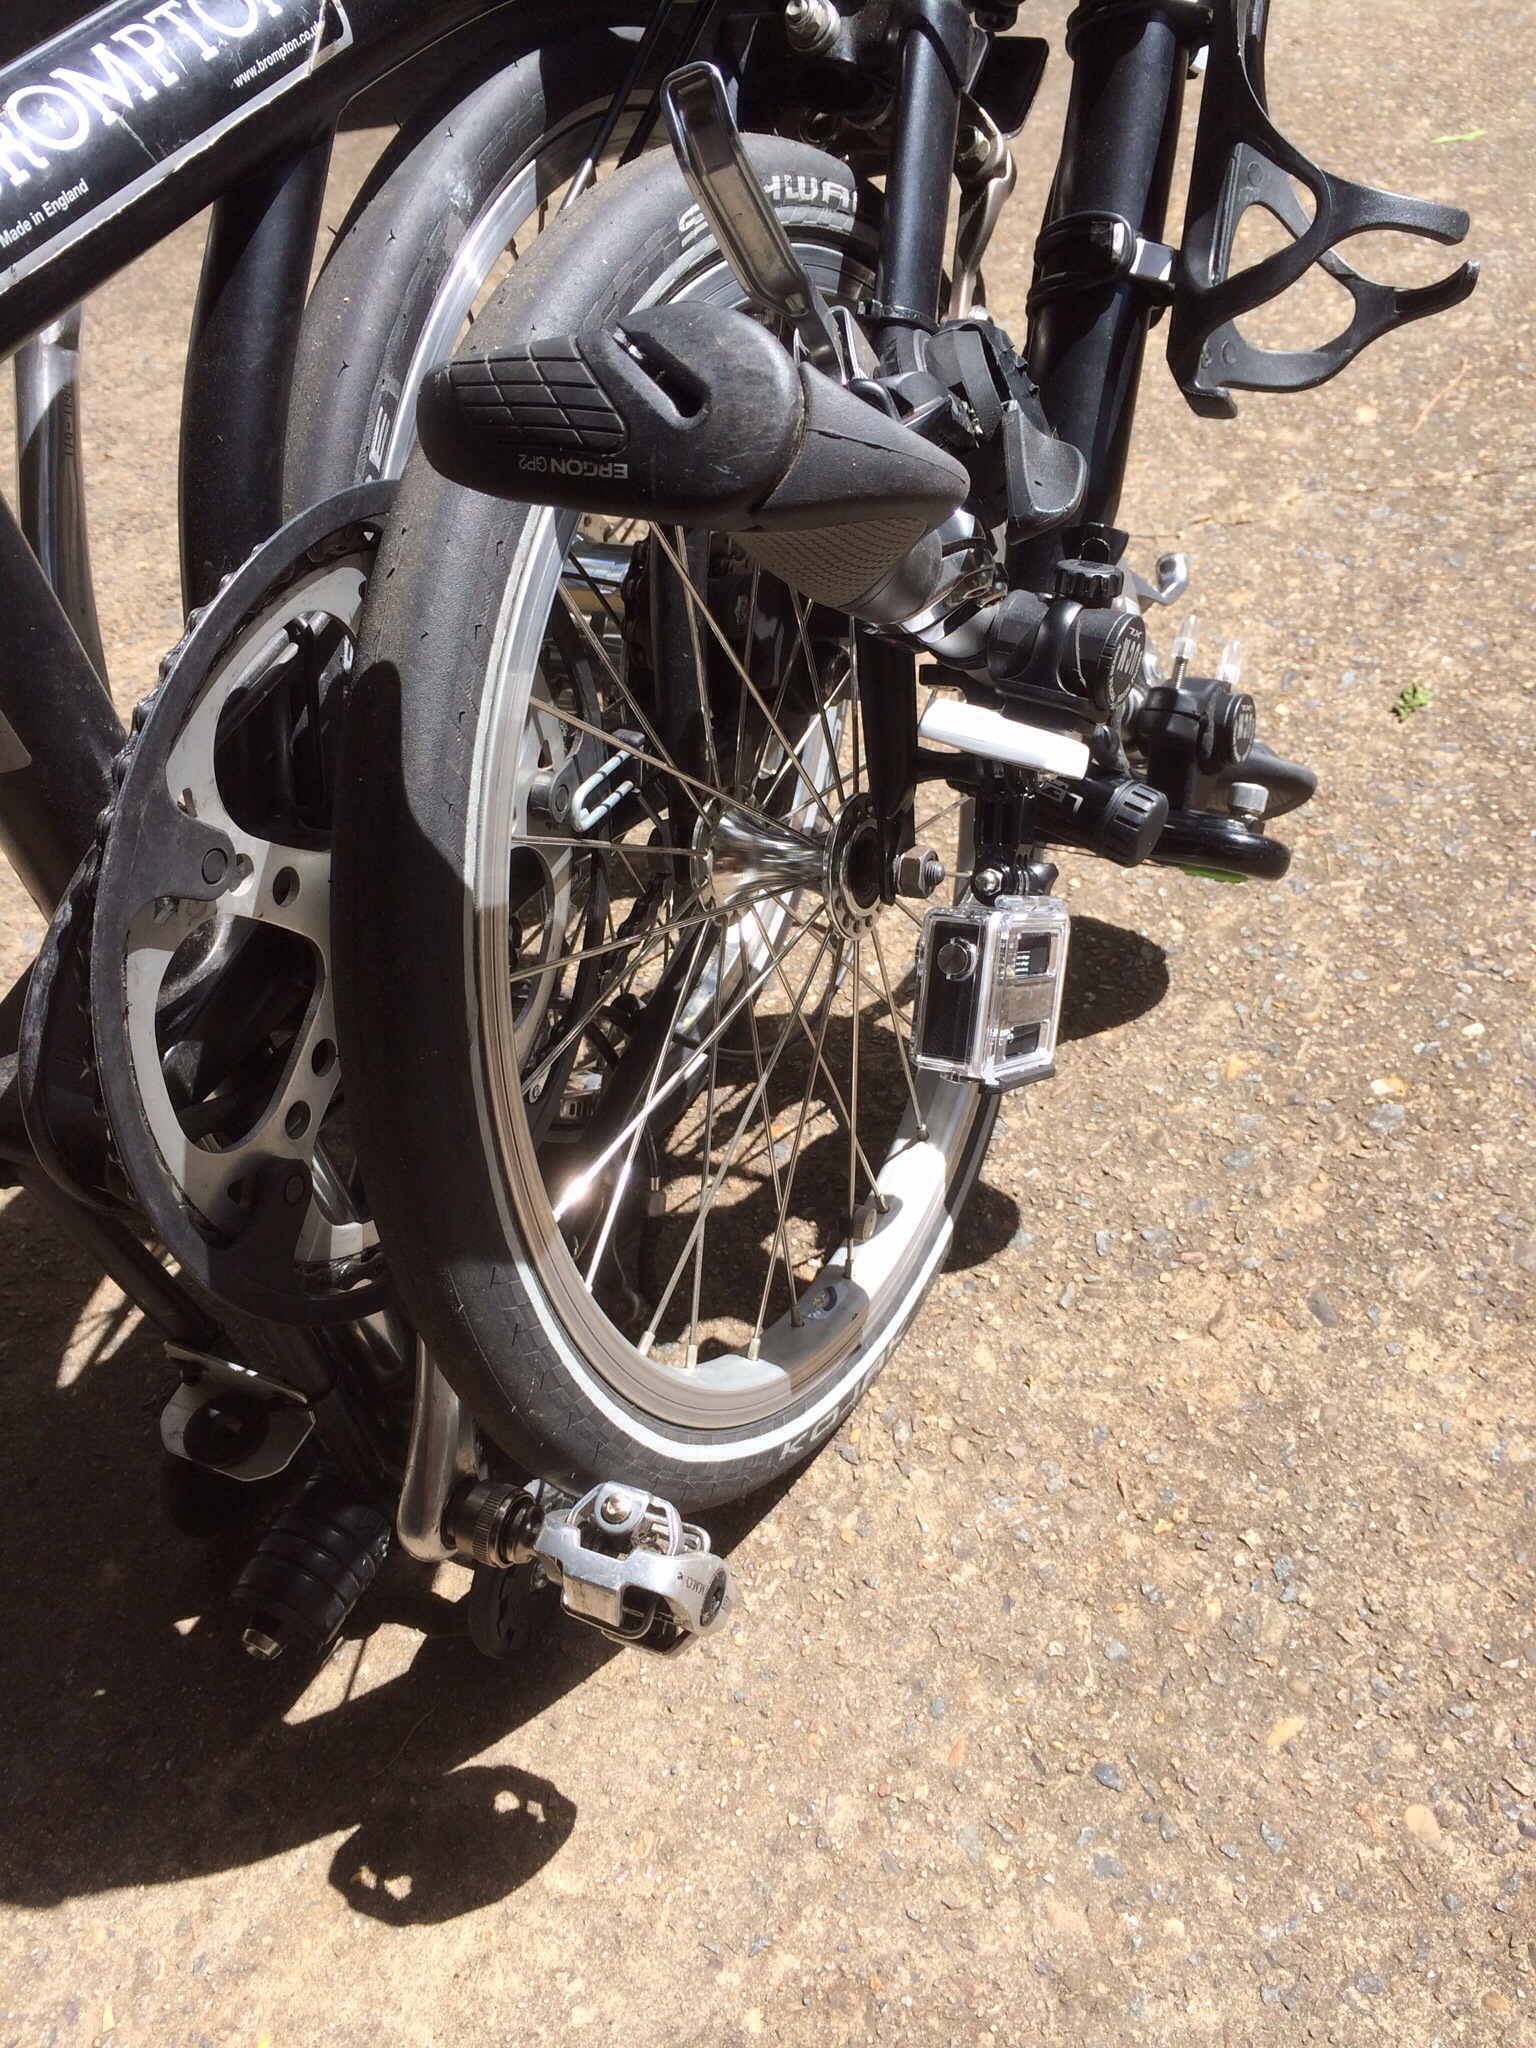
Brompfication hinge clamps & springs in place of Brompton items
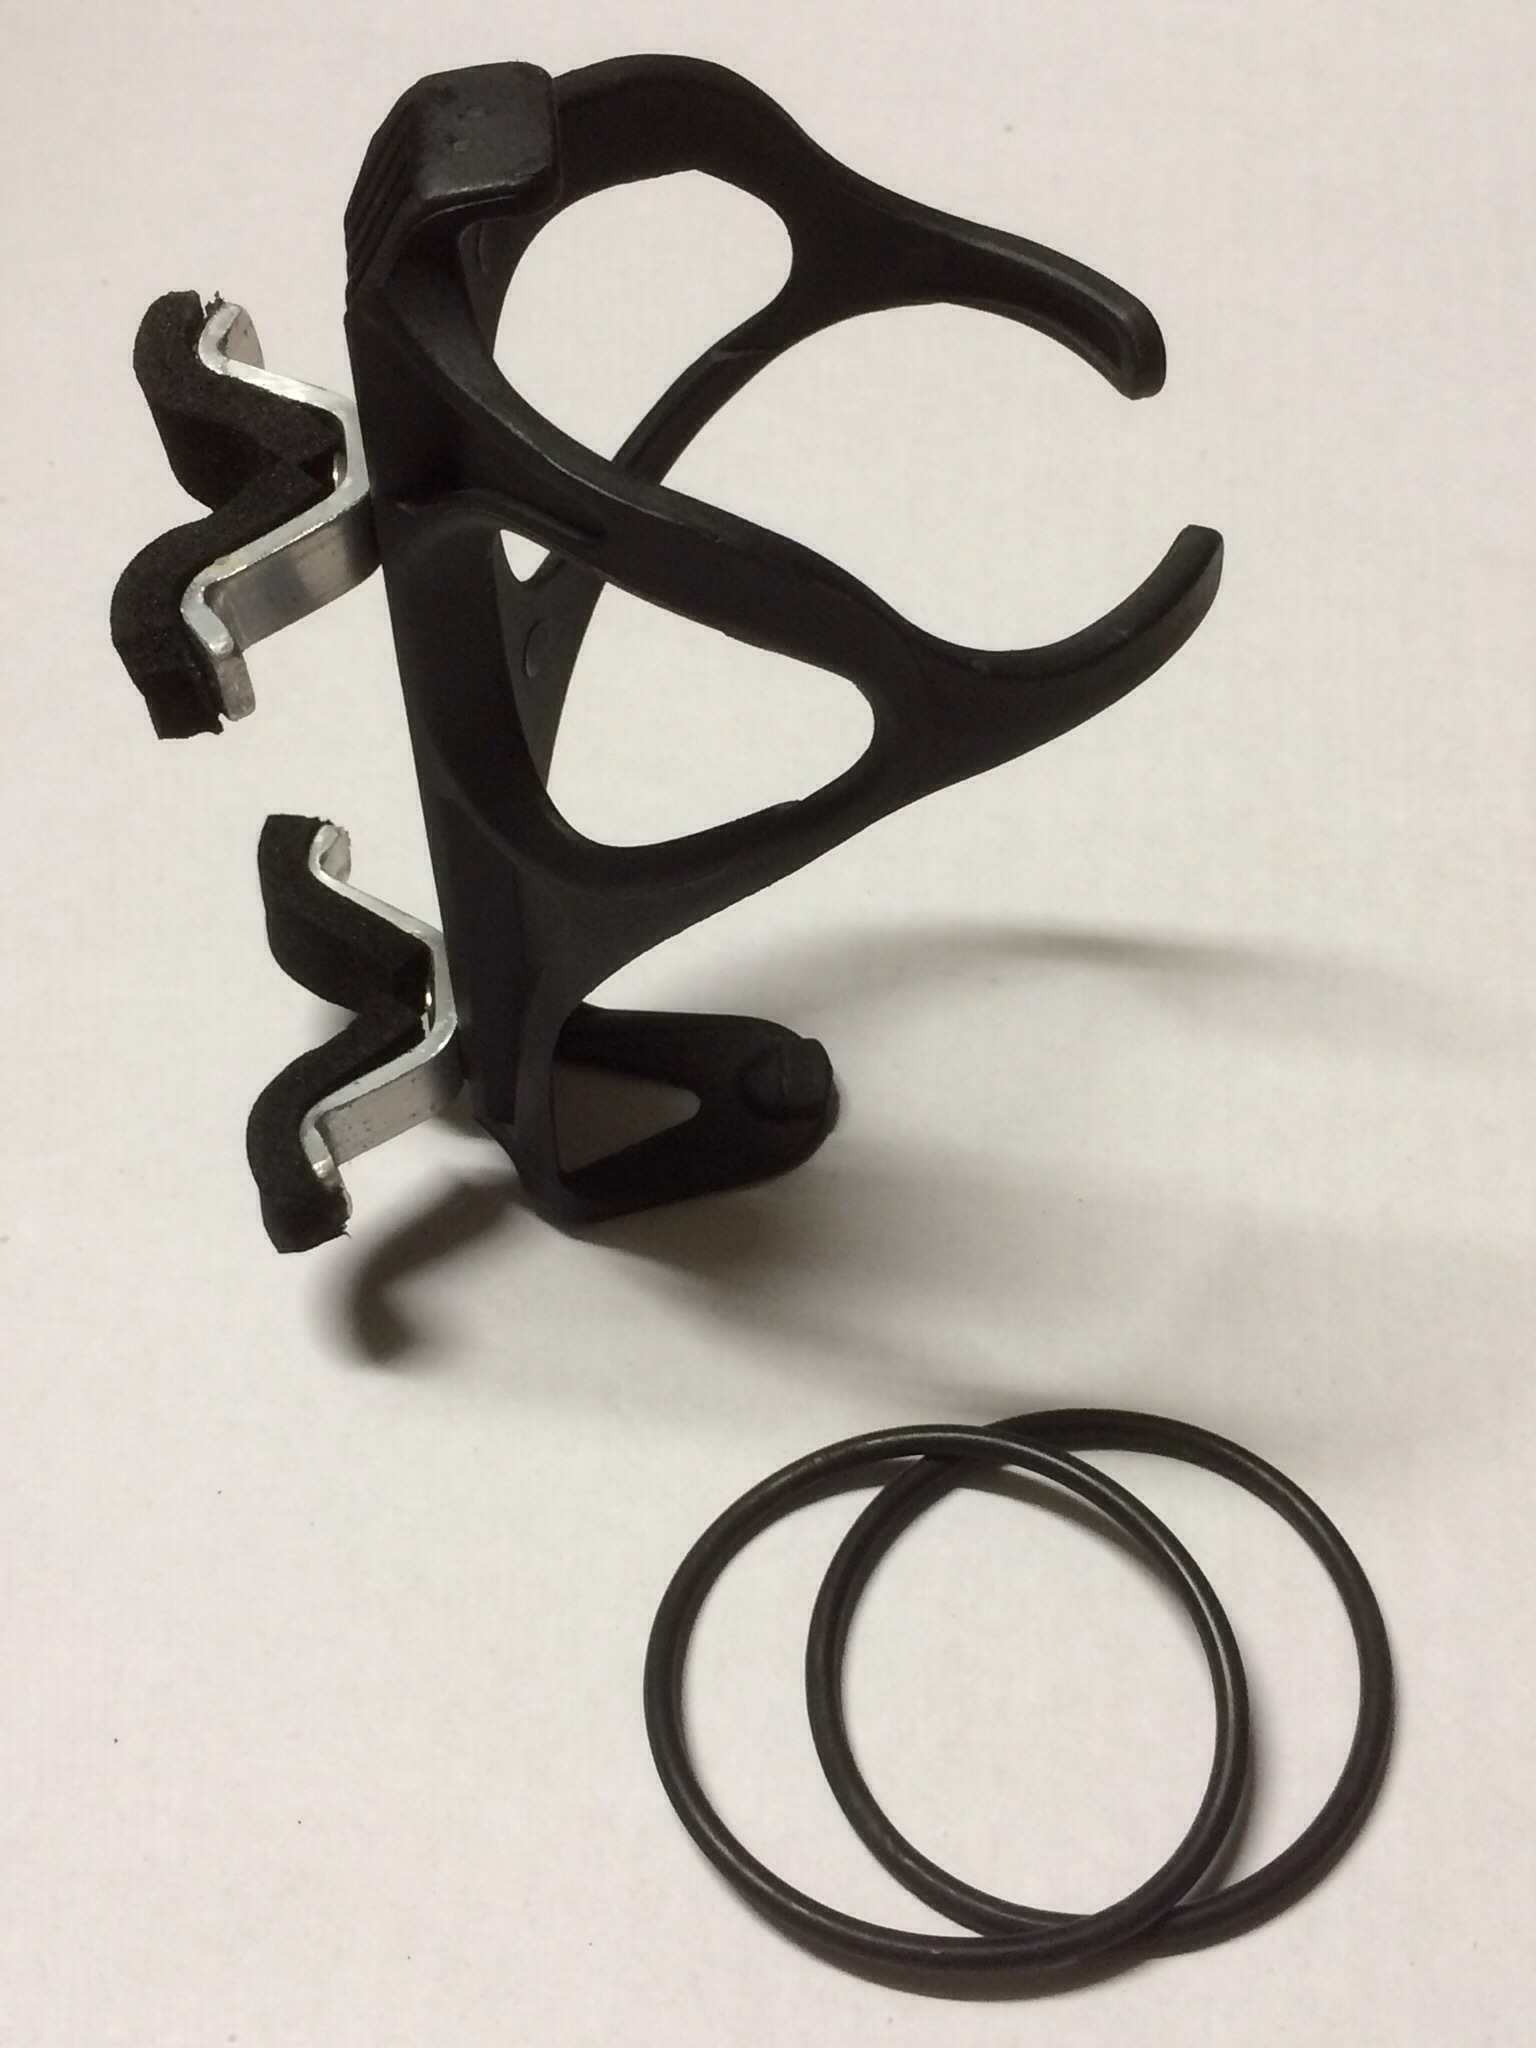
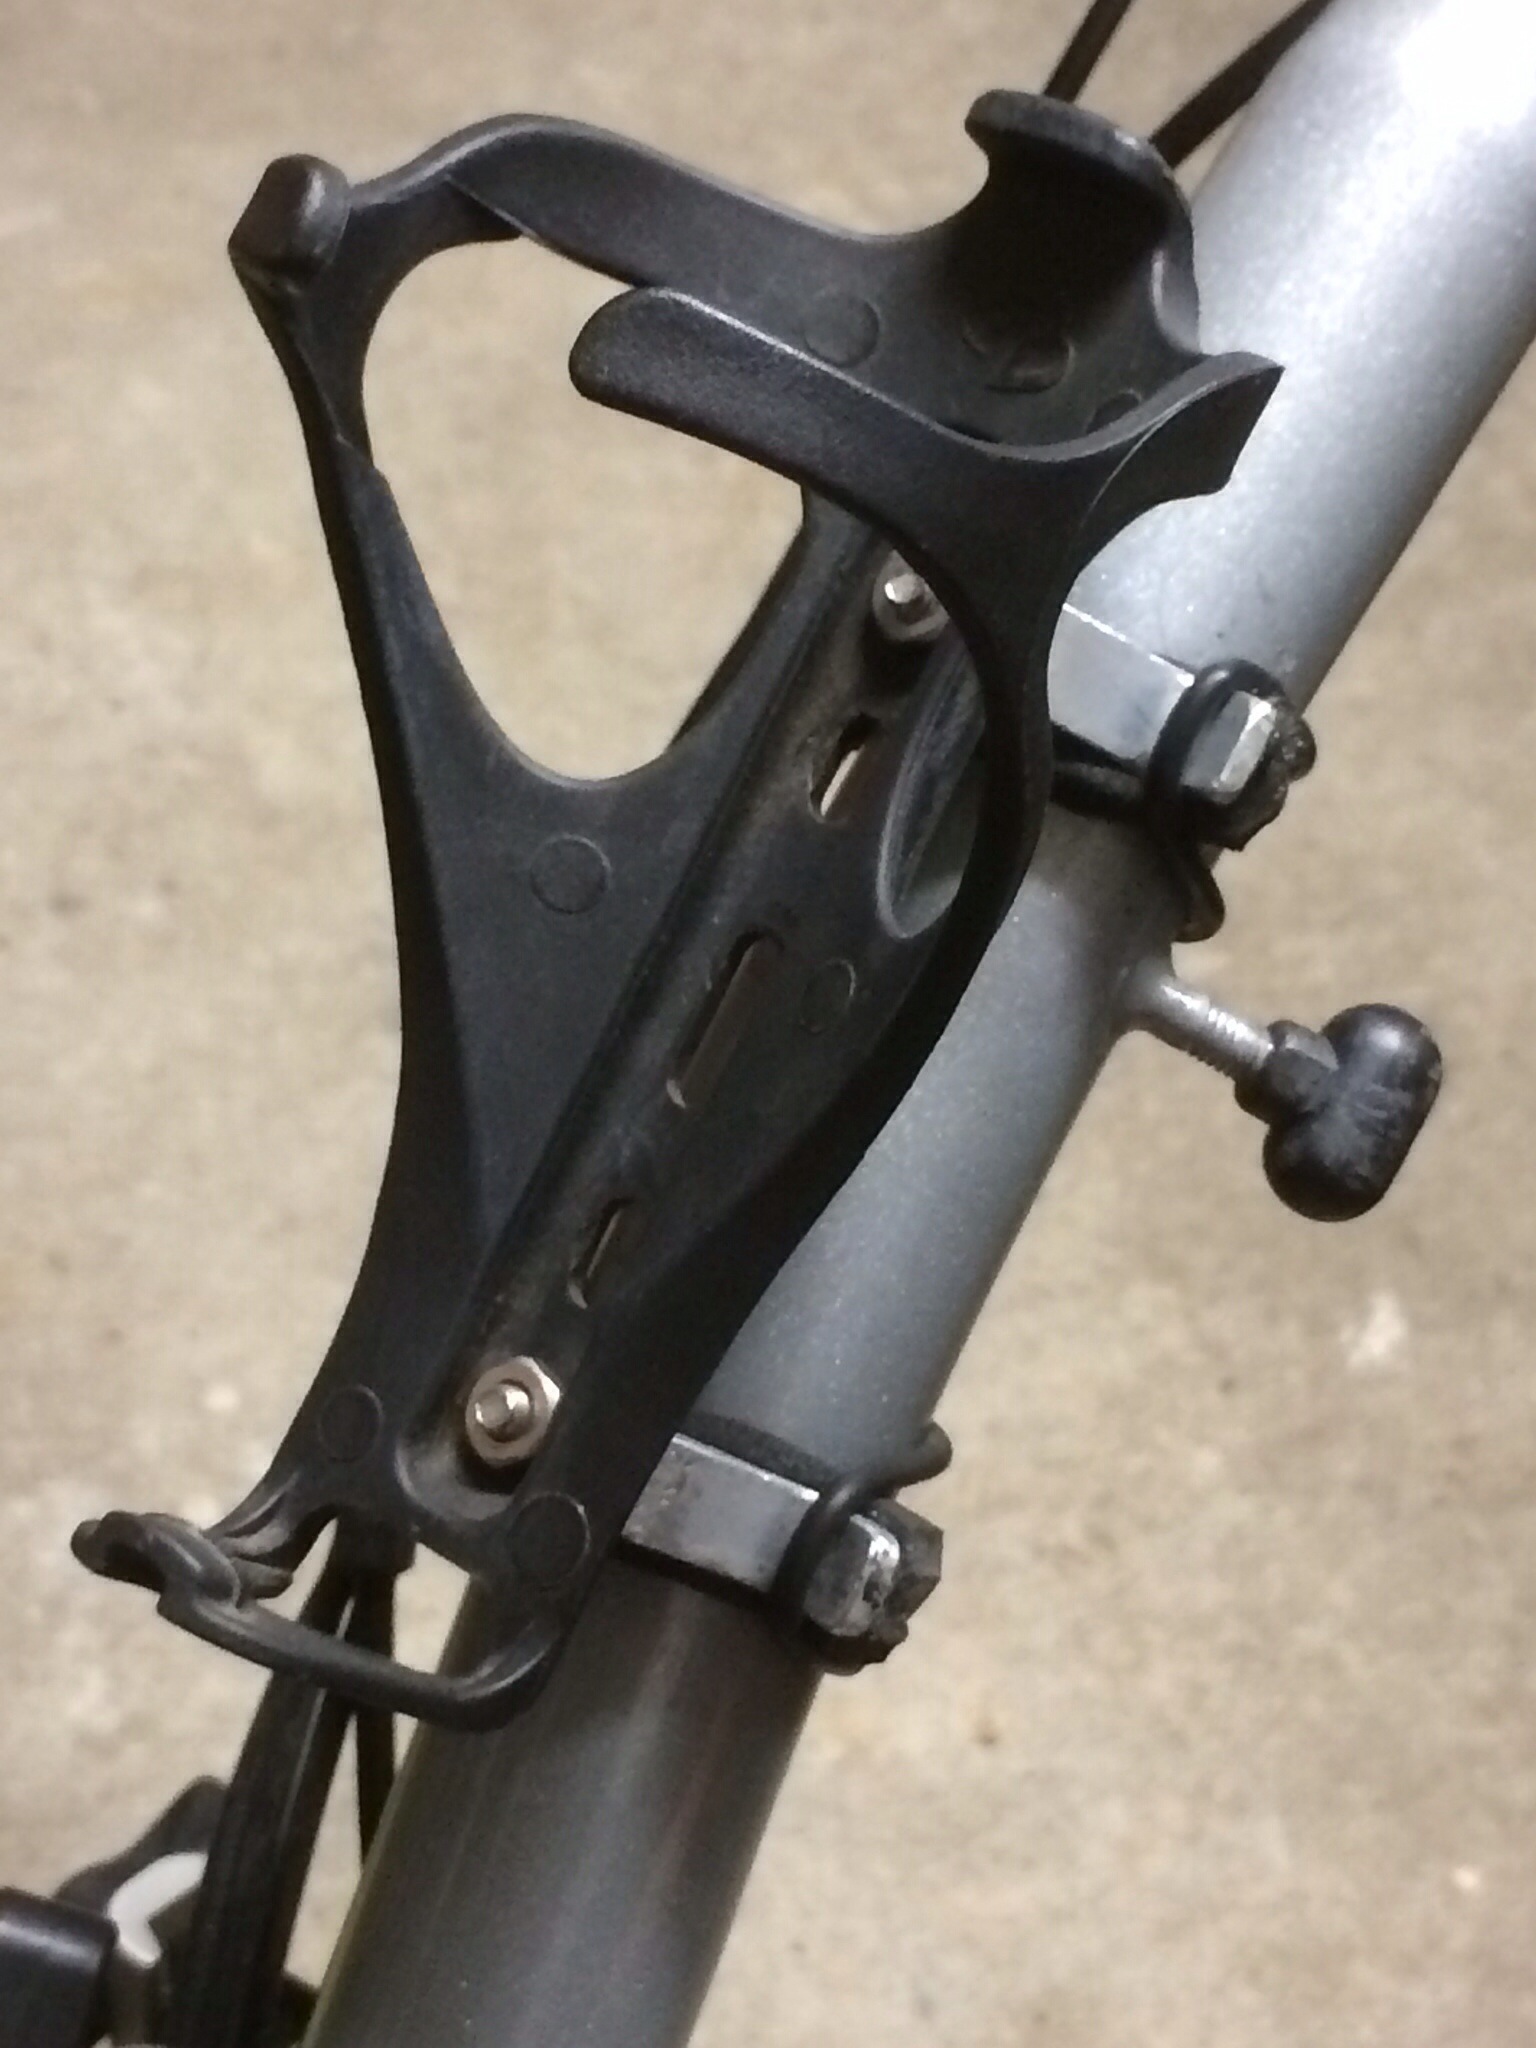
Bidon cage (my “non-patented” design mounted on stem)
Ergon GP2-S handgrips in place of Brompton items (230g pair vs 0g?)
Schwalbe Marathon Plus tyres in place of Brompton units (480g each vs 240g each)
Schwalbe Presta-valve tubes in place of standard Schraeder-valve tubes
Lezyne Micro-Drive front light mounted to handlebars
Brompton Toolkit in mainframe
Spare Schwalbe Presta-valve tube stored in mainframe