Ralph’s serial number reveals a September 2011 build but I’m unaware of any info about when the conversion to an Alfine 11-speed came about. When I acquired Ralph in Australia in late 2012 I’ve concluded that the local seller had the Brompton about a year. Within that time Ralph probably travelled a lot as cargo (courtesy of the owner’s profession) & I suspect the on-road kms weren’t excessive? From my observation the Alfine rear hub operation seemed fine – although I’ve been puzzled how the right side hub cap/seal came to be butchered (replaced earlier by me – refer “Ralph refreshed” posting – & my assumption is that it was removed & replaced without use of the special tool?). No service history is known & I expect that nothing was due for the hub, considering the likely non-excessive use?
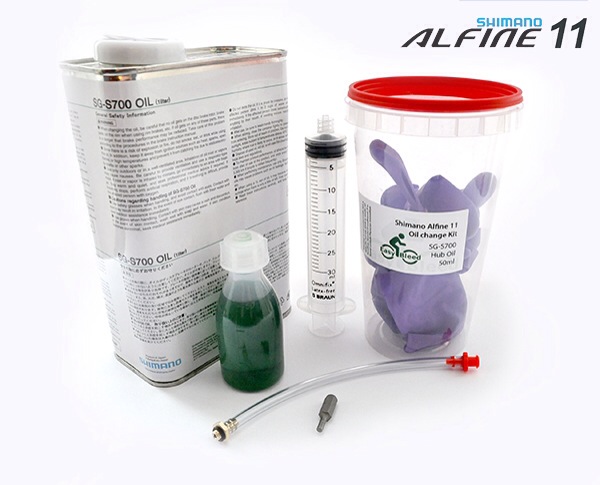
Rear hub gear lubrication is usually via the hub being packed with grease but for the Alfine 11-speed (& the Rohloff 14-speed) the lubrication comes from the hub containing oil. Instead of dismantling the hub, the Alfine 11-speed has an “oil port” in the hub shell & the design provides for oil to be injected via a syringe. Shimano has produced an oiling kit & a special oil (no spec stated but it seems akin to an automatic transmission fluid?). An Internet search located the basic kit at a very reasonable price (with 50ml oil rather than the commercial 1 litre can) & my purchase duly arrived – from Estonia!?
Why have I purchased an oiling kit? Ralph had developed an occasional “gear skip” when changing into 6th gear & I suspected that an oil change may be in order? (contrary to my assumption of limited kms but…)
The oiling kit instructions seemed straight-forward: basically the syringe is connected to the oil port & used to suck the oil out of the hub & then fresh oil is injected via the syringe. However, some practicalities didn’t seem to match the simple steps but fortunately, I discovered a web blog from a young lady who gave far more detail on the difficulties she encountered when servicing her recumbent trike. Her revelations warned me of the need for patience when using the syringe to withdraw or inject oil (owing to pressure in the hub).
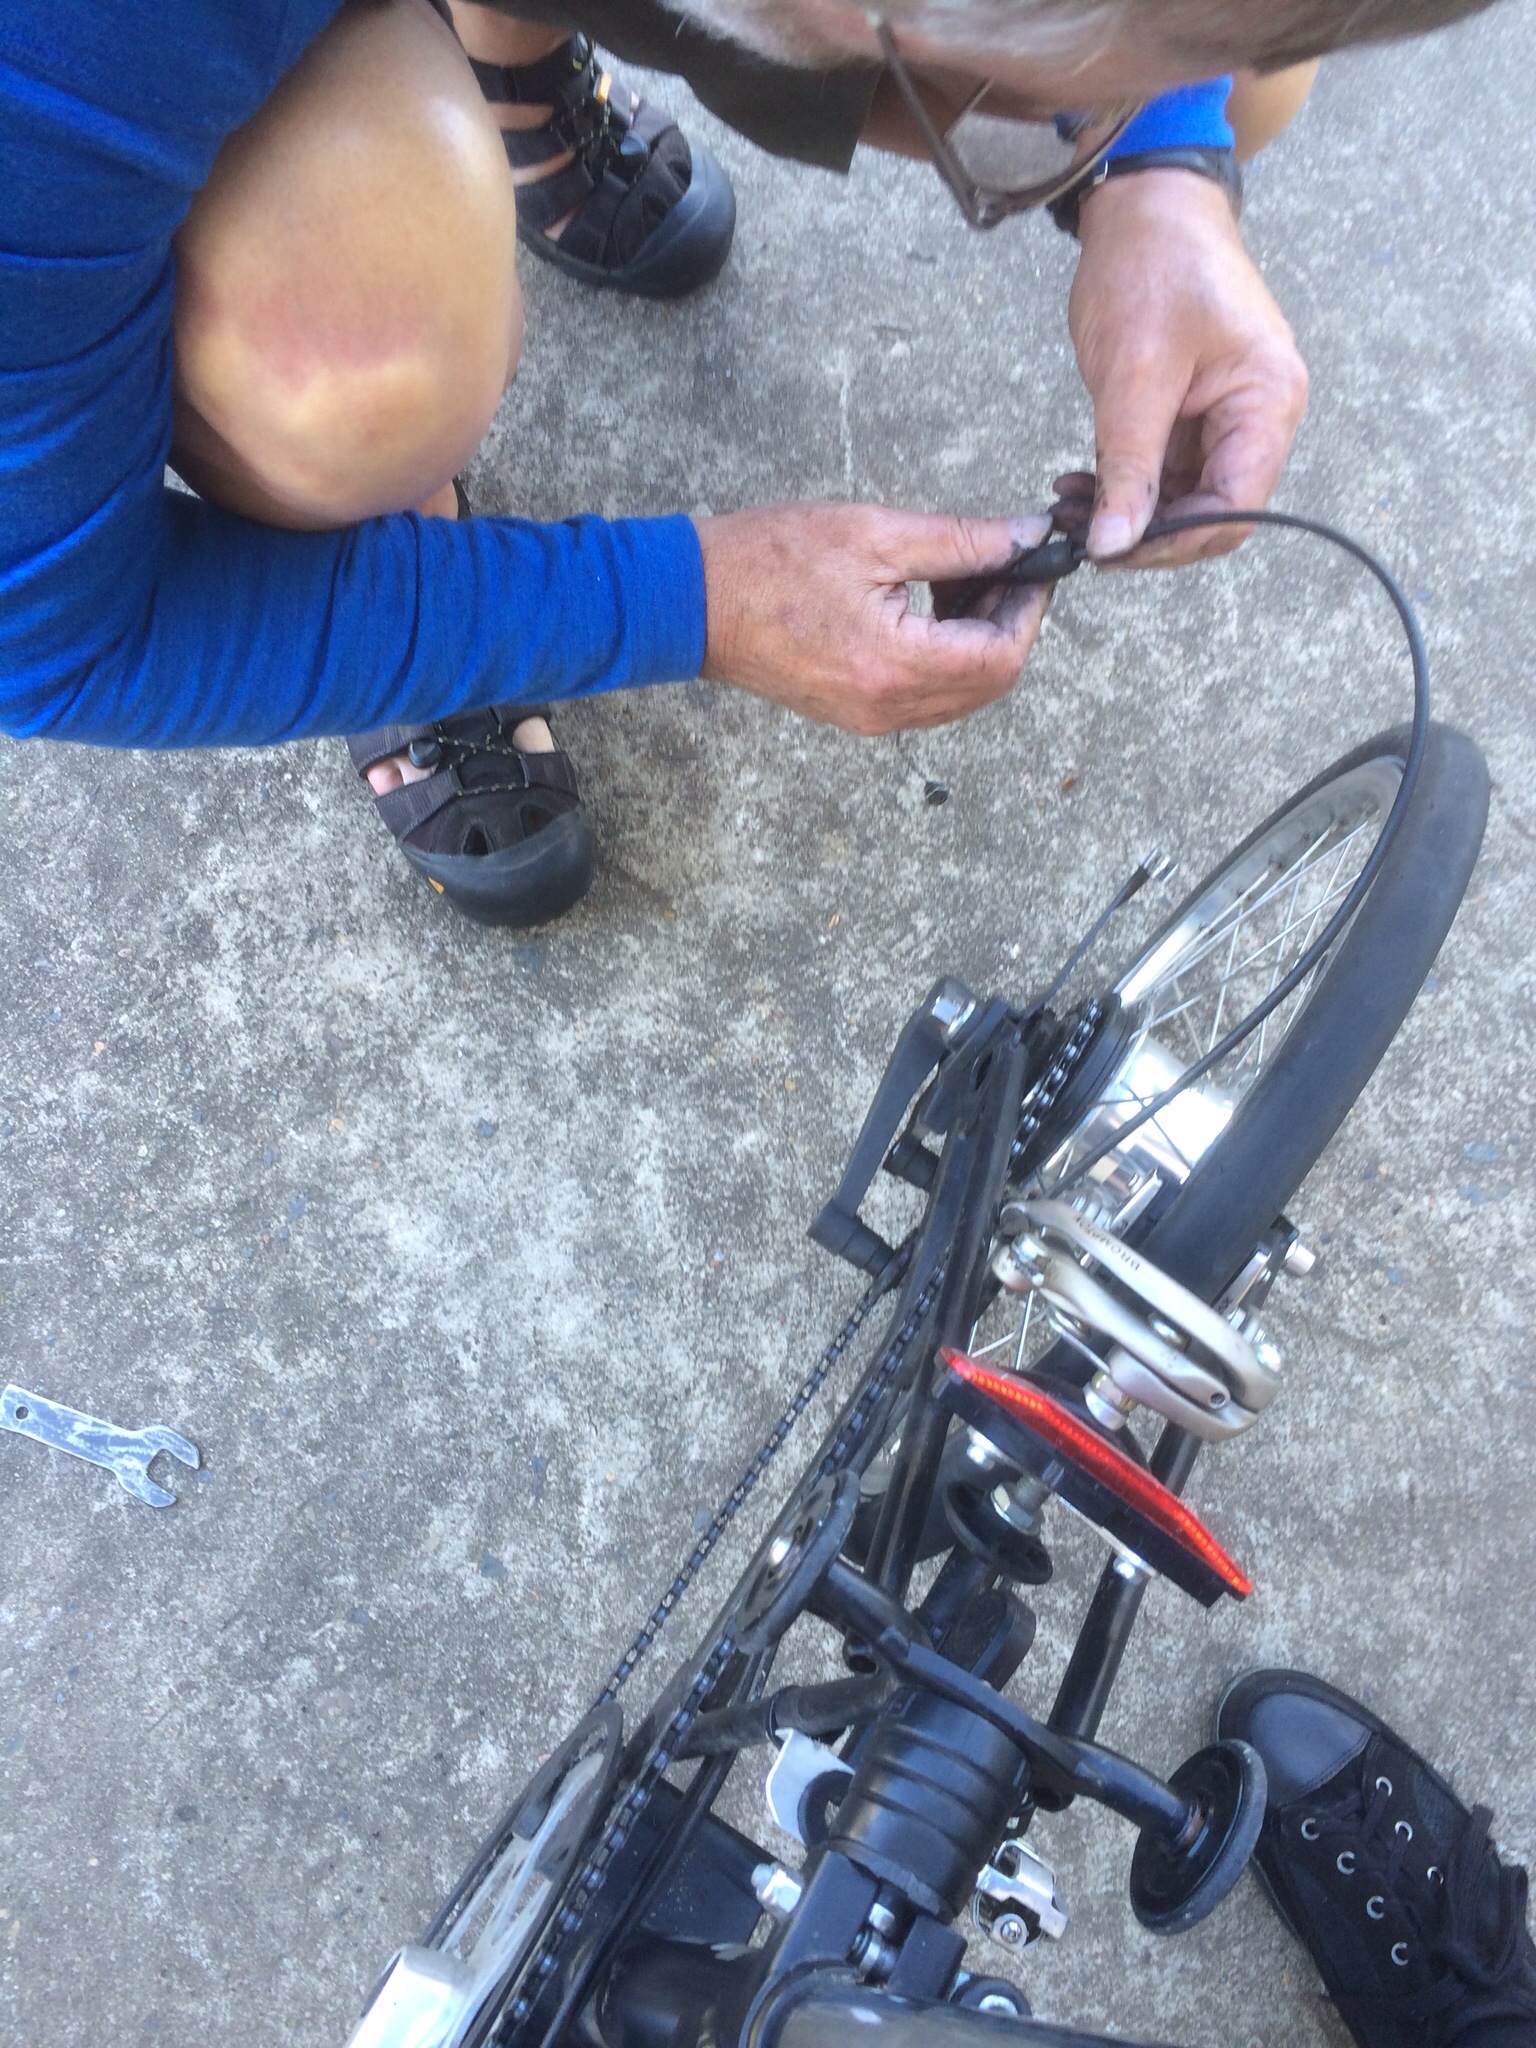
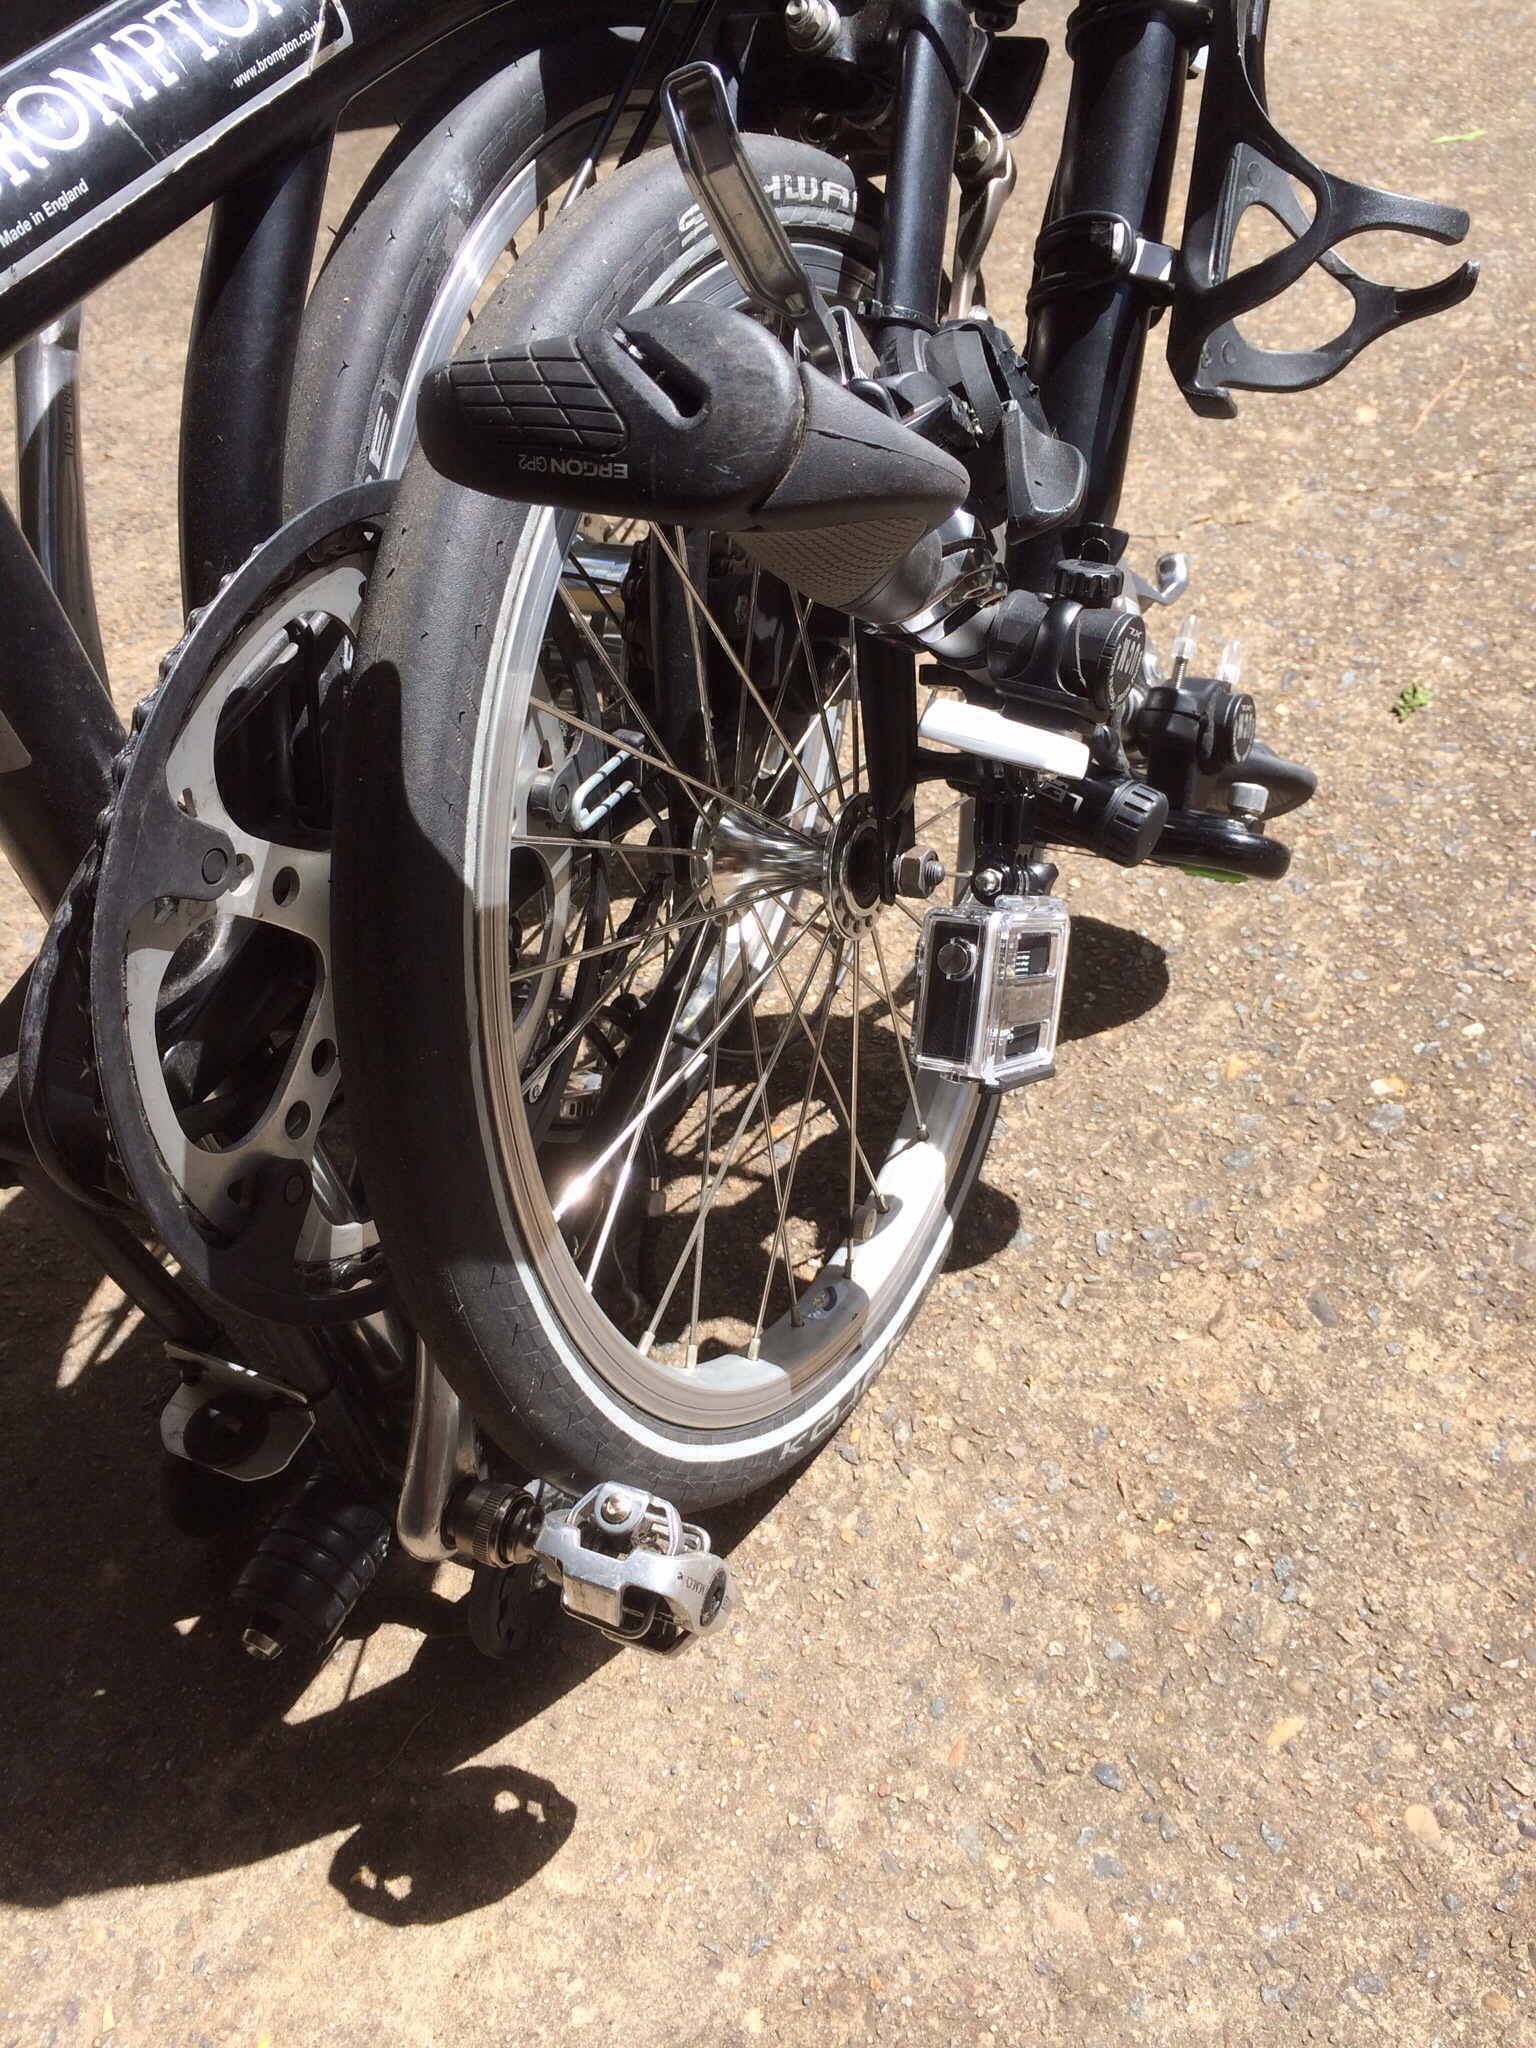
Here’s a pic of Ralph with syringe connected, ready to have the old oil sucked out of the hub
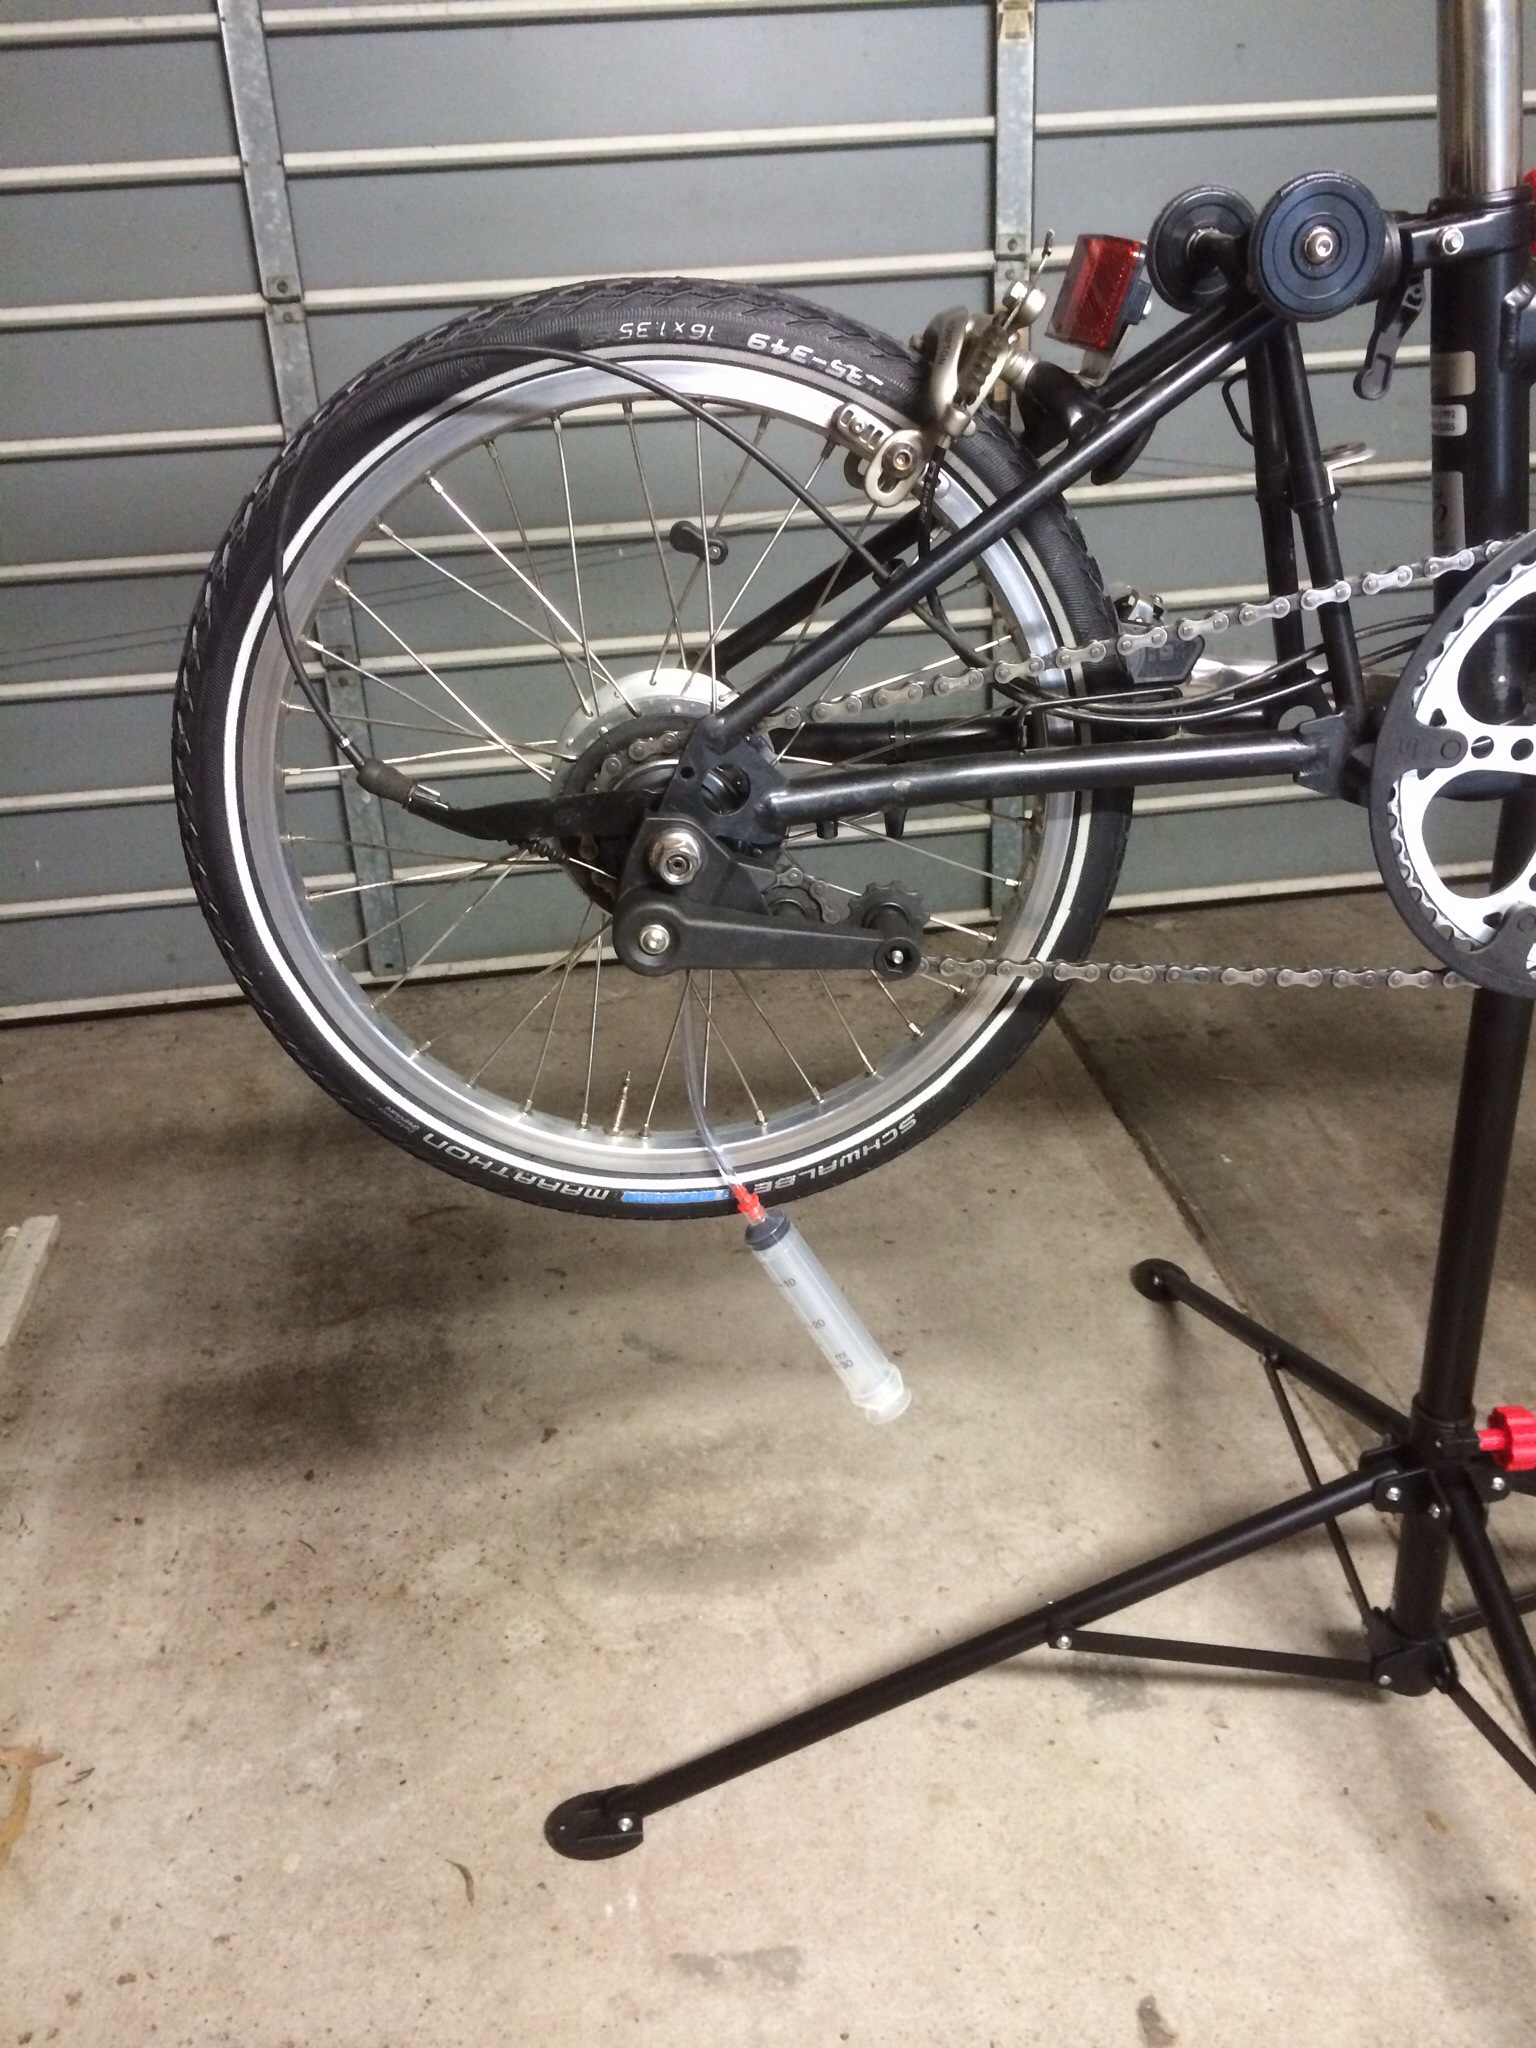
In extracting the oil I was surprised to only get about 5ml of oil & that it looked fairly clean? (I was expecting 25ml & that the oil would be black – ie “dirty”?) The next stage of an oil change was to inject 25ml of clean oil, drive the hub while changing gears for a minute & then extract that oil (ie to “flush” the hub). With the seeming cleanliness of my initial extracted oil, I decided to inject about 15ml & see how the extraction went. After the hub & gear operations, the extraction process showed about 15ml of really clean-looking oil. From this I concluded the extraction process was working ok (& my initial 5ml extraction was probably all the oil that was in the hub?) & that the hub was fairly clean inside (as evidenced by “flushed” oil looking pristine?).
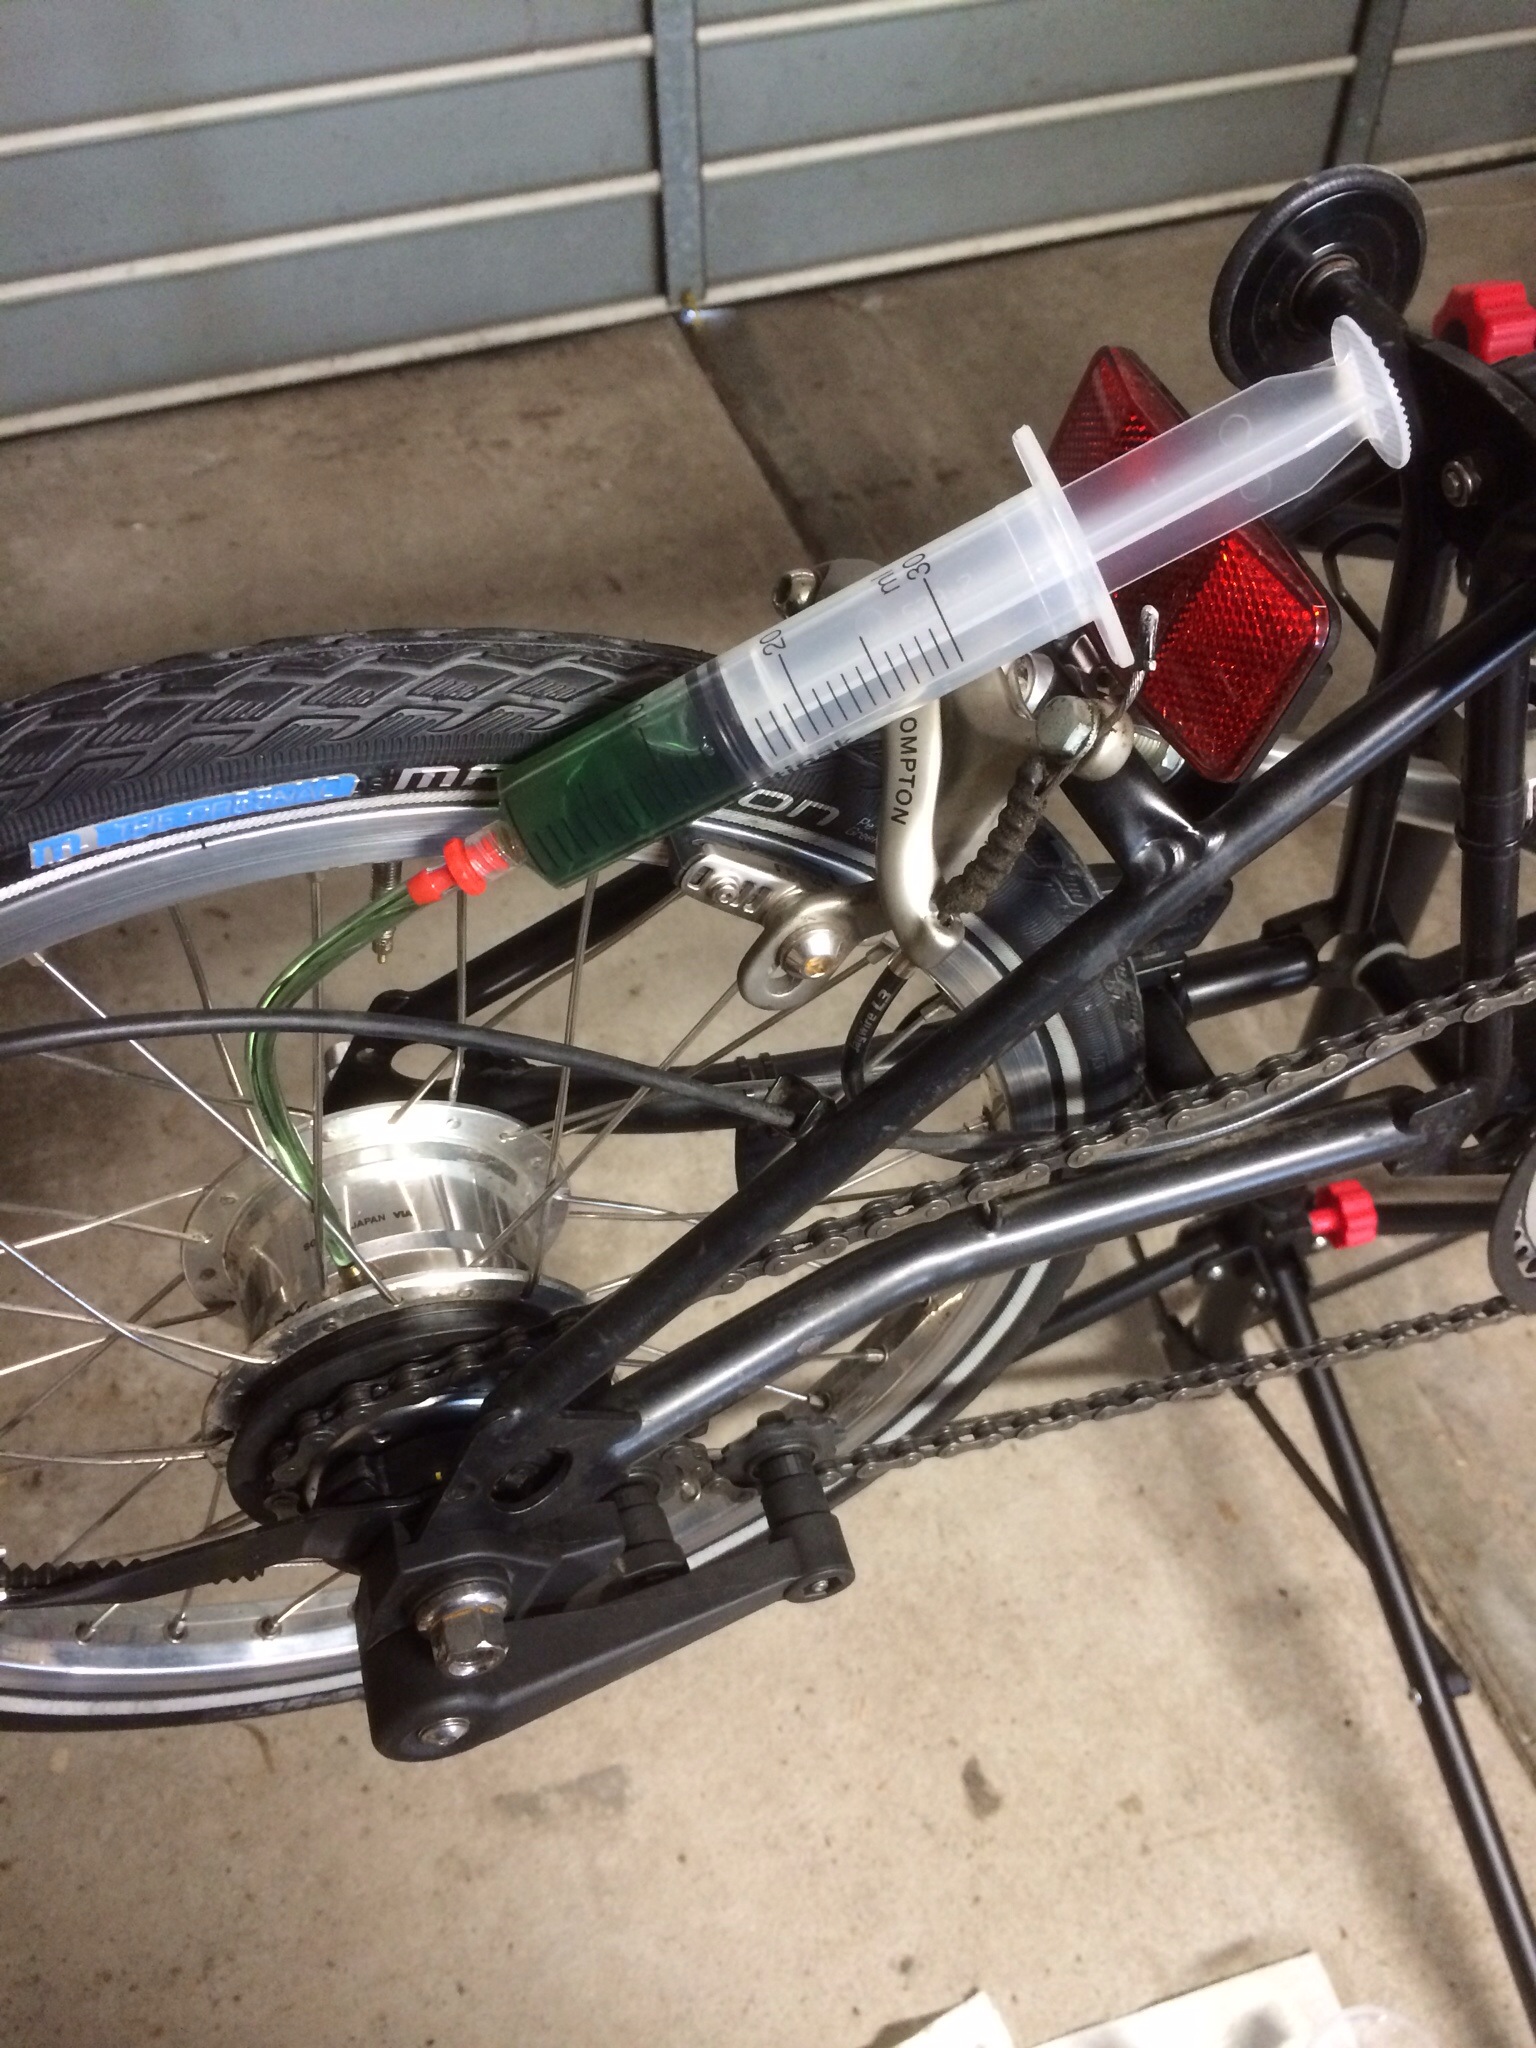
With my limited stock of (normally rather expensive) oil, I resolved to re-inject the 15ml & then top that up with another 10ml. (If the hub required extra work then I would still have another 25ml of oil to use.) Here’s a pic of Ralph with the syringe ready for an injection
On completion – & with some trepidation & curiosity – I took Ralph out for a little test-ride. All seems well; smooth changes & no skipping! Phew!
So, quite a mystery how Ralph came to have so little oil in the hub? From the oil cleanliness it seems to confirm the limited kms of riding (pre-purchase & my own use). I’ve read that Shimano Alfine hub seals can leak but I’ve only seen the slightest of evidence with Ralph. Was the limited oil via servicing? (still puzzled as to who butchered the hub dust cap? While the cap wasn’t intended to retain the oil, it’s mangling was indicative of someone “servicing” the hub!) Maybe the lack of oil came from the initial Alfine conversion company? (or Shimano not filling the hub initially?)
Sorry Ralph, hopefully all’s well?